Last updated on May 6, 2025
Overview of MFA for AWS Client VPN
Supported Authentication Methods
Required Components
- EC2 Windows Instance – to install services and manage users and groups in the Active Directory.
- EC2 Linux Instance – to install Rublon Authentication Proxy.
- Amazon WorkSpaces with AWS Managed Microsoft AD set as Directory Service.
Configuration of MFA for AWS Client VPN
Follow these steps to enable Rublon 2FA for AWS Client VPN.
Configure Windows instance and AWS Managed Microsoft AD
1. Open your AWS Management Console and navigate to WorkSpaces.
2. You must create a workspace directory using AWS Managed Microsoft AD. Navigate to the left pane, click Directories, and then click the Set up Directory button.
3. Select AWS Managed Microsoft AD as the directory type and click Next.

4. Select Standard Edition or Enterprise Edition depending on your needs.
Note
Note
Configure Amazon Linux AMI and Rublon Authentication Proxy
3. Click Choose Instance Type. Select the desired Instance Type and the size of your instance. There are no specific requirements for the size of the instance. Select an instance adequate to your company size.
4. Click Next: Configure Instance Details and fill in the form. Note that the options you choose here should correspond to the options you chose during Windows instance creation in the previous section. Make sure that the VPC and Subnet are the same as for the Windows Server instance. Enable Auto-assign Public IP as this option might come in handy when connecting remotely to the instance via SSH. Keep the rest of the settings as they are or change them according to your needs.
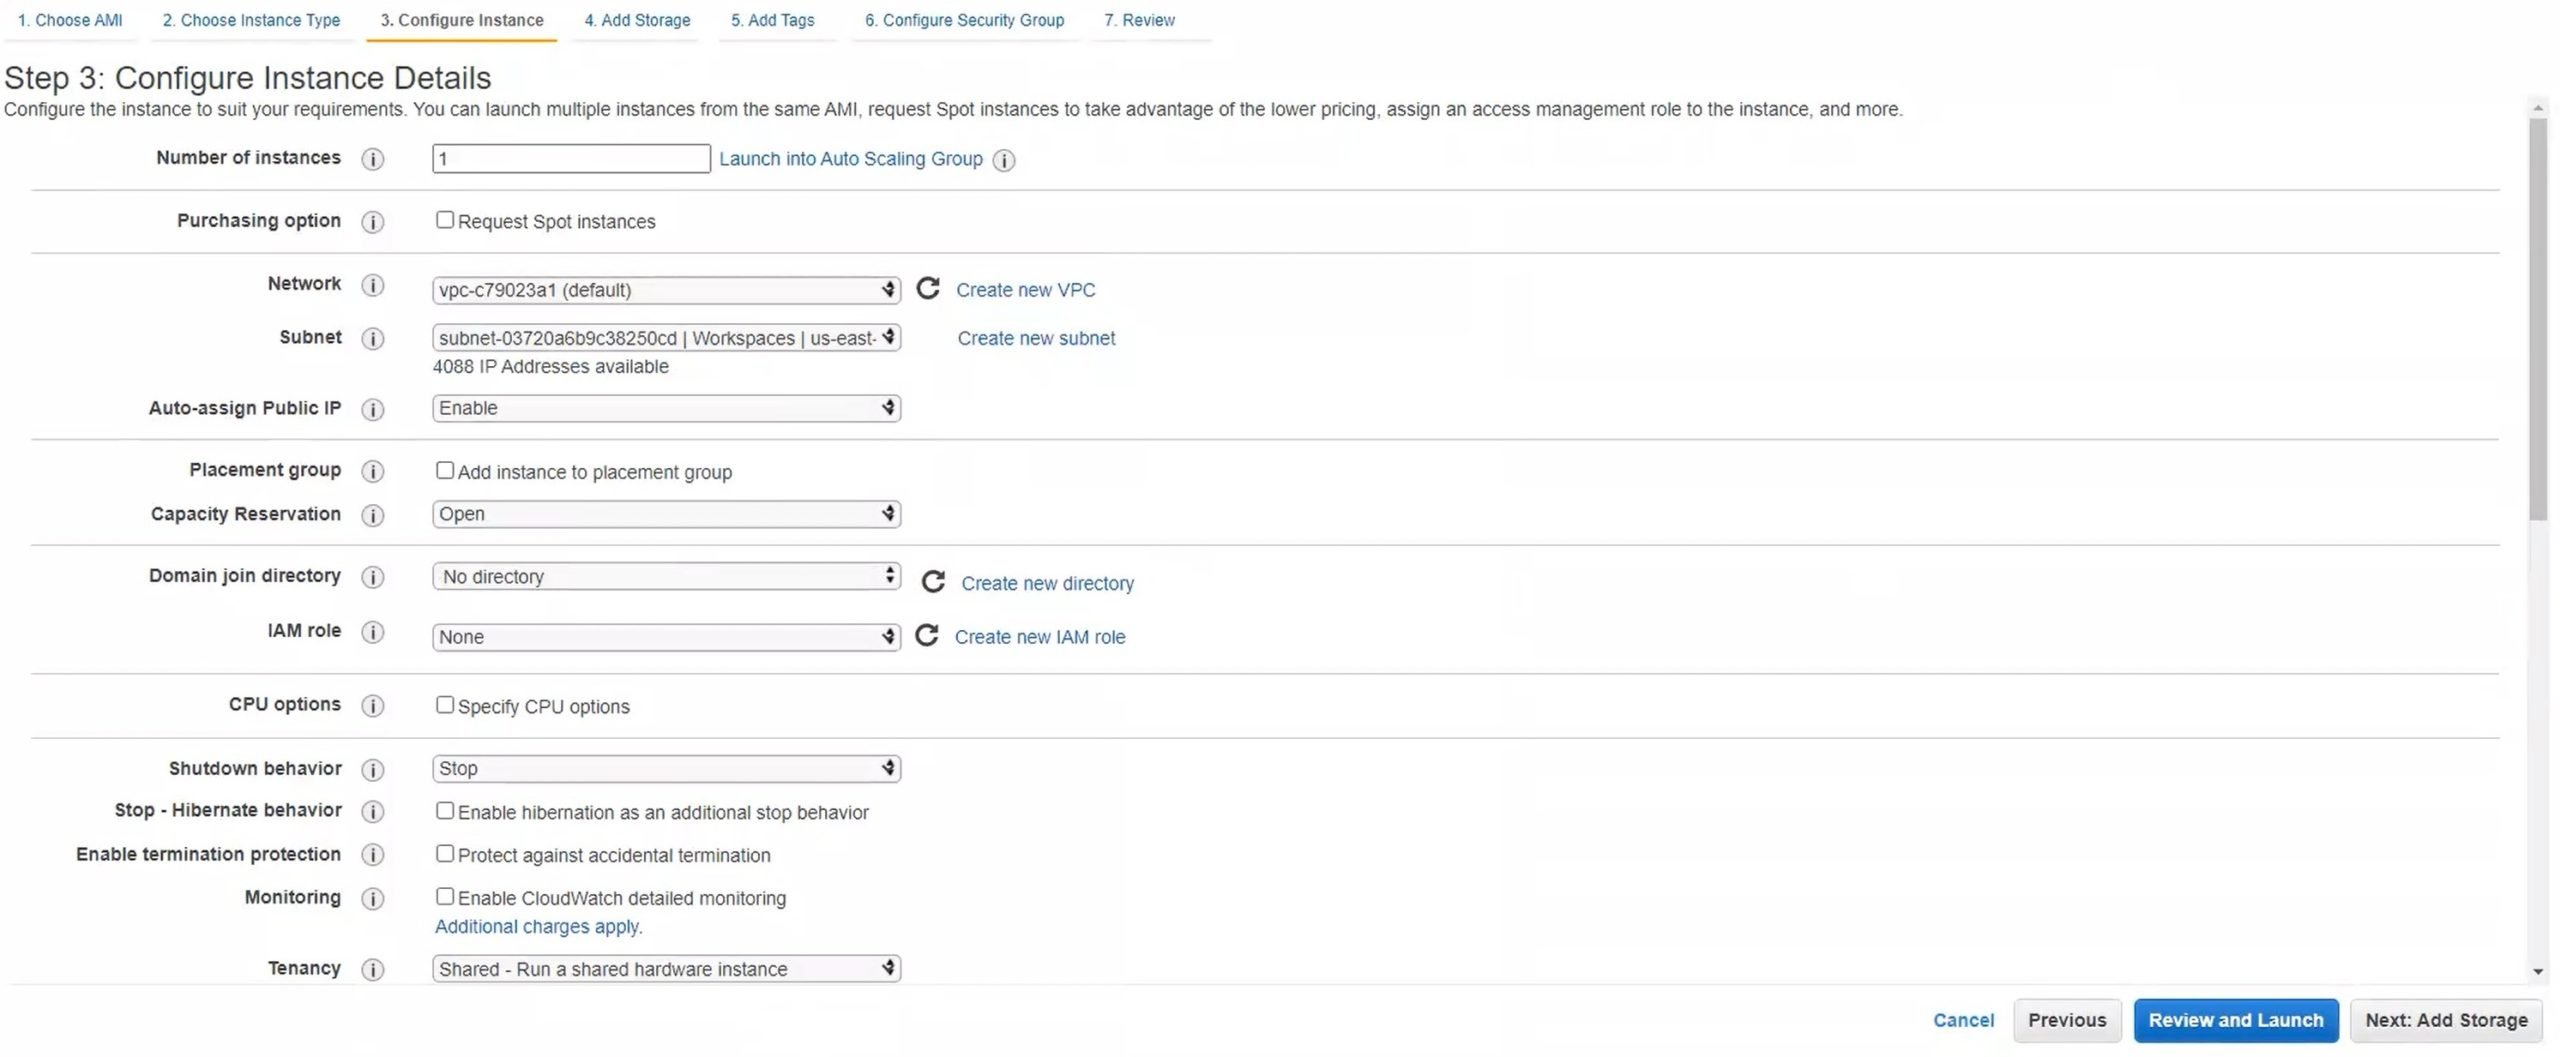
5. Click Next: Add storage. Specify the size of the volume for your instance. Set the size according to your needs or keep the default value of 8GB.

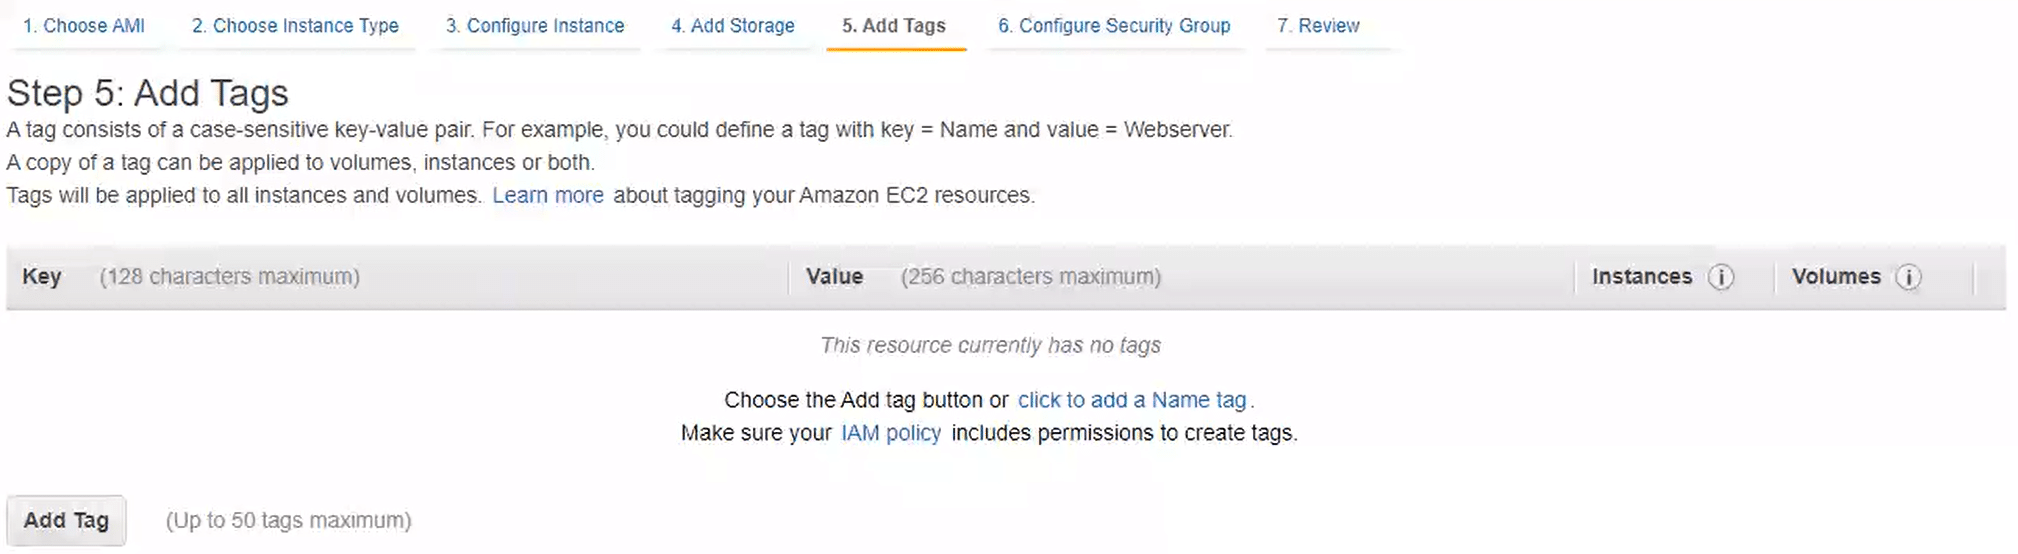
6. Click Next: Add tags. This section relates to tags. Note that you do not have to specify any tags for this configuration to work. Add tags if you need them for some other reason.
7. Click Next: Configure Security Group. Use the group you have created before. Make sure the following ports are open in Inbound Rules:
- UDP 1812
- TCP 22
8. Click Review and Launch. At launch, you will see an option to select an existing key pair or create a new key pair. Do as you wish but make sure to download and save the key file. You are going to need this key to connect to your instance. The username for the ssh user is ec2-user.
9. Wait a few minutes for the instance to start and connect to the instance using the key you have downloaded at instance launch.
10. Install and configure Rublon Authentication Proxy.
11. Find the User Base DN.
- On your Active Directory instance, open Windows command prompt as admin.
- Run the following command:
dsquery user -name <username> - Let’s say you got the following output:
"CN=Username,ou=Users,ou=domain,dc=domain,dc=local"
Then, you have to set ou=Users,ou=domain,dc=domain,dc=local as SEARCH_DN in your Rublon Authentication Proxy configuration.
12. Use the following config.yaml snippet as a template for your configuration:
log:
  debug: false

rublon:
  api_server: https://core.rublon.net
  system_token: system_token_obtained_from_rublon_admin_console
  secret_key: secret_key_obtained_from_rublon_admin_console

proxy_servers:
  - name: RADIUS-Proxy
    type: RADIUS
    ip: PRIVATE_IP_OF_AMI_INSTANCE
    port: 1812
    radius_secret: secret_to_communicate_with_the_proxy
    mode: nocred
    auth_source: LDAP_SOURCE_1
    auth_method: push,email

auth_sources:
  - name: LDAP_SOURCE_1
    type: LDAP
    ip: ip_or_dns_address_of_aws_directory_service
    port: 389
    transport_type: plain
    search_dn: ou=Users,ou=domain,dc=domain,dc=local
    access_user_dn: ad_service_account
    access_user_password: ad_service_account_password
Make sure to set your proxy’s mode to nocred.
Enable MFA on your AWS Microsoft Managed AD
1. Go to Directory Service → Directories and select your Active Directory.
2. Click the Networking & security tab and navigate to Multi-factor authentication.
3. Click the Actions dropdown and select Enable.
4. Fill in the form. Click Enable when done. Refer to the following table for more information.
| RADIUS server DNS name or IP addresses | Enter the private IP address of the EC2 AMI Linux instance (Rublon Authentication Proxy). |
| Port | Enter the port specified in your config.json file. Default: 1812 |
| Shared secret code | Enter the same secret you have specified in Rublon Authentication Proxy’s config.json file. |
| Confirm shared secret code | Retype the secret. |
| Protocol | Select PAP. |
| Server timeout (in seconds) | Enter the same value that you have specified in config.json. Recommended: 30 |
| Max RADIUS request retries | Enter the same value that you have specified in config.json. Recommended: 3 |
5. Create the Client VPN endpoint. Refer to the official documentation to learn how to set up your Client VPN endpoint.
6. Download the new AWS Client VPN configuration file from the AWS Management Console.
7. Ensure the file you downloaded includes the following parameters:
Note
Log in to AWS Client VPN using MFA for AWS Client VPN

- 123456 – a Passcode (6-digit TOTP code generated by Rublon Authenticator or another third-party authentication app like Google Authenticator or Microsoft Authenticator)
- 123456789 – a Bypass Code (9-digit code received from the administrator)
- push – a Mobile Push is sent to their phone; requires Rublon Authenticator
- email – an email message containing an Email Link is sent to their email address
- smsLink – a text message containing an SMS Link
- phoneCall – a Phone Call from Rublon
- <YubiKey OTP code> – insert the YubiKey and press the button on the key; the OTP will be typed automatically and then Enter will be pressed
