Last updated on April 23, 2024
Overview
This document describes how to enable Single Sign On in Jira / Confluence / Bitbucket Server using the SAML Single Sign On plugin, Rublon Access Gateway and Microsoft Active Directory. After completing the Configuration section of this document, you should be able to log in to one Atlassian product using Rublon 2FA, and then switch to another Atlassian product without going through the authentication process again.
Before you start
It is assumed you have configured Rublon Access Gateway and enabled Rublon 2FA for your Atlassian products (Jira, Confluence).
Configuration
This document describes the configuration of Single Sign On in Jira. The user logs in to Jira using Rublon 2FA, and then switches to Confluence without going through the authentication process again. Configuration steps for Confluence and Bitbucket Server are the same.
Synchronize Users
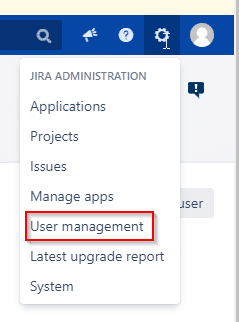
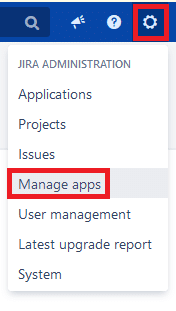
1. Click the cog icon in the top right corner. Select User management.
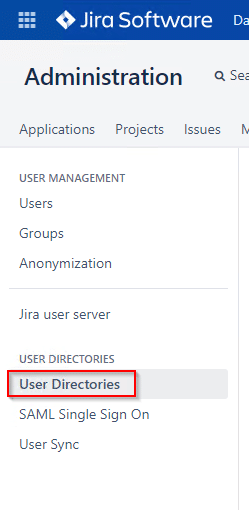
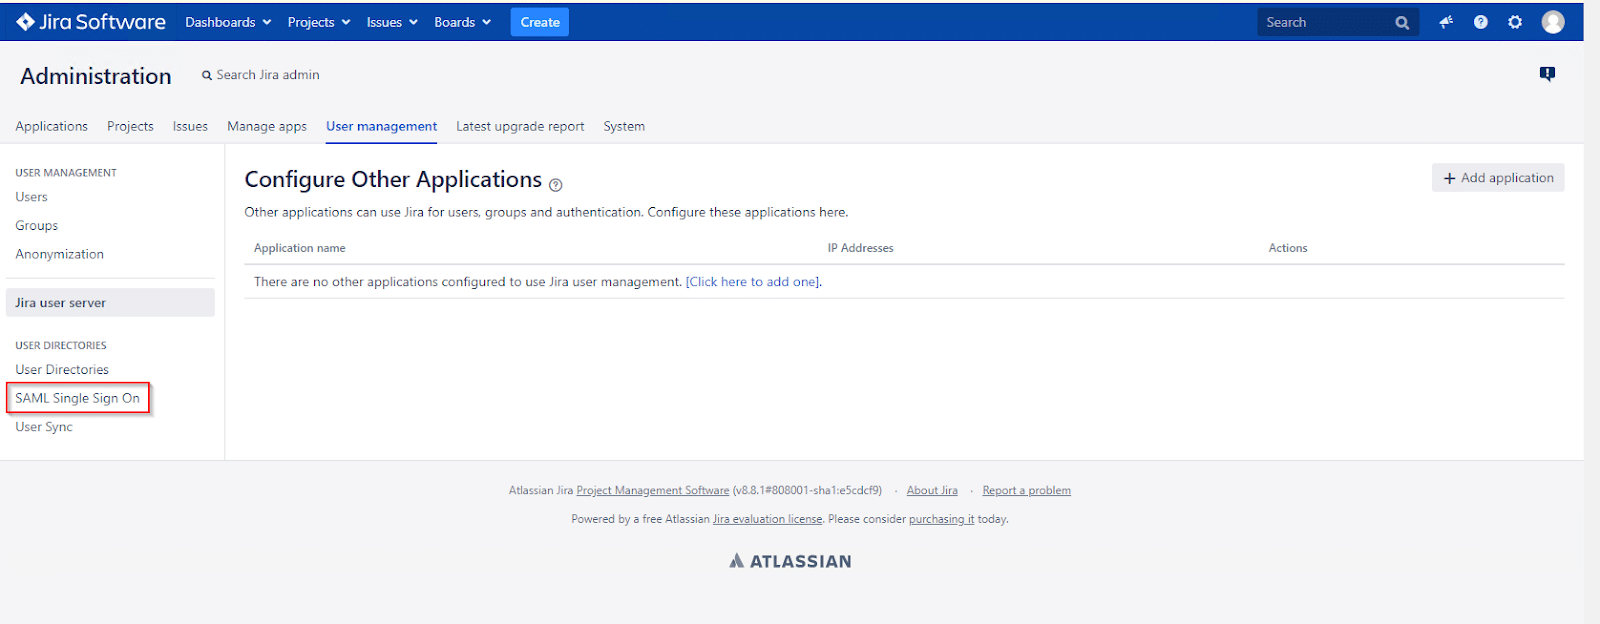
2. Select User Directories on the left-hand side.
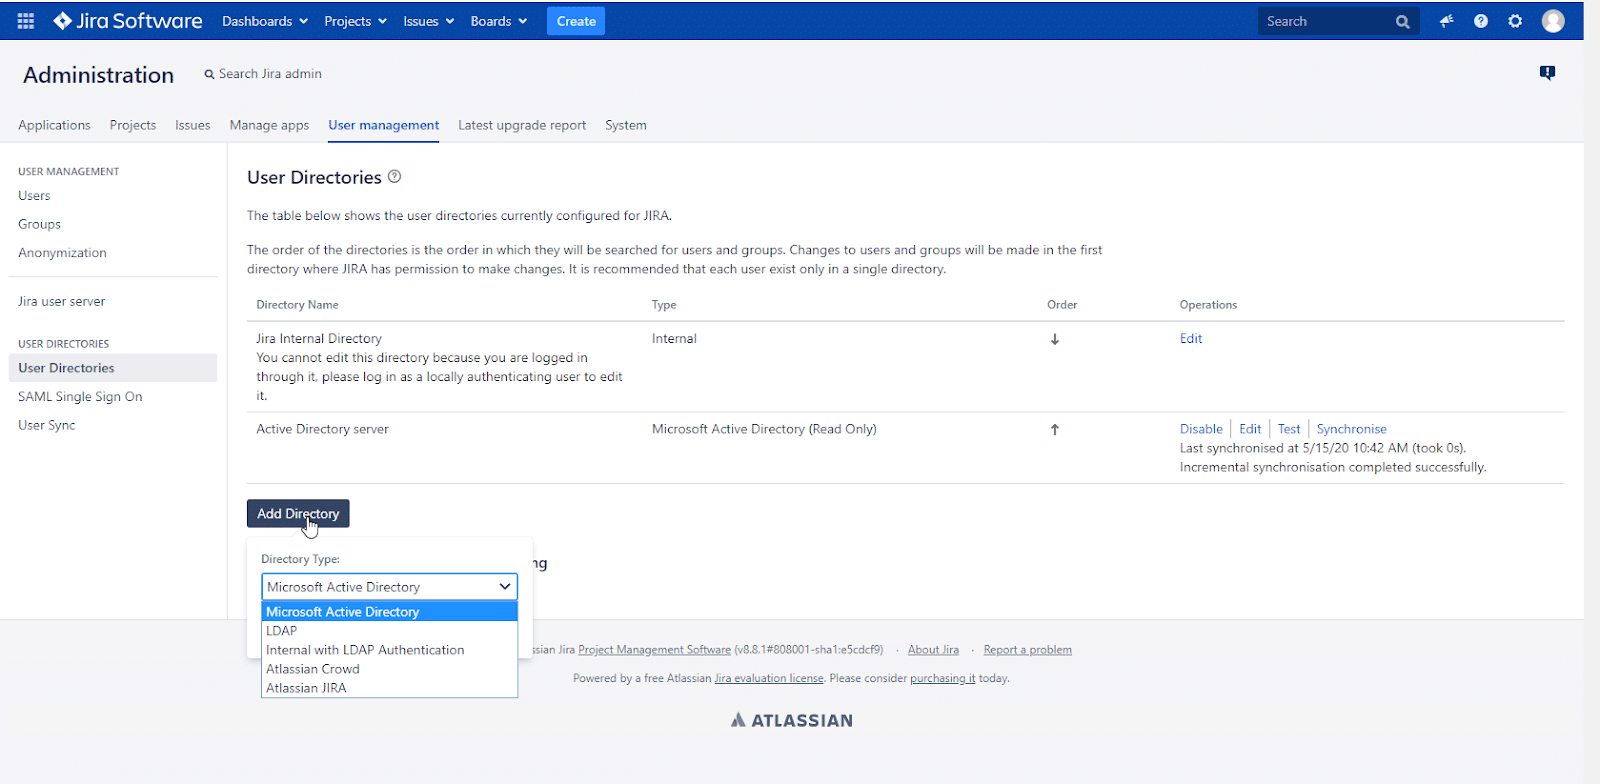
3. Click Add Directory. Choose Microsoft Active Directory. Click Next.
4. Configure your LDAP User Directory (Microsoft Active Directory). Refer to the following image and table to learn more about the fields you have to fill in.
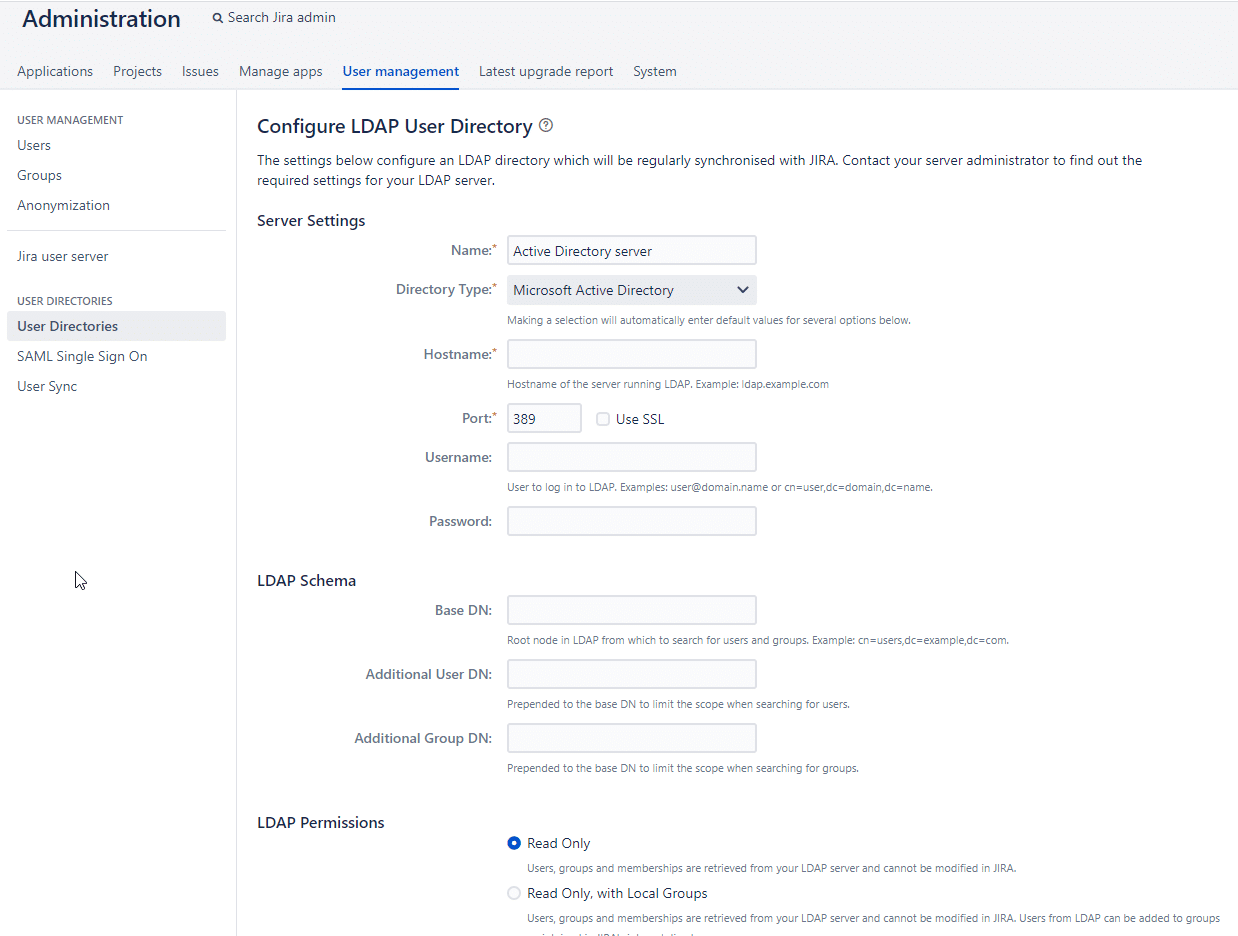
| Name | Specify the name of your directory, e.g. My Active Directory |
| Directory Type | Select Microsoft Active Directory. |
| Hostname | Enter the hostname or IP address of your Active Directory server. |
| Port | Enter the port of your Active Directory server. |
| Username | Enter the username of the user to log in to Active Directory. |
| Password | Enter the password corresponding to the username entered above. |
| Base DN | Enter the root node from which to search for users and groups, e.g. cn=users,dc=example,dc=com |
5. Click Save and Test to save your configuration. Your connection will be tested. We recommend providing the credentials of a user in your directory for extended testing.
6. After a successful test, click Back to directory list. You should see your Active Directory server listed under User Directories.
7. Click Synchronize to synchronize your users.

8. Click Users on the left panel and ensure the list displays your users from Microsoft Active Directory.
9. This concludes the user synchronization part of the configuration. You have to install and configure SAML Single Sign On now.
Configure SAML Single Sign On
Installing the SAML Single Sign On for Jira plugin (or another plugin for Single Sign On) allows you to connect to an external identity provider (Rublon Access Gateway in our case). This is a required and next step after synchronizing your users.
1. Click the cog icon in the top right corner. Select Manage apps.
2. Search the SAML Single Sign On for Jira plugin in Jira Marketplace and install it.

3. After a successful installation of the plugin, you will see a new SAML Single Sign On option in the menu on the left side.
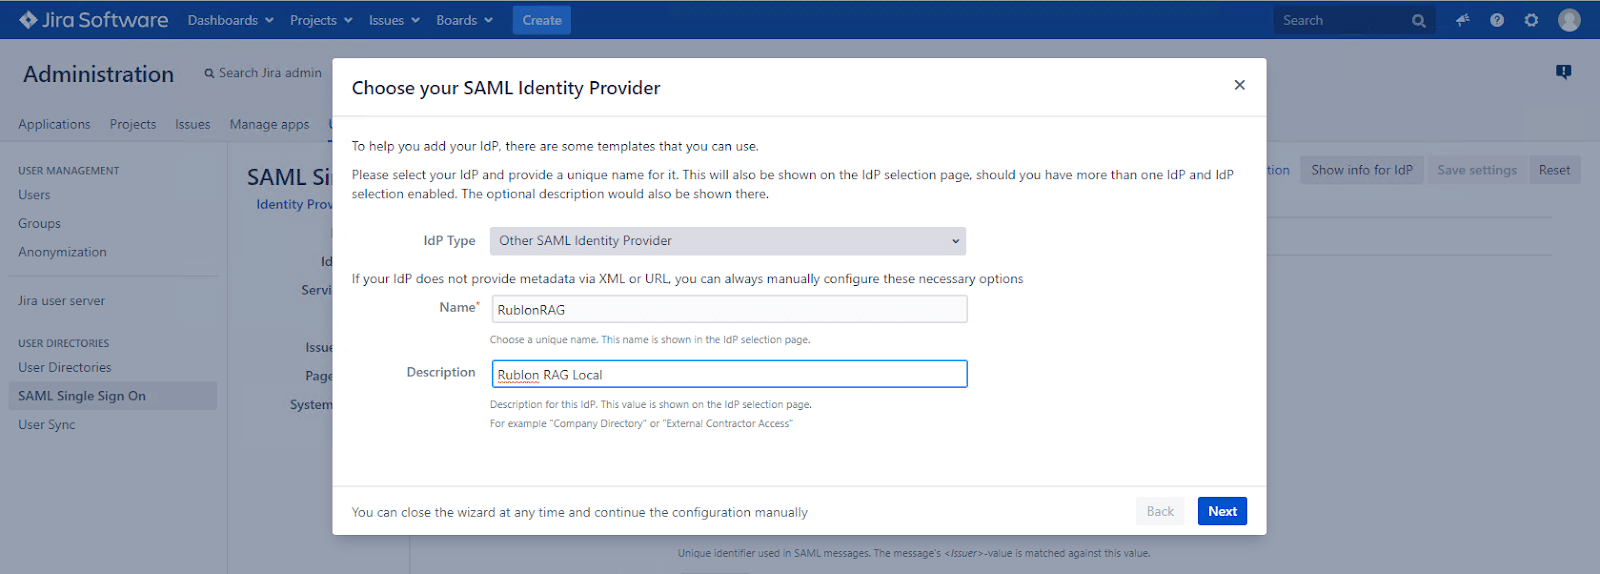
4. Click SAML Single Sign On. You will see a Welcome window. Click Add new IdP.

5. Select Other SAML Identity Provider in the IdP Type dropdown, and then enter the name and description of your IdP. Click Next.
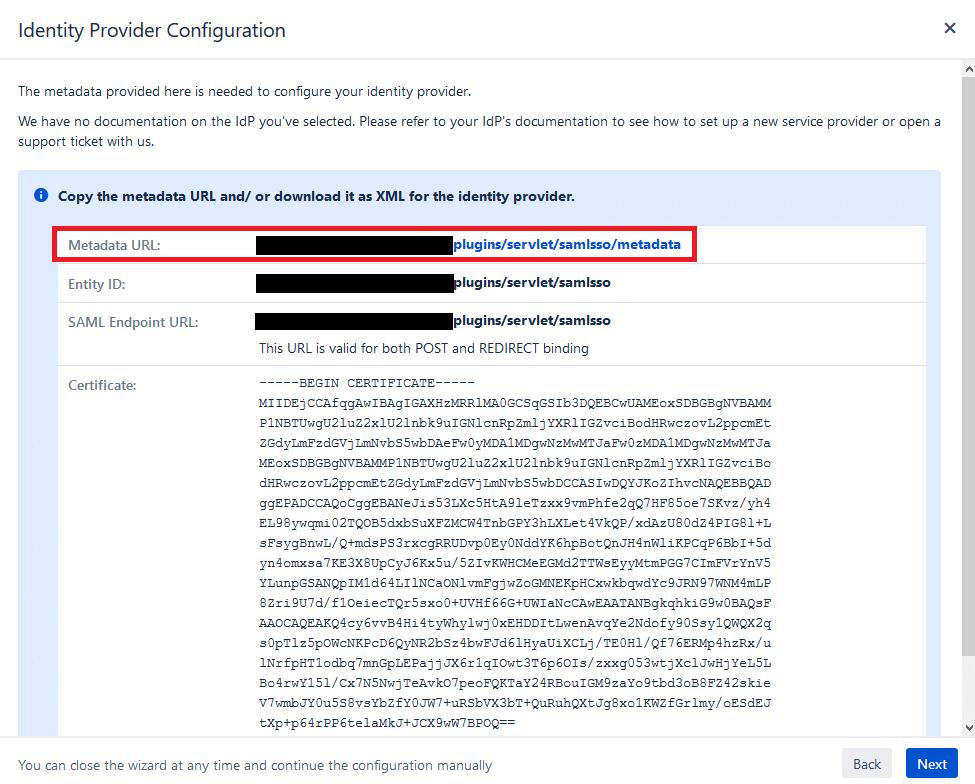
6. Save the XML file from Metadata URL. You are going to need it later. Click Next.
7. Do not close Jira. Open Rublon Access Gateway in a new tab.
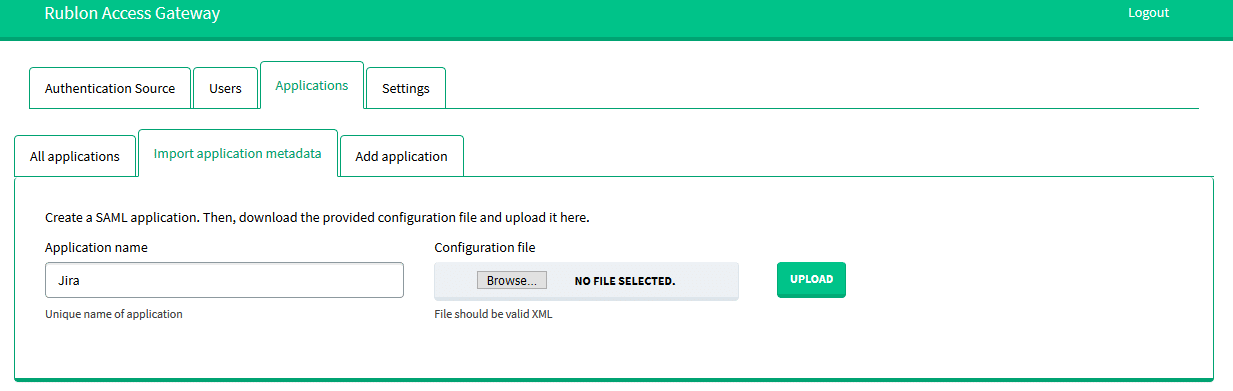
8. Go to Applications → Import application metadata.
9. Enter the Application name and select the metadata file you just downloaded from Jira. Click UPLOAD to add the new application.
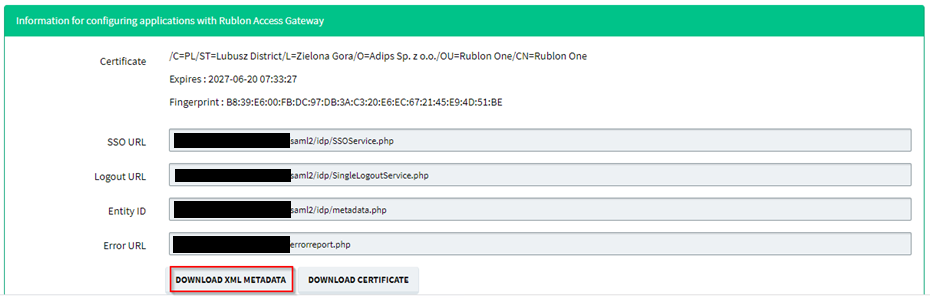
10. Download XML metadata. You are going to need this file later.
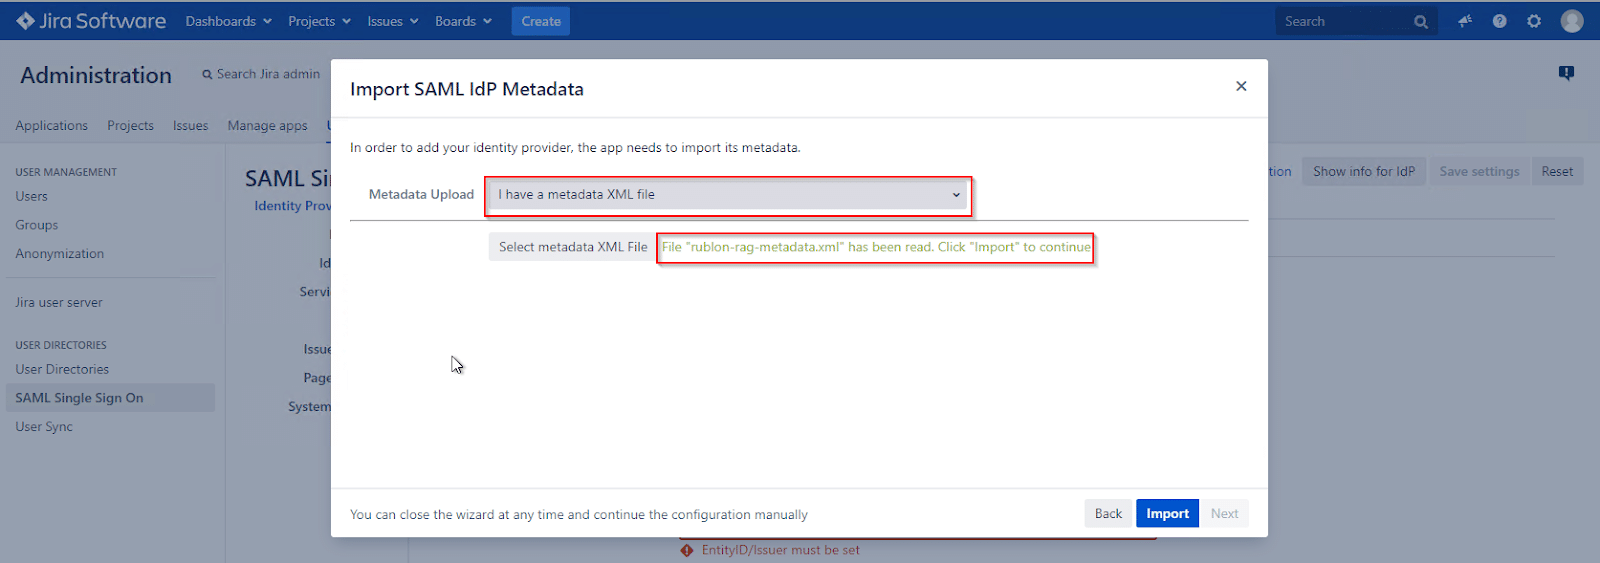
11. Get back to Jira. Import the metadata XML file you downloaded from Rublon Access Gateway. Select I have a metadata XML file. Select your file. Click Import. Click Next.
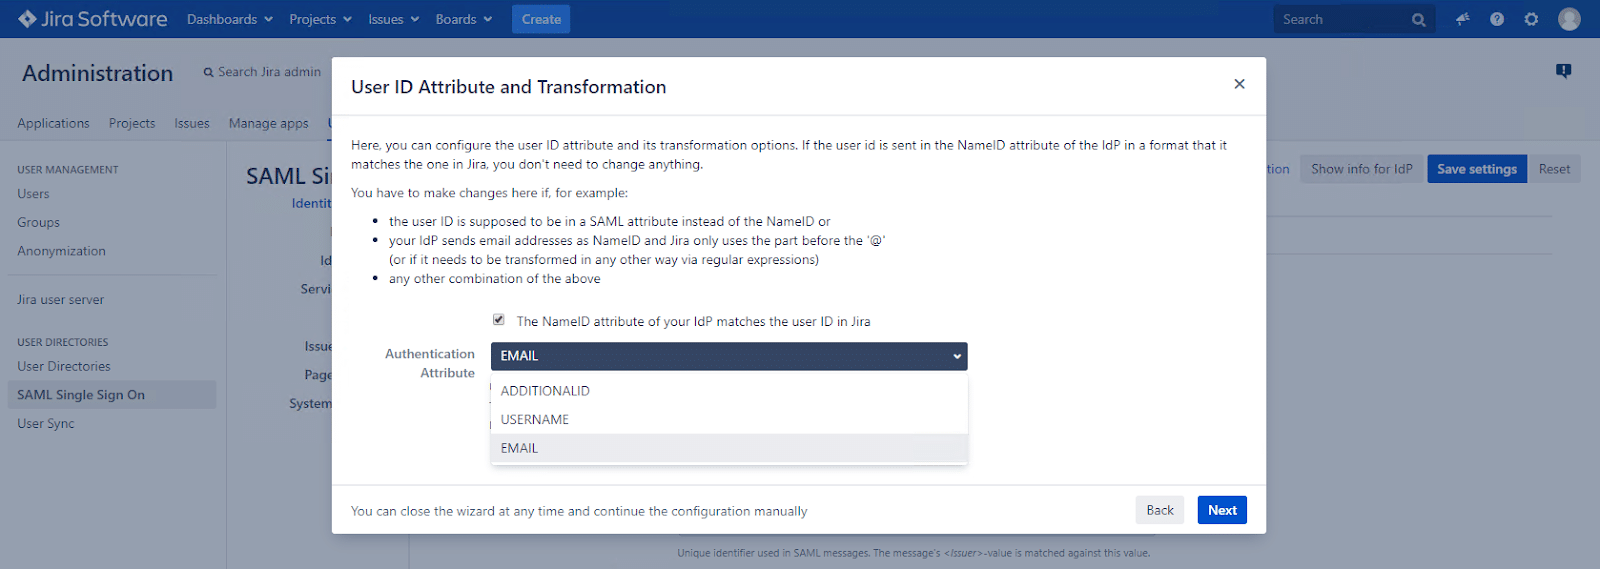
12. Select EMAIL as the Authentication Attribute. Click Next.
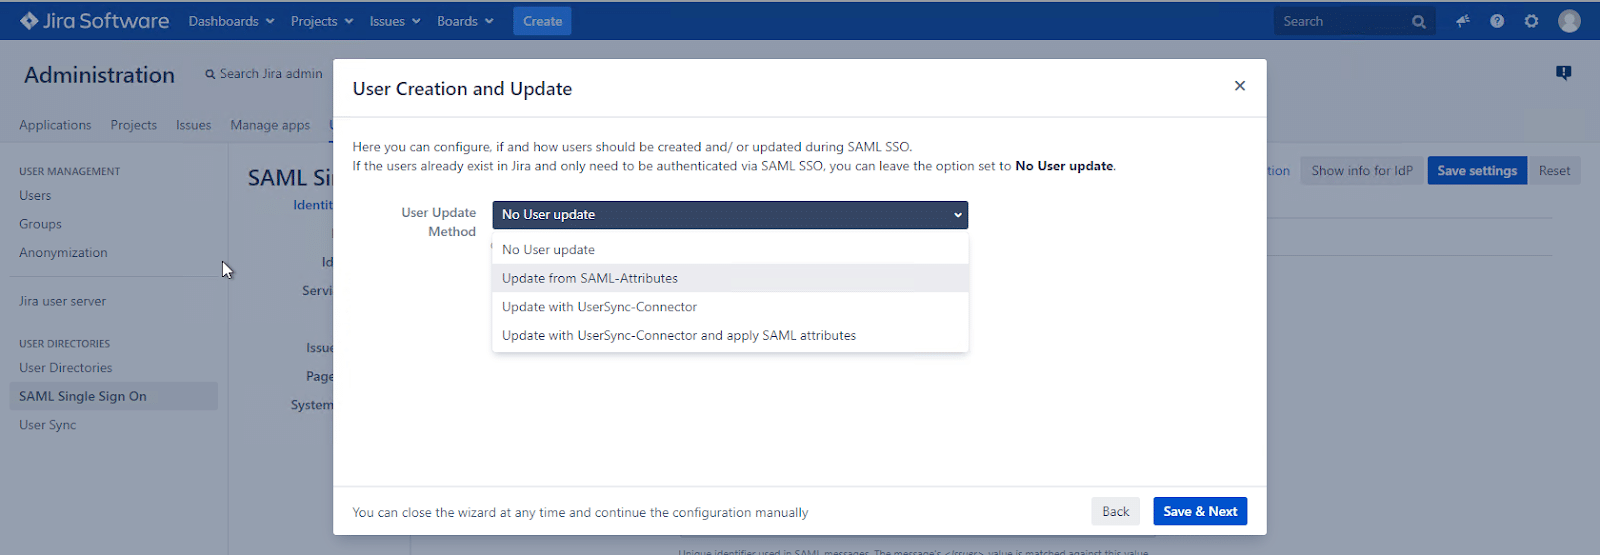
13. The SAML Single Sign On for Jira plugin allows adding new users to Jira, but you do not need this option in your configuration, because you synchronize users with Microsoft Active Directory instead. Select Update from SAML-Attributes and click Save & Next.
14. Click Start test.
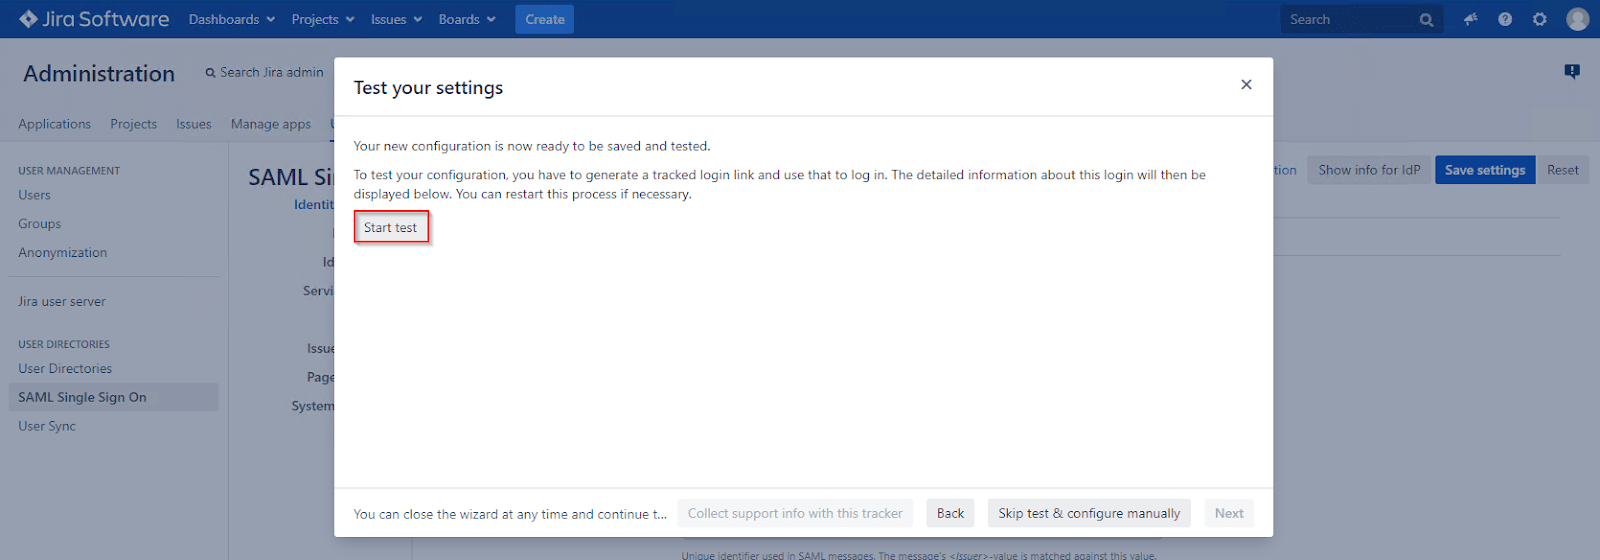
15. Plugin generates a login link. Open the link and log in using the credentials from Microsoft Active Directory. Jira server login will redirect you to Rublon Access Gateway, which is connected with Microsoft Active Directory. Go through the authentication process. Do not forget to check Remember this device during the second factor.
16. You will be logged in to your Jira Server. Status will change to SUCCESS. Click Next.
17. The last window asks about redirect options. Select Enable SSO Redirect, so that the standard Jira login will be redirected to the Single Sign On login. Ensure that Single Sign On works correctly before doing this! Click Save & Close.

18. When Single Sign On is configured correctly in all applications (Jira / Confluence / Bitbucket Server), users can log in only to one application and then switch to another without logging in again when remembering trusted devices. Configuring SSO URL links is the last part of the configuration process.
Configure SSO URL Links
Atlassian products allow you to quickly switch to another Atlassian application by adding URL links in Application Navigator. Adding links using SSO mechanisms allows you to switch between applications without having to log in again. This section portrays the configuration in Jira. Application Navigator works similarly in Confluence Server and Bitbucket Server.
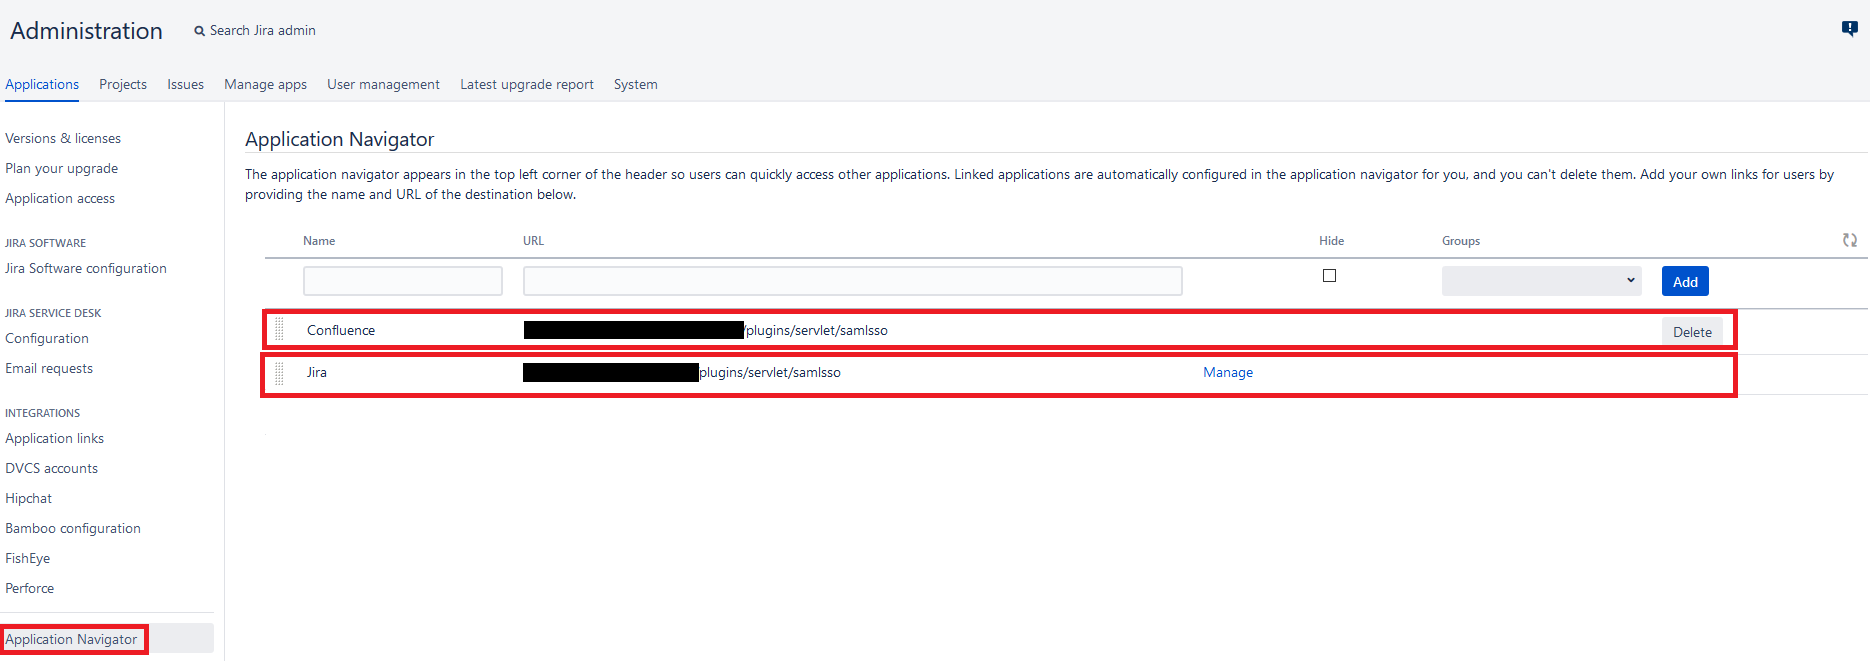
1. Click the cog icon in the top right corner. Select Applications.
Note
In Confluence you have to select General Configuration instead.
2. Click Application Navigator on the left.
3. Add application URLs for Bitbucket and Confluence.
4. Refresh the page. Click the tiles icon in the top left corner. You should see a list of applications you can switch to.
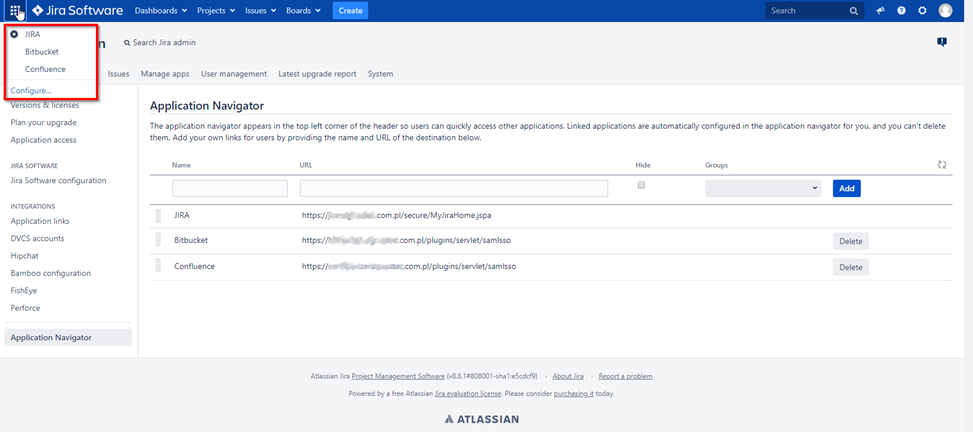
5. After clicking an application name, you will be logged in to the application without having to go through the authentication process again.
Troubleshooting
If you encounter any issues with your Rublon integration, please contact Rublon Support.