Last updated on August 13, 2025
Note: This document covers configuring Rublon for the standalone version of OpenVPN on Linux. Unless this is exactly what you want, we recommend configuring OpenVPN on pfSense or OpenVPN Cloud instead.
Overview
The purpose of this document is to enable Rublon Multi-Factor Authentication (MFA) for users connecting to OpenVPN. In order to achieve that, you have to use Rublon Authentication Proxy, an on-premise RADIUS proxy server, which allows you to integrate Rublon with OpenVPN to add Multi-Factor Authentication to your VPN logins. This documentation describes how to configure 2FA/MFA for OpenVPN on Linux without pfSense.
Supported Authentication Methods
| Authentication Method | Supported | Comments |
| Mobile Push | ✔ | N/A |
| FIDO | – | N/A |
| Passcode | ✔ | N/A |
| SMS Passcode | – | N/A |
| SMS Link | ✔ | N/A |
| Phone Call | ✔ | N/A |
| QR Code | – | N/A |
| Email Link | ✔ | N/A |
| YubiKey OTP | ✔ | N/A |
| RFID | – | N/A |
Before you start
Note
This configuration uses openvpn-auth-radius. The openvpn-auth-radius plugin works only on Linux OSs. If you cannot set up a Linux VPS or want a GUI admin tool, please consider configuring OpenVPN on pfSense or using OpenVPN Cloud instead.
Set up two Linux VPS nodes:
- On the first node, install OpenVPN and openvpn-auth-radius.
- On the second node, install your Identity Provider (this documentation gives a configuration snippet for FreeRADIUS) and Rublon Authentication Proxy.
Refer to the Configuration section for configuration snippets.
Configuration
1. On the first node, use the following configuration:
    NAS-Identifier=OpenVPN
    Service-Type=5
    Framed-Protocol=1
    NAS-Port-Type=5
    NAS-IP-Address=127.0.0.1
    OpenVPNConfig=/etc/openvpn/openvpn-server.conf
    overwriteccfiles=false
    useauthcontrolfile=true
    nonfatalaccounting=true
    server    {
     authport=9898 ## direct connect to Rublon Authentication Proxy
     acctport=1813 ## direct connect to FreeRADIUS
     name=10.100.4.202
     retry=1
     wait=90
     sharedsecret=<secret_password>
    }
2. On the second node, use to the following config.yaml snippet as a template for your Rublon Authentication Proxy configuration:
log:
  debug: false

rublon:
  api_server: https://core.rublon.net
  system_token: system_token_obtained_from_rublon_admin_console
  secret_key: secret_key_obtained_from_rublon_admin_console

proxy_servers:
  - name: RADIUS-Proxy
    type: RADIUS
    ip: private_ip_of_instance
    port: 1812
    radius_secret: secret_pass
    mode: standard
    auth_source: RADIUS_AUTH_SOURCE_1
    auth_method: push,email

auth_sources:
  - name: RADIUS_AUTH_SOURCE_1
    ip: 127.0.0.1
    port: 389
    radius_secret: secret_pass
3. On the second node, use the following clients.conf snippet as a template for your FreeRADIUS configuration:
client localhost {
ipaddr = 127.0.0.1
secret = <secret_pass>
require_message_authenticator = no
}
client openvpn-server {
ipaddr = 10.100.4.207/32
secret = <secret_pass>
}
Log in to OpenVPN with Rublon 2FA
1. Initiate an OpenVPN connection. You can use the command line or any GUI of your choice. For example, if you are using Debian 10, you can execute the following command:
sudo openvpn –client –config <path_to_your_config_file>
2. Provide your username and password.
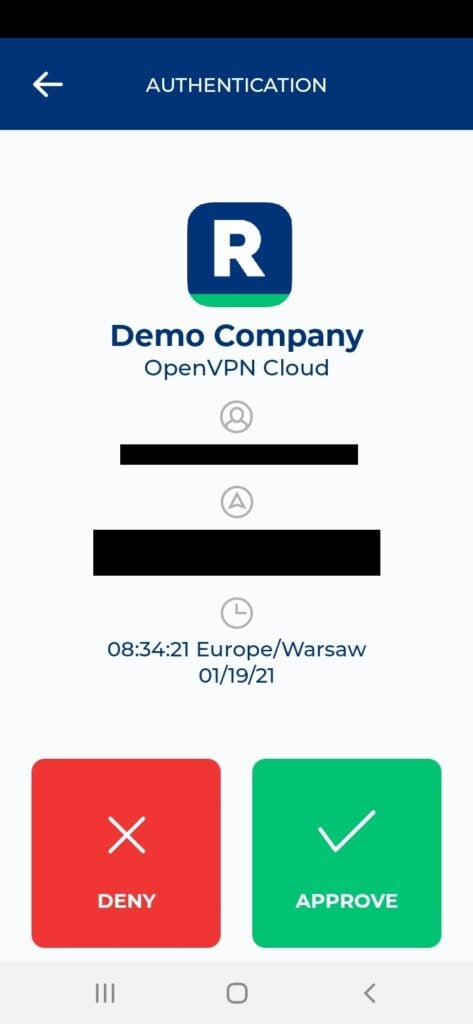
3. You will be sent a push notification. Tap APPROVE.

4. You will be successfully logged in.
Troubleshooting
If you encounter any issues with your Rublon integration, please contact Rublon Support.