Last updated on March 16, 2026
Overview
The purpose of this document is to help you enable Rublon Multi-Factor Authentication (MFA) for users logging in to Palo Alto GlobalProtect VPN. To achieve that using LDAP / LDAPS (e.g., Microsoft Active Directory, OpenLDAP), you have to use Rublon Authentication Proxy, an on-premise RADIUS and LDAP proxy server, which allows you to integrate Rublon with Palo Alto GlobalProtect VPN to add Multi-Factor Authentication to your VPN logins.
In this scenario, the Authentication Proxy will work as an LDAP(S) proxy server.
Demo Video

Supported Authentication Methods
| Authentication Method | Supported | Comments |
| Mobile Push | ✔ | N/A |
| FIDO | – | N/A |
| Passcode | ✔ | N/A |
| SMS Passcode | – | N/A |
| SMS Link | ✔ | N/A |
| Phone Call | ✔ | N/A |
| QR Code | – | N/A |
| Email Link | ✔ | N/A |
| YubiKey OTP | ✔ | N/A |
| RFID | – | N/A |
Before You Start
Ensure that you have properly and fully configured your Palo Alto GlobalProtect VPN. Then, install and configure Rublon Authentication Proxy before configuring Palo Alto GlobalProtect VPN to work with it. Ensure you have prepared the Auth Proxy for LDAPS if you wish to use it. Read Rublon Authentication Proxy and follow the steps in the Installation and Configuration sections. Afterward, follow the Configuration section in this document.
Configuration
Follow these steps to enable Rublon MFA for Palo Alto GlobalProtect VPN.
Add LDAP(S) Server Profile
1. Log in to the Palo Alto administrator panel.
2. Select the Device tab and then select Server Profiles → LDAP.

3. Click Add at the bottom of the page to add a new LDAP server.

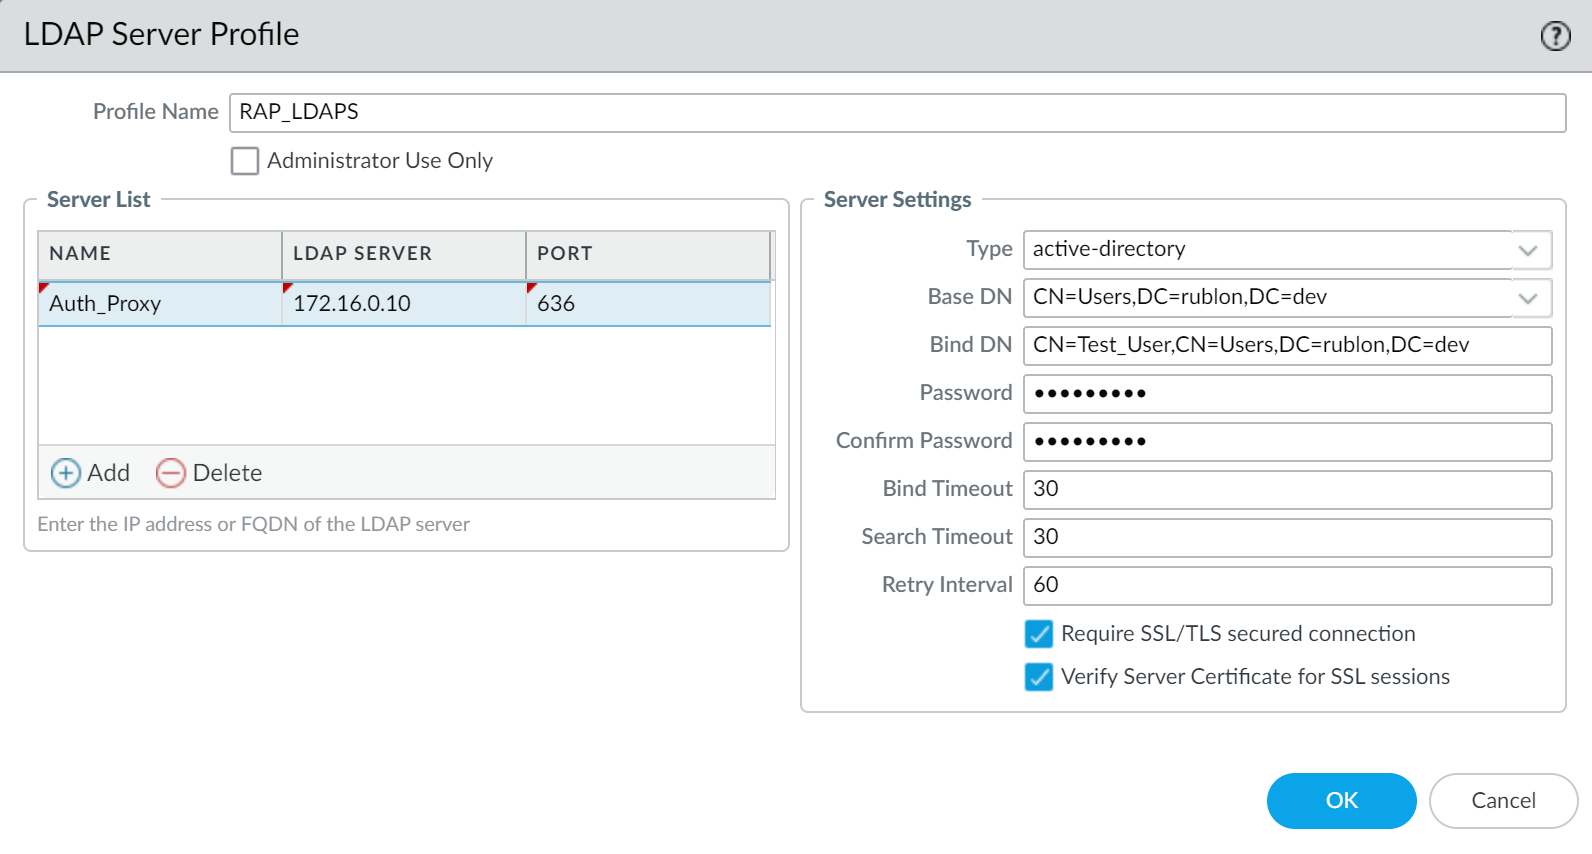
4. In Profile Name, enter a name for your LDAP/LDAPS server, e.g., RAP_LDAP or RAP_LDAPS.
5. In the Server List section, click Add and fill in the information about the Rublon Authentication Proxy. Refer to the following table.
| Name | Enter a name for your RADIUS server, e.g., Auth_Proxy to emphasize that the Rublon Authentication Proxy works as a proxy of your LDAP server. |
| LDAP Server | Enter the IP address of the Rublon Authentication Proxy. |
| Port | Enter the port. If you want to use LDAP, enter 389. If you want to use LDAPS, enter 636. |
6. In Server Settings, enter the server information. Refer to the following screenshot and table.
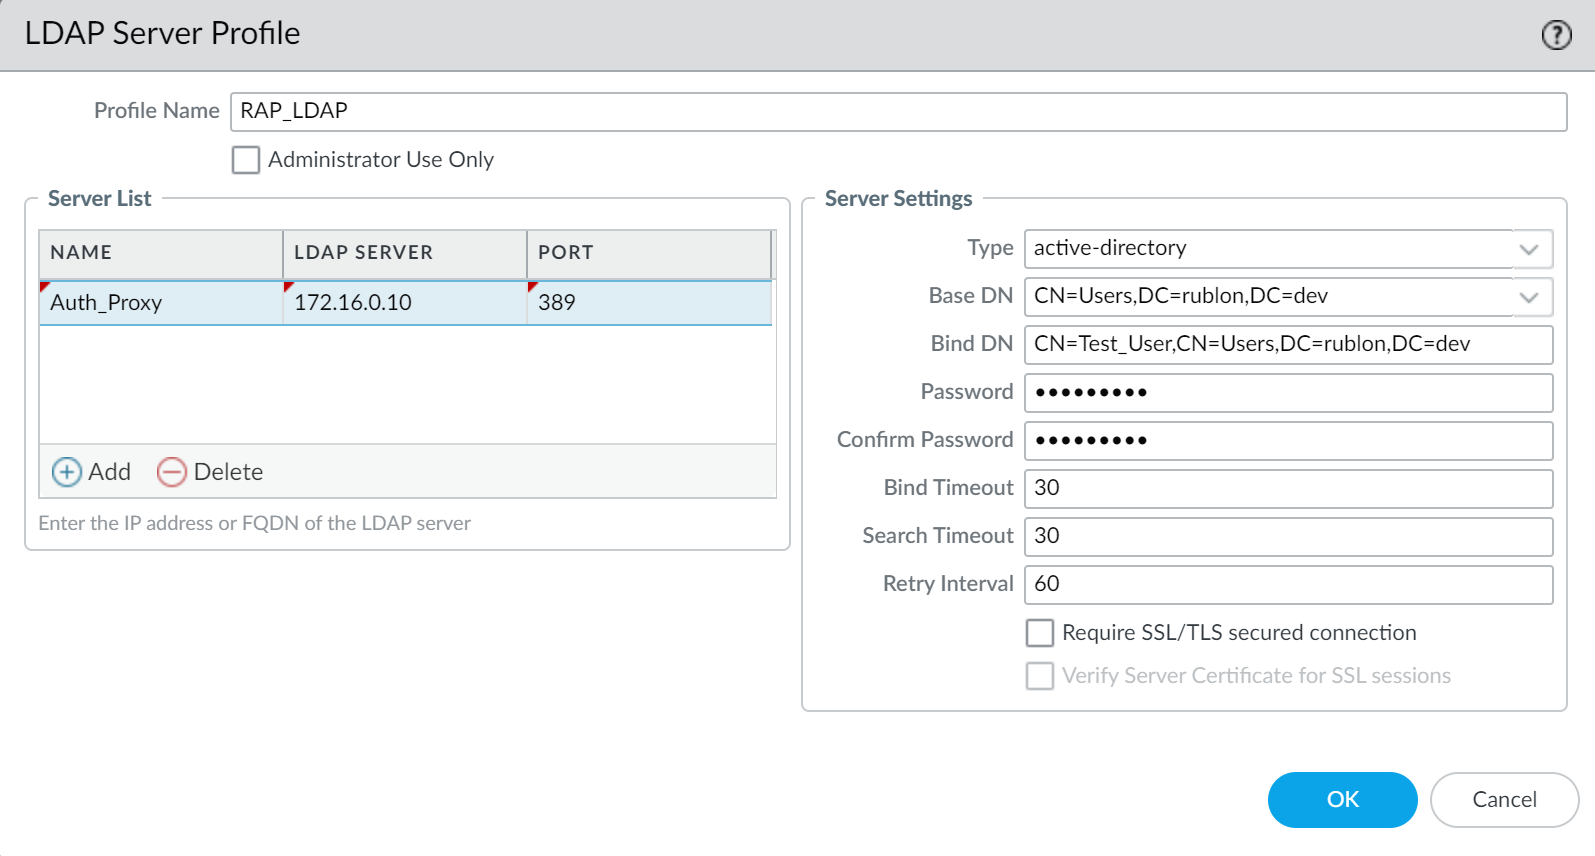
| Type | Select active-directory |
| Base DN | Enter the Base DN of a user who has Read rights in your LDAP(S) server. |
| Bind DN | Enter the Bind DN of a user who has Read rights in your LDAP(S) server. |
| Password | Enter the password of the user defined by Bind DN. |
| Confirm Password | Reenter the password of the user defined by Bind DN. |
| Bind Timeout | 60 |
| Search Timeout | 30 |
| Retry Interval | 60 |
| Require SSL/TLS secured connection | Uncheck if you want to use LDAP. Check if you want to use LDAPS. |
| Verify Server Certificate for SSL sessions | Uncheck if you want to use LDAP. Check if you want to use LDAPS. |
6. Click OK to save your new LDAP(S) server profile.
Add Authentication Profile
1. Go to Device → Authentication Profile.
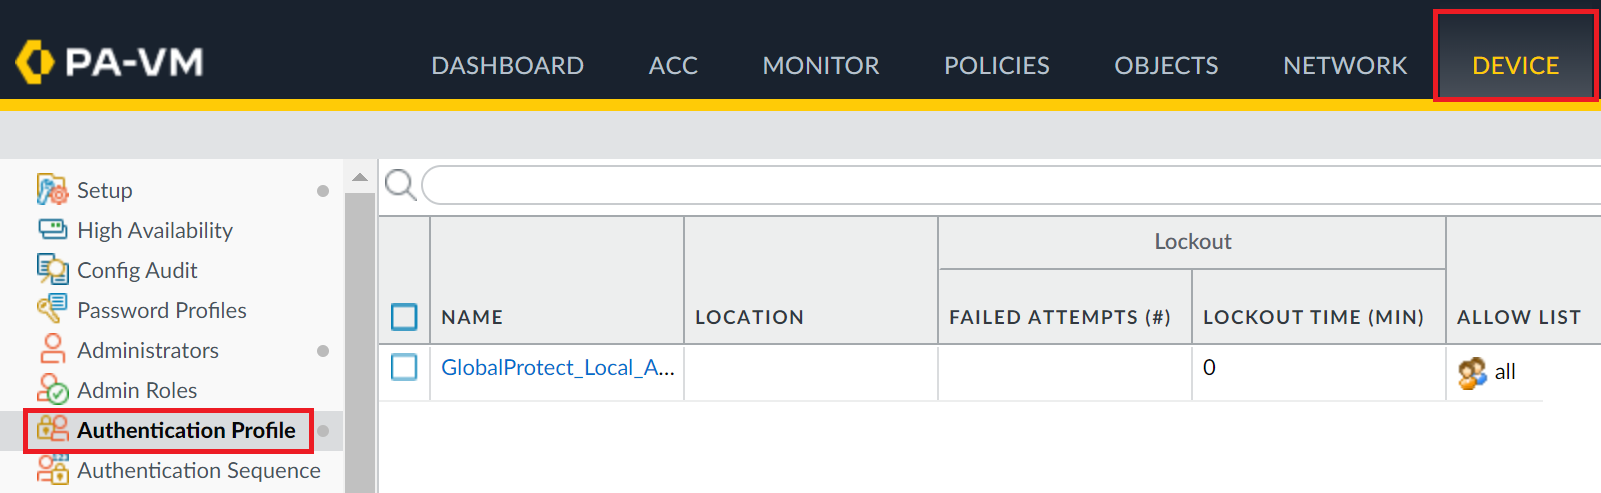
2. Click Add to add a new authentication profile.
3. Fill in the form and click OK. Refer to the following image and table.
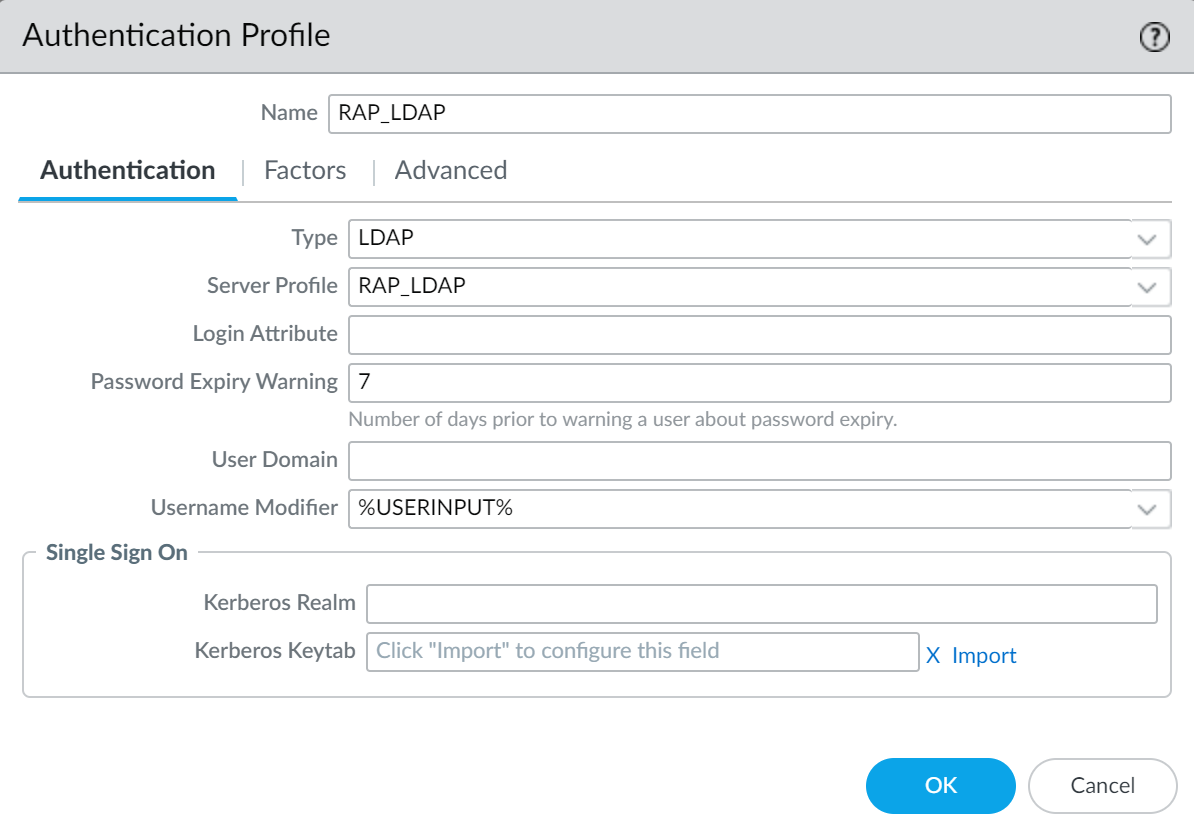
| Name | Enter a name for your authentication profile, e.g., RAP_LDAP. |
| Type | Select LDAP. |
| Server Profile | Select the LDAP Server Profile you have created before. |
| User Domain | Leave empty if you plan to set Allow List to all. If you plan to use specific groups in Allow List, enter the user domain. |
| Username Modifier | %USERINPUT% |
4. Select the Advanced tab. In the Allow List, click the Add button and select all.
Note
If you selected specific groups instead of all in Allow List, make sure User Domain is not empty.
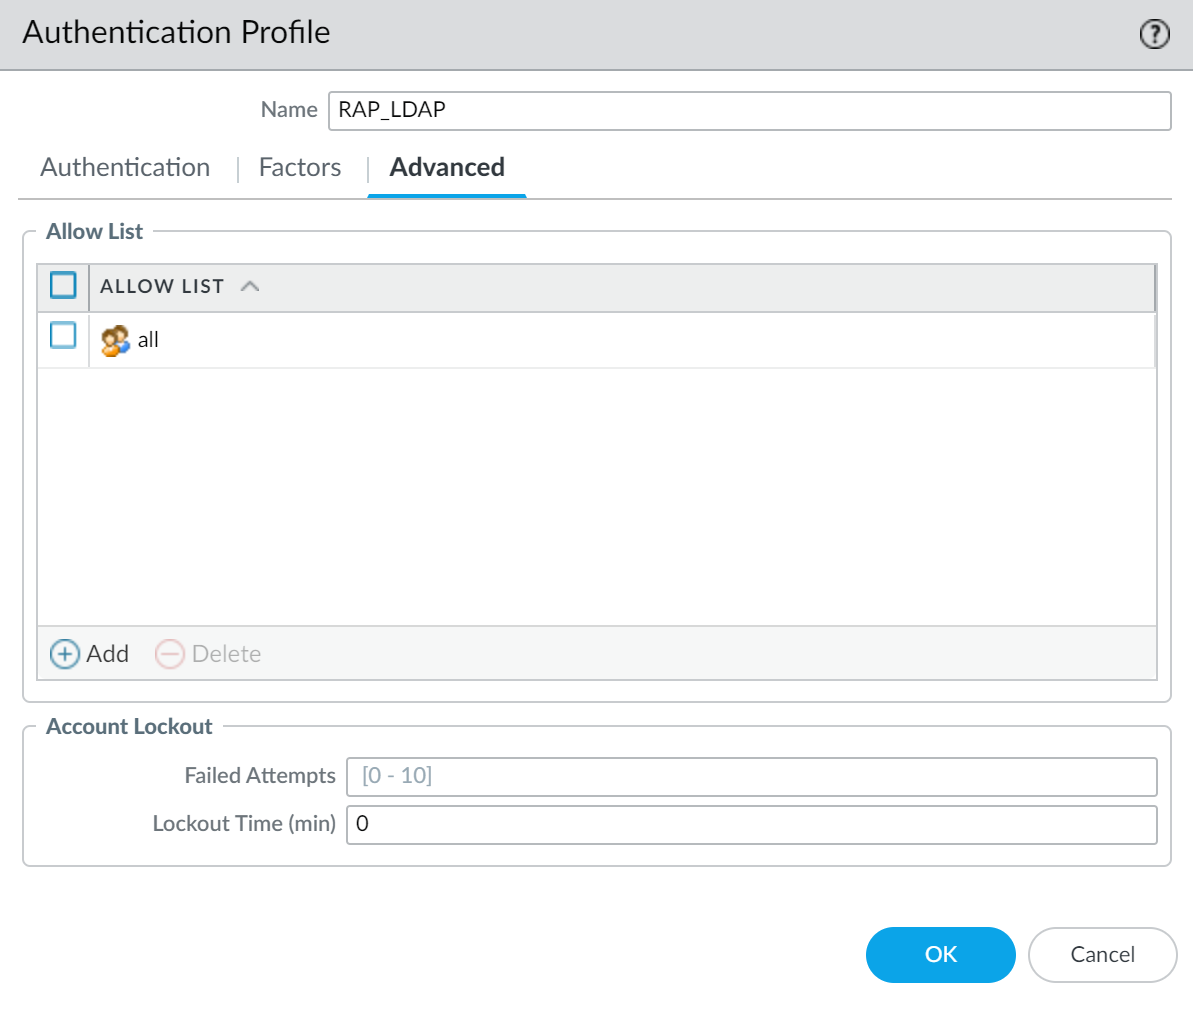
5. Click OK to save your authentication profile.
LDAPS Only: Add Certificate
Note
If you are using LDAP without TLS/SSL, you can skip this section.
If you are using LDAPS, you must add a certificate:
1. Go to Device → Certificate Management → Certificates → Device Certificates and click Import at the bottom.

2. Fill in the form with the information about your certificate. It can be a Local or SCEP certificate. You also can (but do not have to) import a private key file, in which case you will have to enter the passphrase, too.

3. After you are done, click OK to import your certificate.
Configure GlobalProtect Gateway
1. Select the Network tab.
2. Go to GlobalProtect → Gateways.
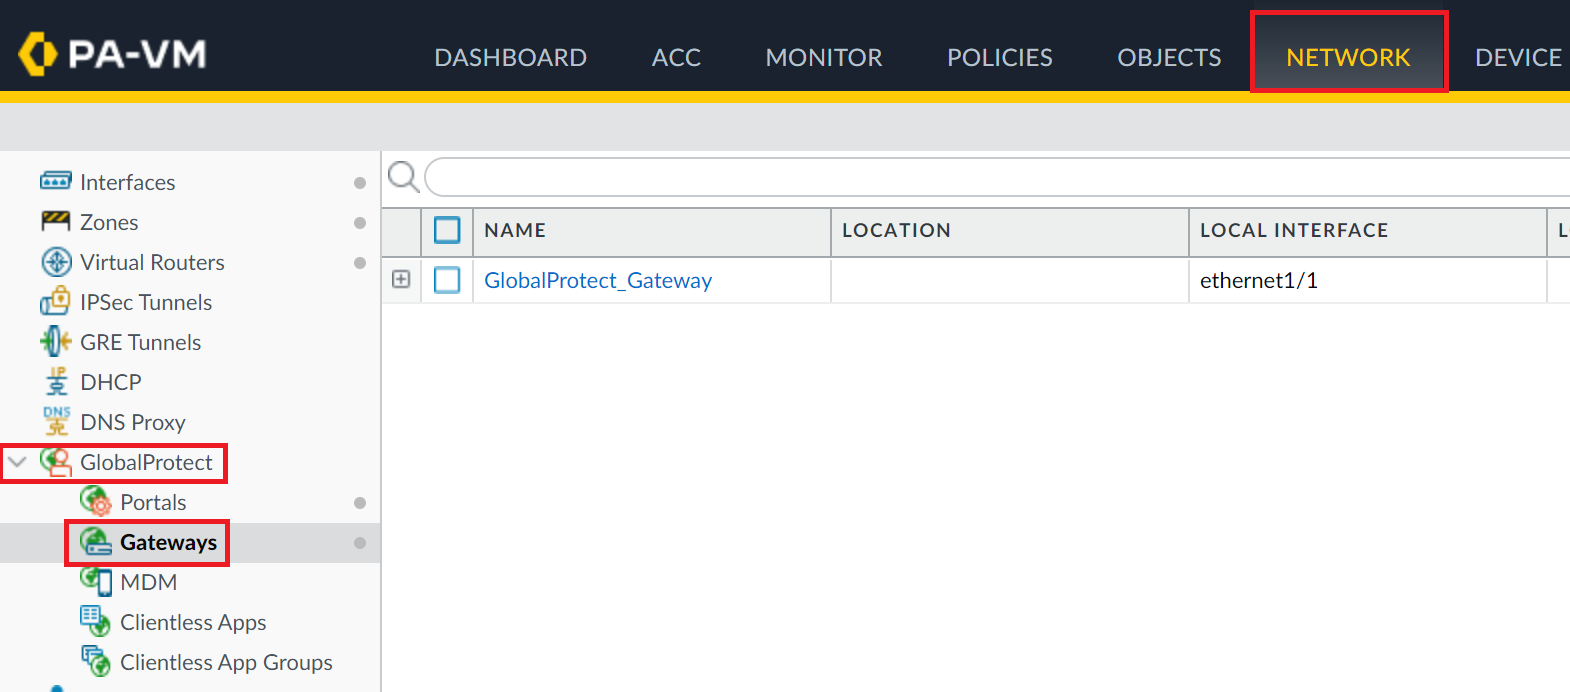
3. Click your GlobalProtect Gateway profile name to open its properties.
4. In the newly opened window, select the Authentication tab.
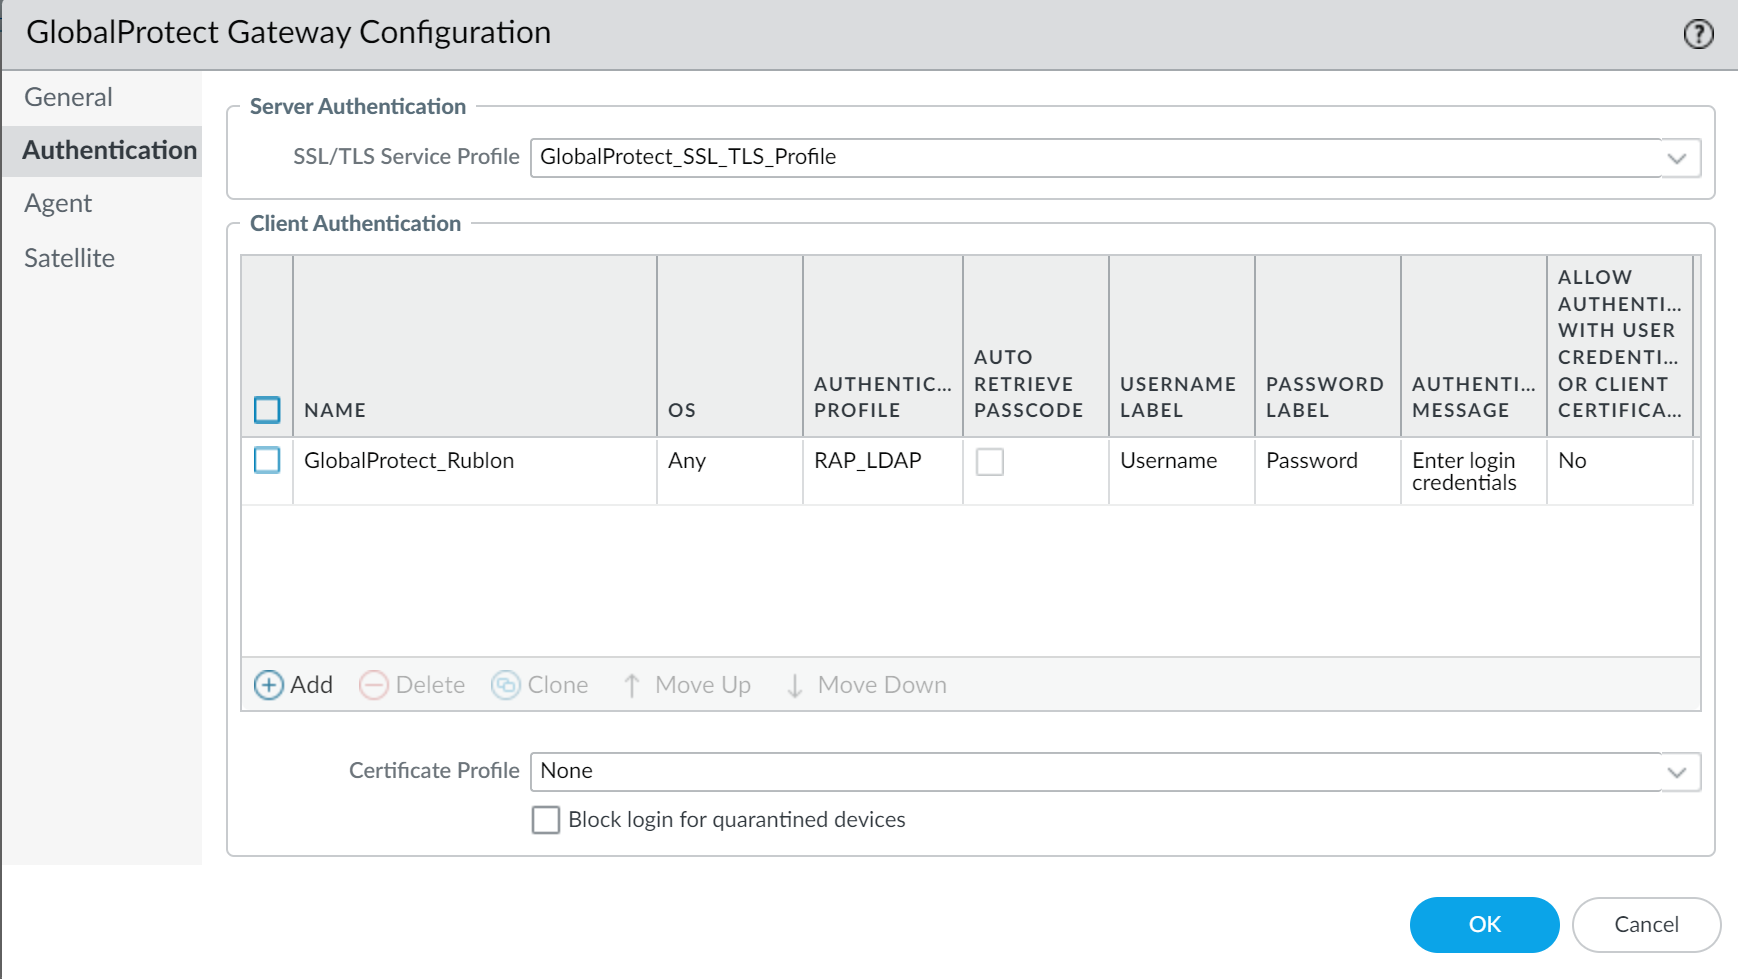
5. Depending on your configuration, click the current entry under Client Authentication to modify it or create a new one by clicking the Add button.
6. Fill in the Client Authentication form with the following information.
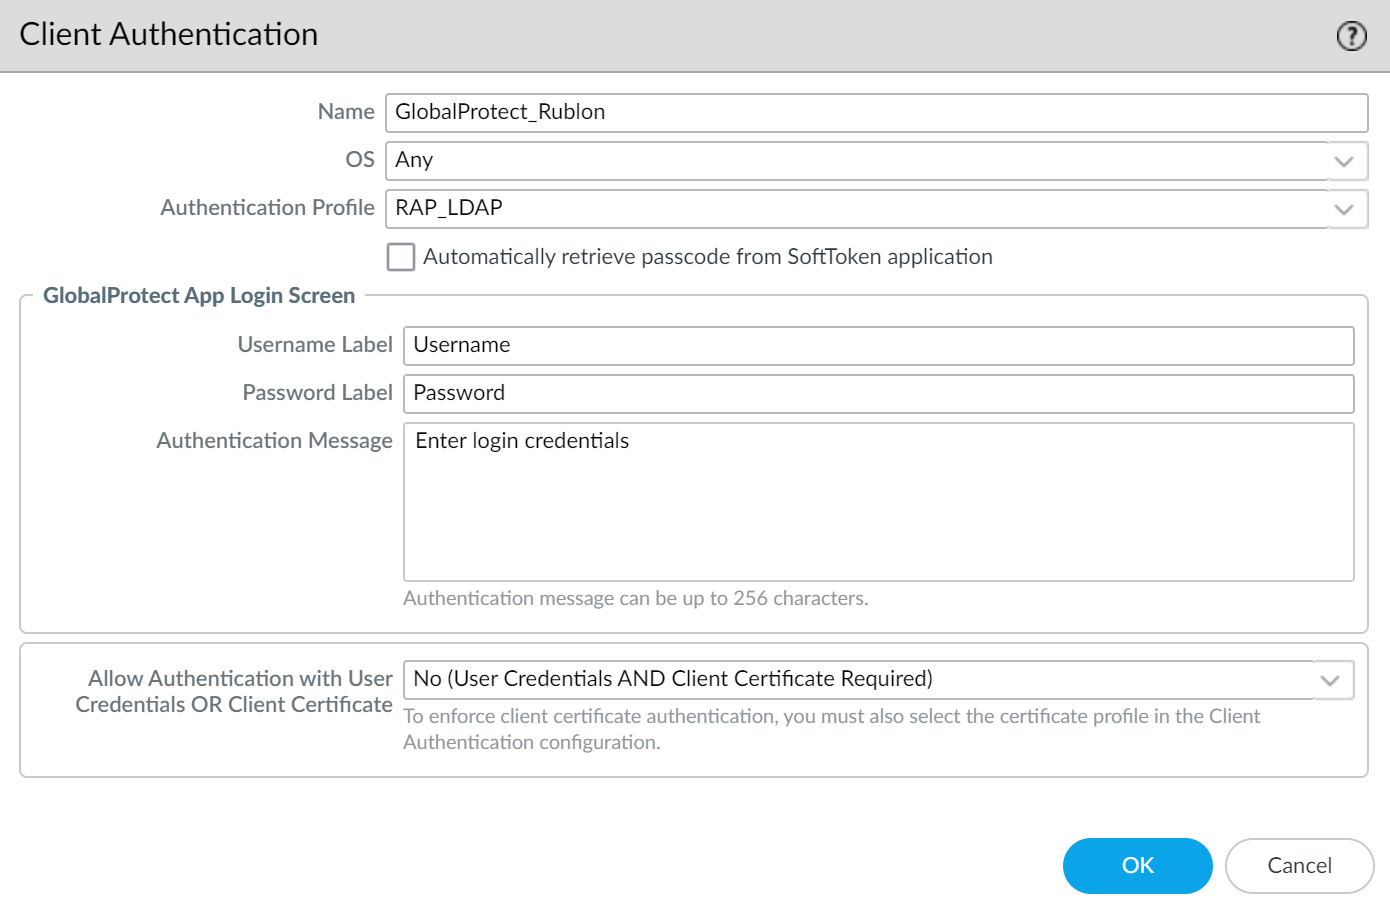
| Name | Enter a descriptive name, e.g., GlobalProtect_Rublon. |
| OS | Any |
| Authentication Profile | Select the Authentication Profile you have created before. |
7. Click OK to save Client Authentication information.
8. Click OK to save your choices and finish your GlobalProtect Gateway configuration.
Configure GlobalProtect Portal
1. Select the Network tab and then go to GlobalProtect → Portals.
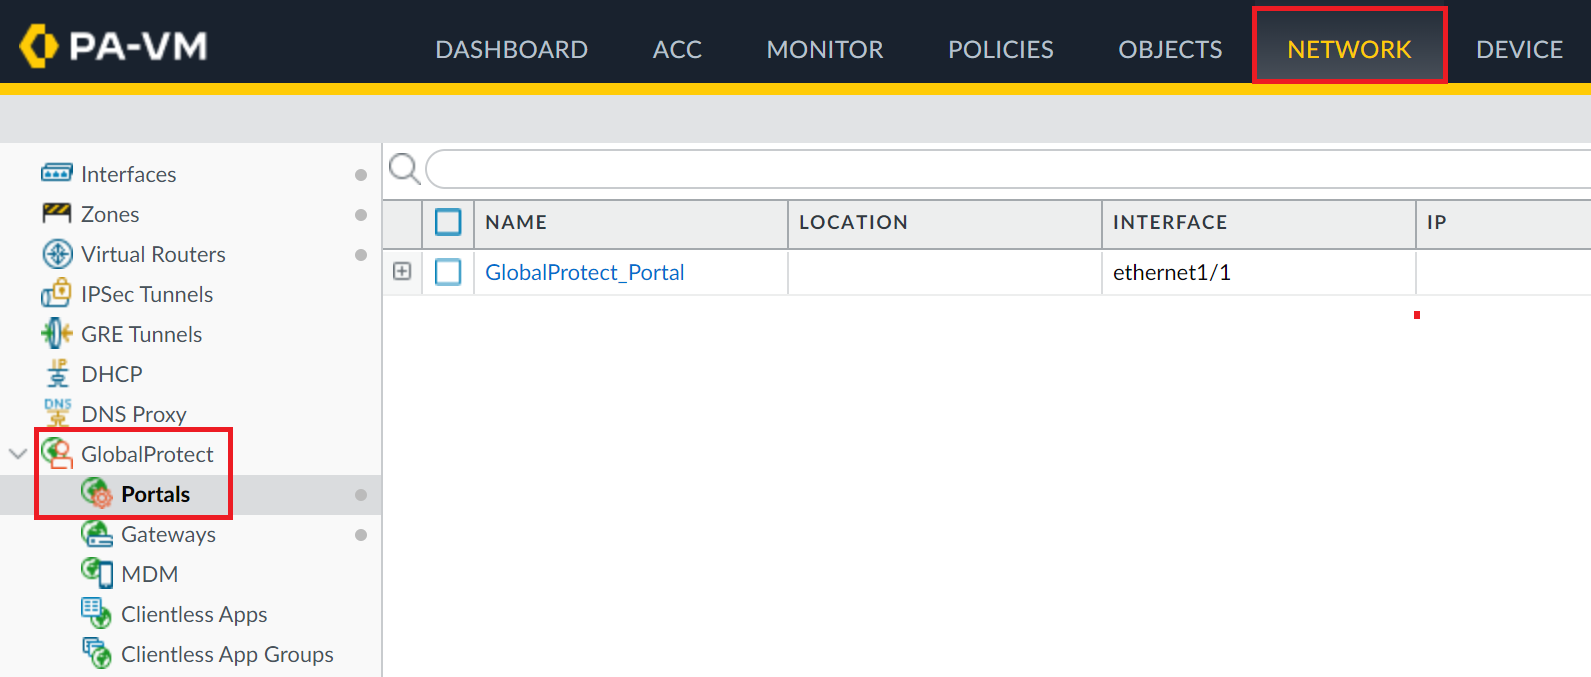
2. Click your GlobalProtect Portal to open the properties window.
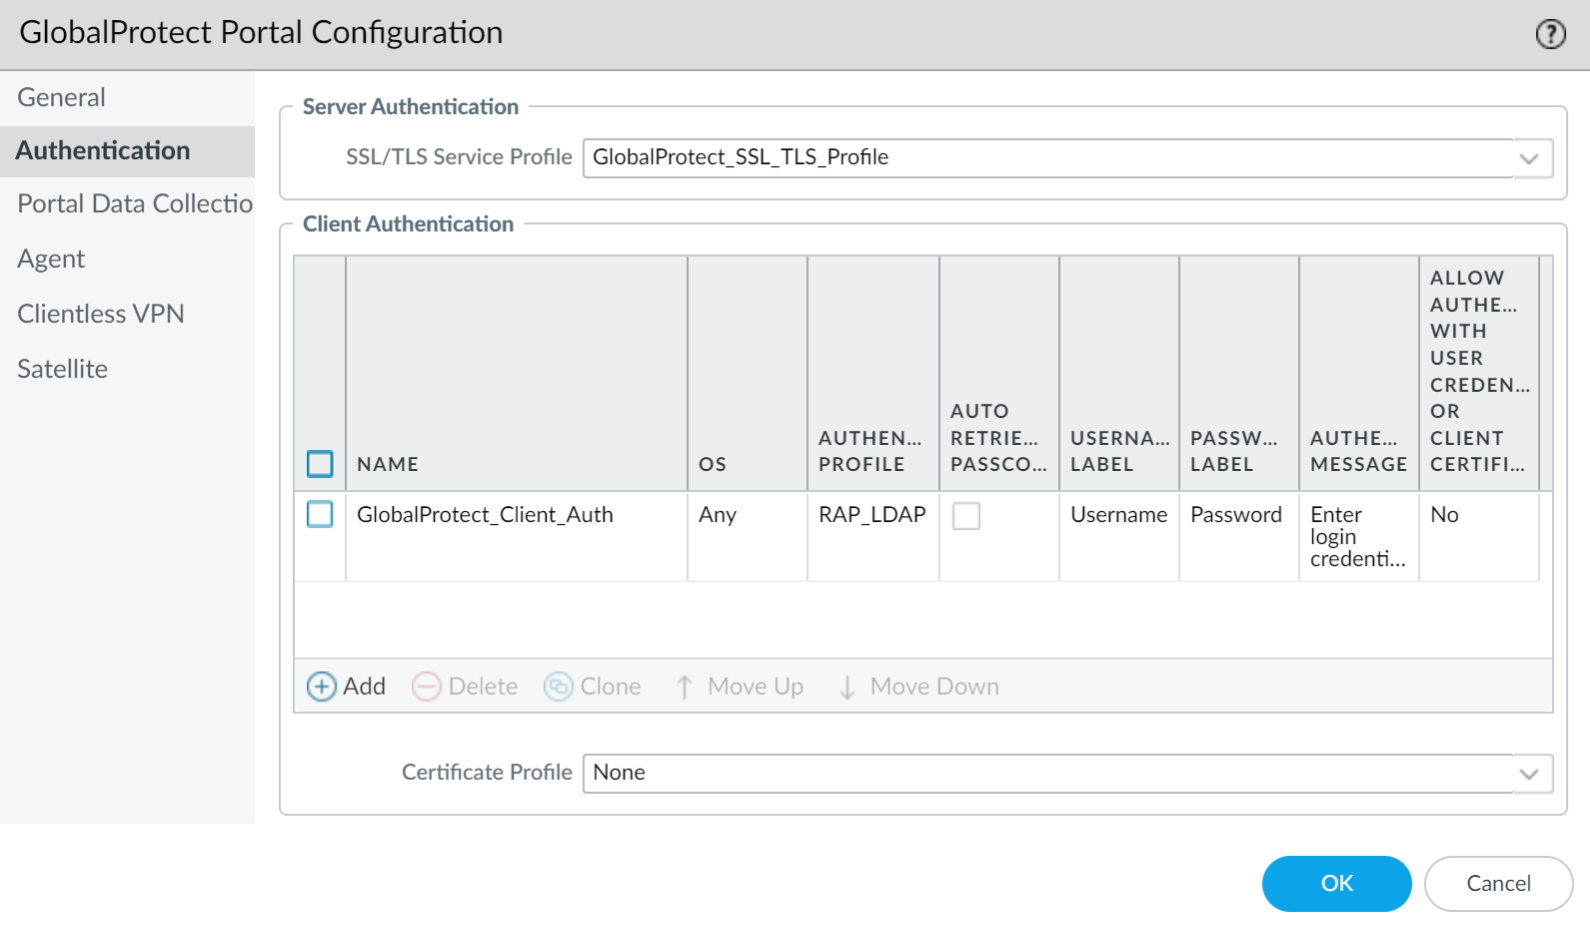
3. In the new window, select the Authentication tab and click the current entry under Client Authentication to modify it or create a new one by clicking the Add button.
4. Fill in the form. Refer to the following image and table.
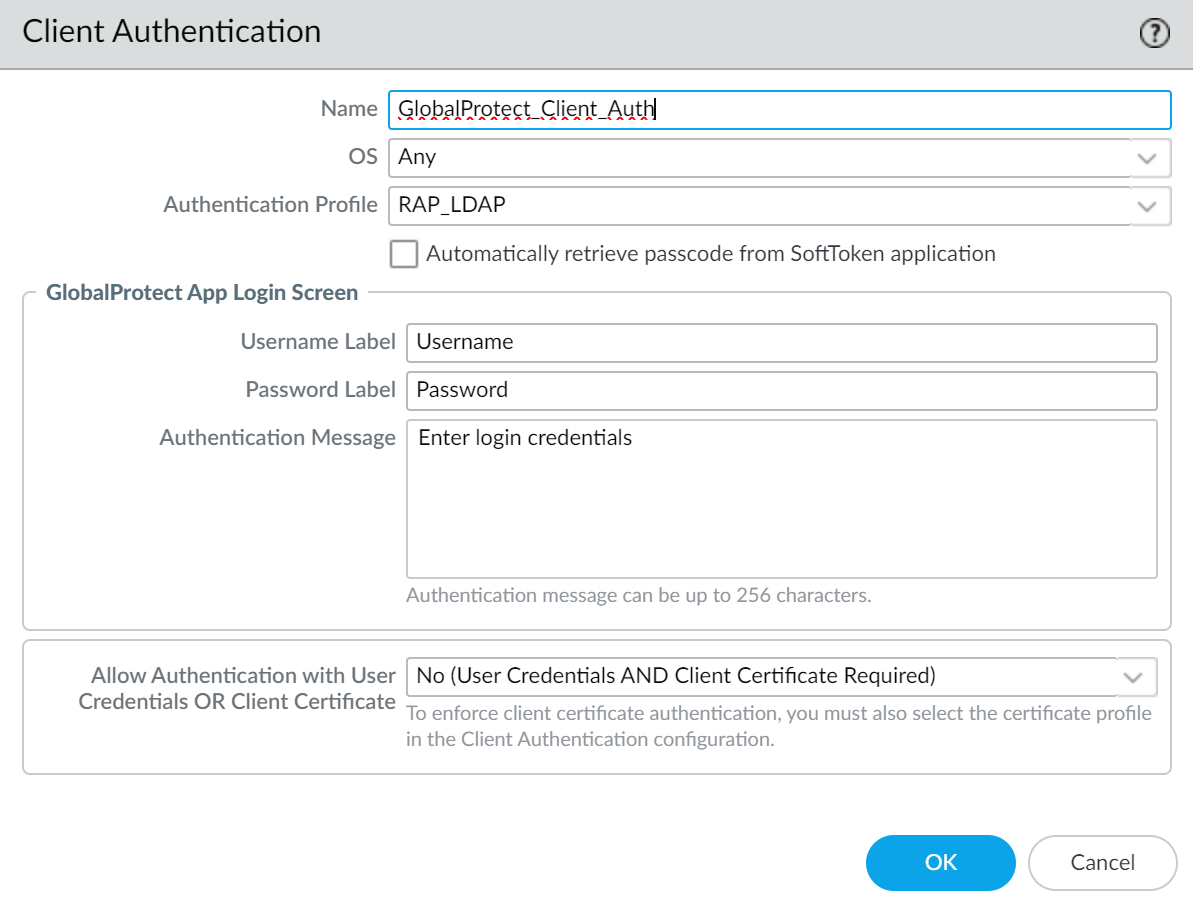
| Name | Enter a descriptive name, e.g., GlobalProtect_Rublon. |
| OS | Any |
| Authentication Profile | Select the Authentication Profile you have created before. |
5. Click OK to save the settings. Then, click OK again to finish your GlobalProtect Portal configuration.
Commit Your Configuration
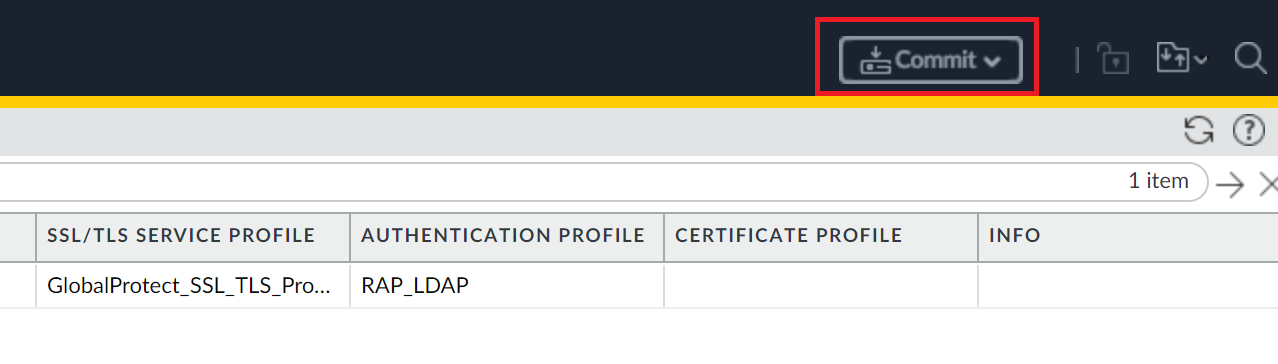
1. Click Commit in the upper-right corner of the administrator panel.
2. A new window will open for you to preview changes.
3. Click Commit to make your changes take effect.
Log in to Palo Alto GlobalProtect with LDAP / LDAPS and Rublon MFA
This example portrays connecting via the Palo Alto VPN client with Rublon MFA.
- Mobile Push has been set as the second factor in Rublon Authentication Proxy configuration (AUTH_METHOD was set to push)
- We assume you have already installed and configured the VPN client. To download the client, log in to the GlobalProtect website and download the VPN client. Note that if you configured the GlobalProtect Portal for Rublon MFA, you will be required to undergo Rublon MFA authentication before downloading the client.
To log in to Palo Alto GlobalProtect with Rublon MFA (and test your configuration):
1. Open your VPN client, enter your portal address, and click Connect.
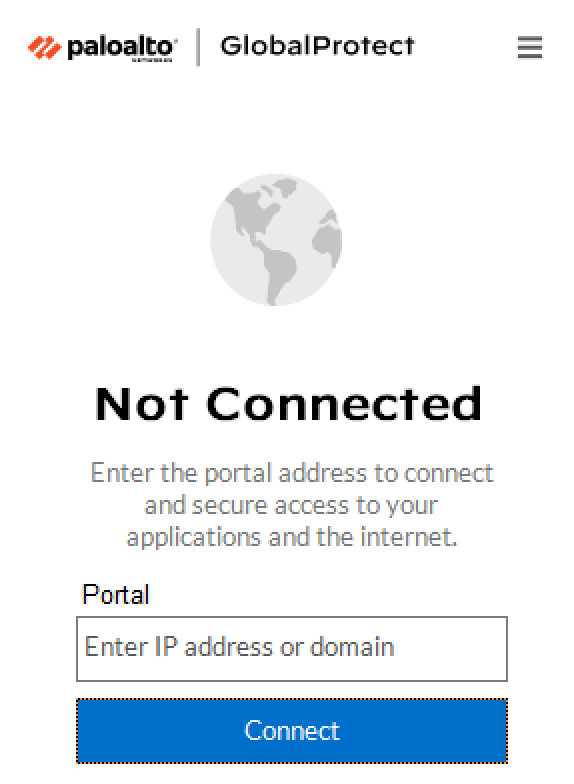
2. Provide your username and password and click Connect.

3. You will receive a push notification on your phone.
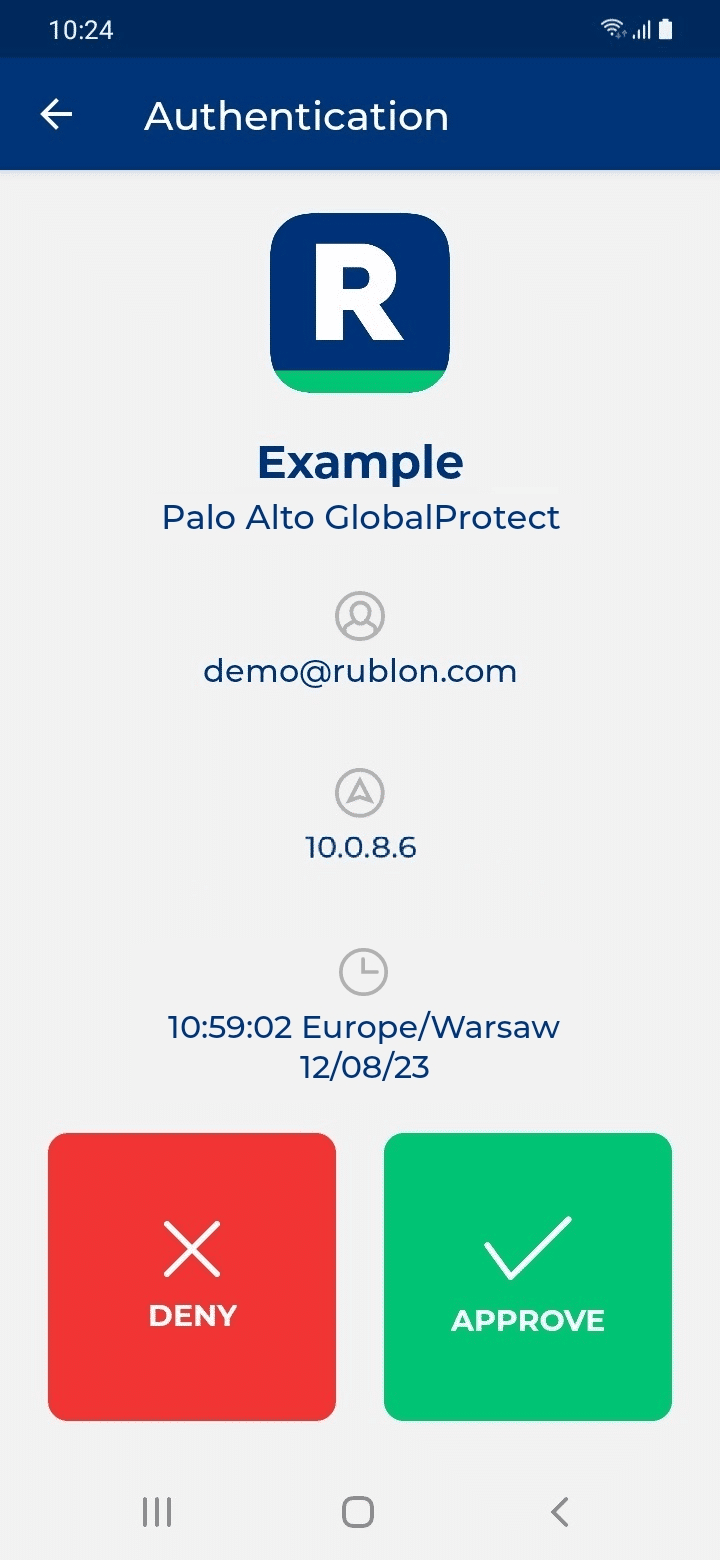
4. Tap APPROVE.
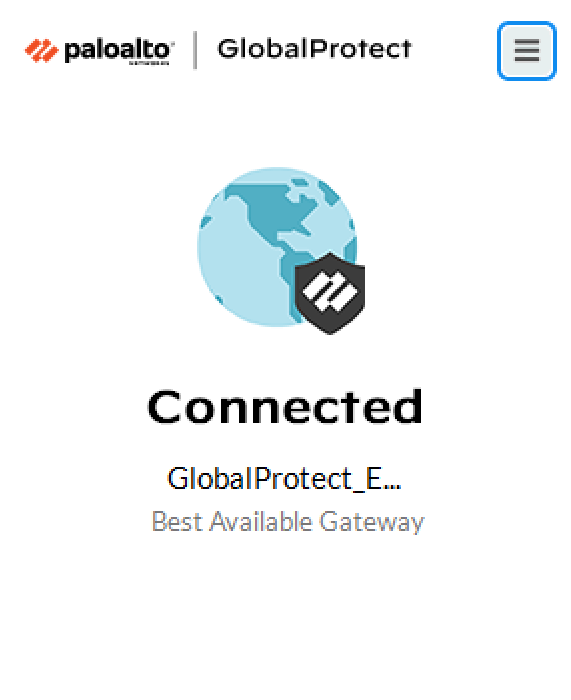
5. You will get connected to Palo Alto GlobalProtect.
Troubleshooting
If you encounter any issues with your Rublon integration, please contact Rublon Support.