Last updated on December 8, 2025
Overview
Demo Video

Supported Authentication Methods
Before You Start
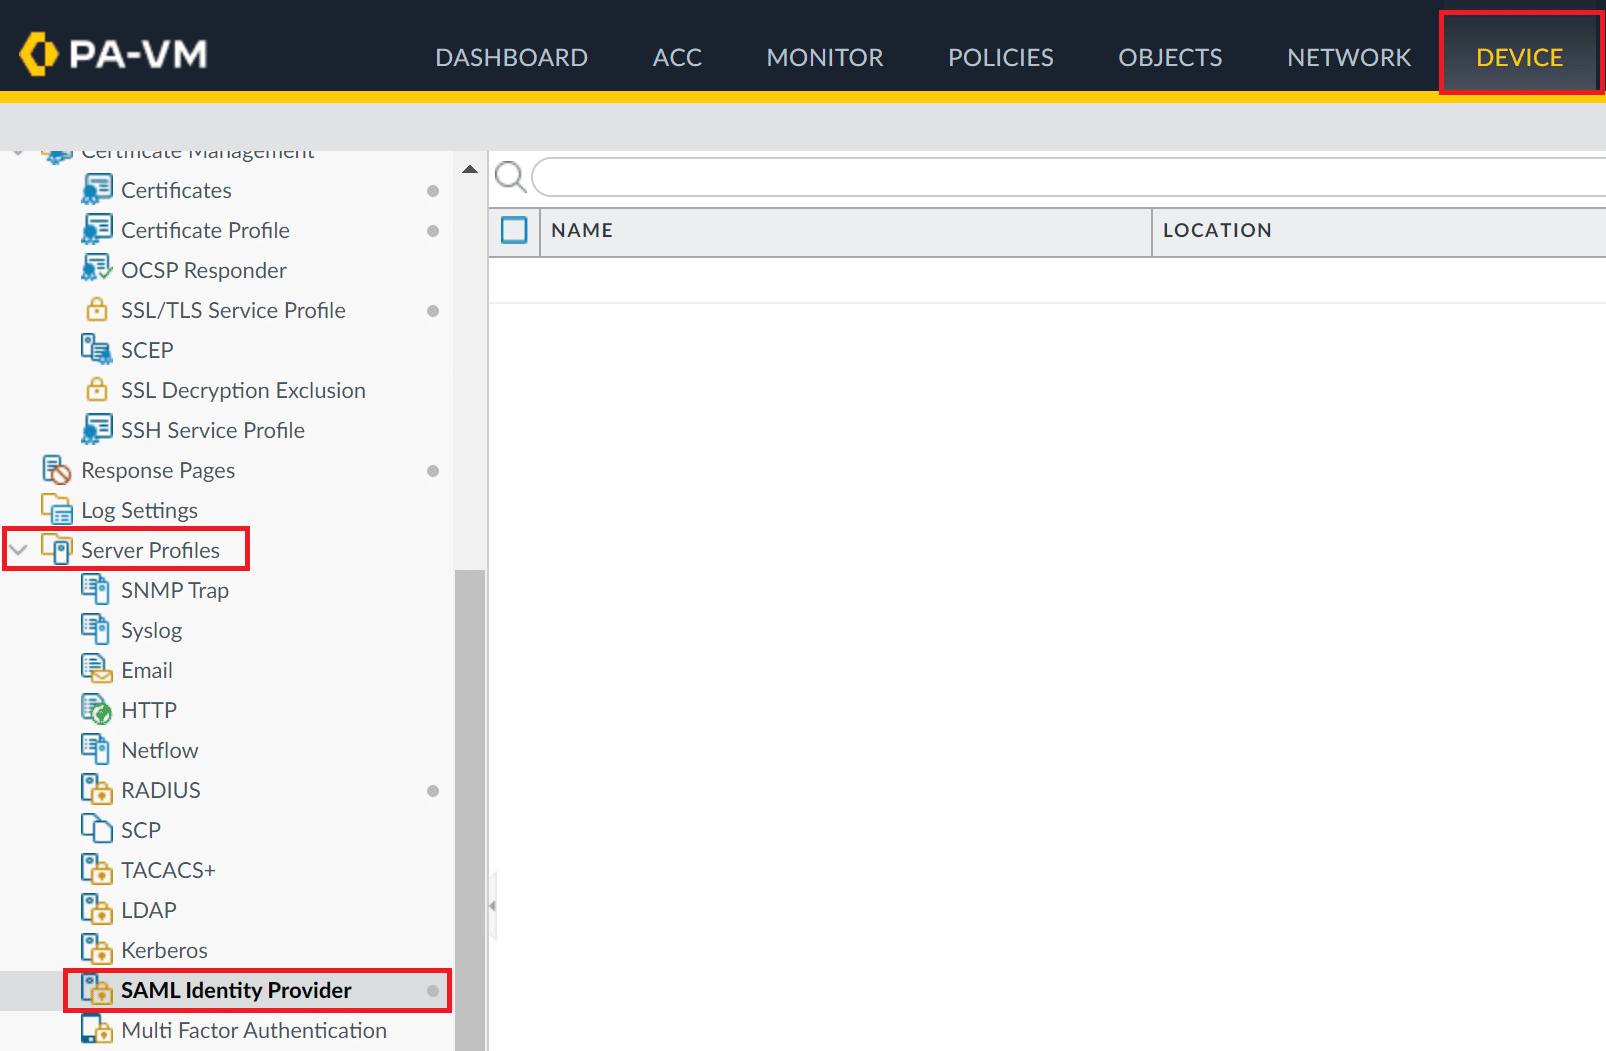
Configuration
Configure SAML Profile
3. Click Import at the bottom of the page and fill in the form. Refer to the following image and table

| Profile Name | A descriptive name for your profile, e.g., RublonAccessGateway. |
| Identity Provider Metadata | Upload the Rublon Access Gateway metadata file in XML format. You can get the metadata.xml file from Applications → Information for configuring applications with Rublon Access Gateway → DOWNLOAD METADATA. |
| Validate Identity Provider Certificate | Check. |
| Validate Metadata Signature | Uncheck. |
| Maximum Clock Skew (sec) | The maximum allowed difference in system clocks between the IdP server and Palo Alto. The default value is 60 seconds and we recommend you do not to change it. |
3. Click OK to finish configuring your SAML identity provider server profile.
Configure Authentication Profile
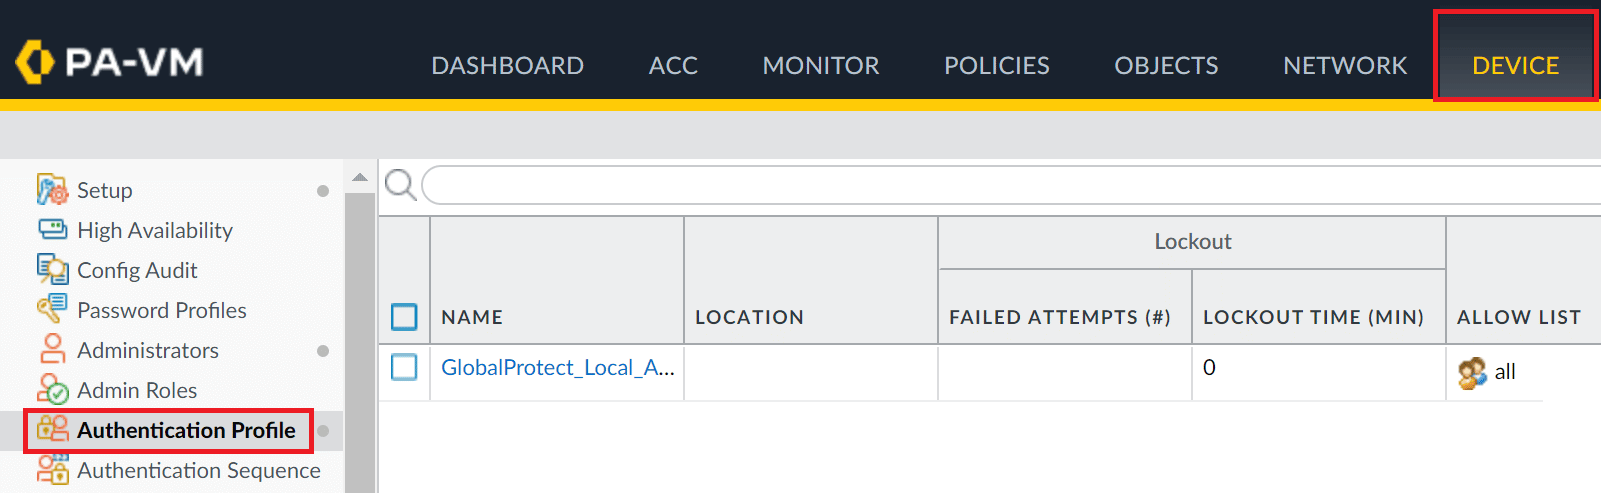
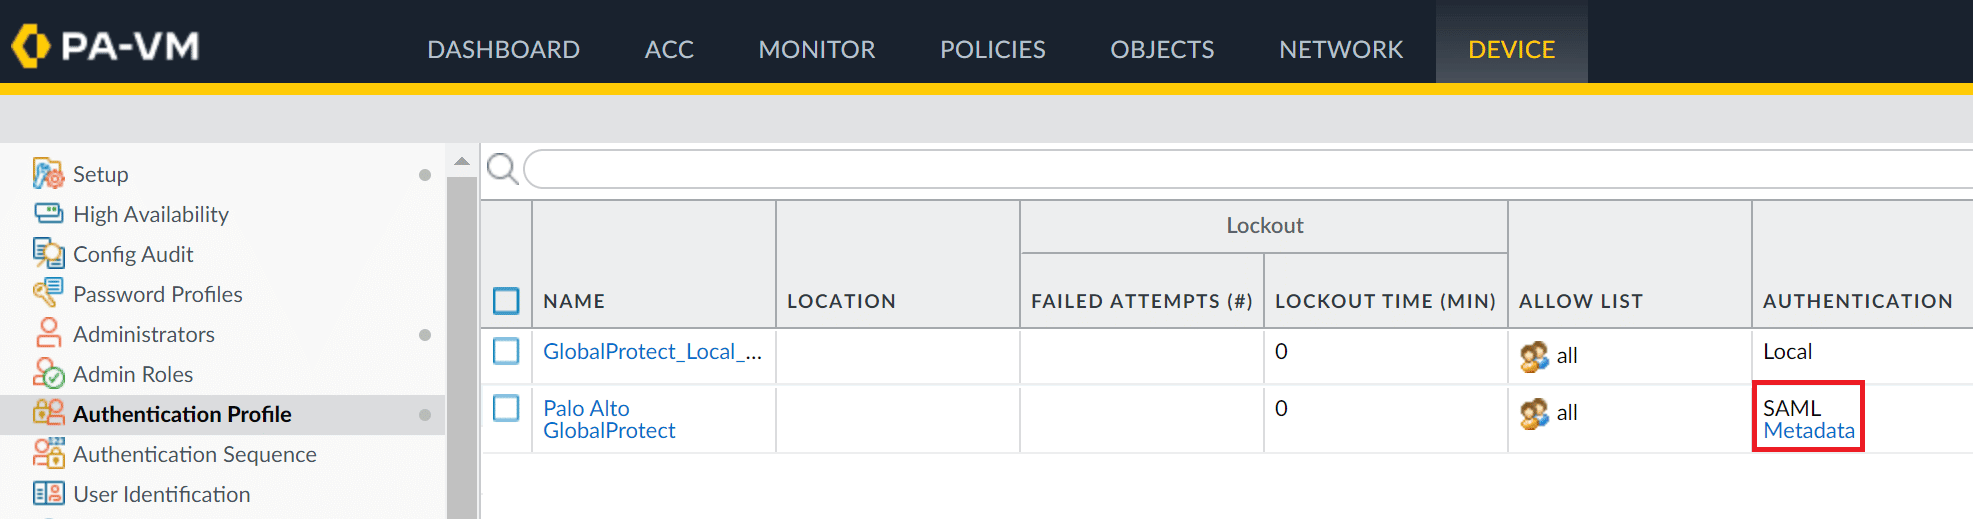
1. Go to Device → Authentication Profile.
IMPORTANT
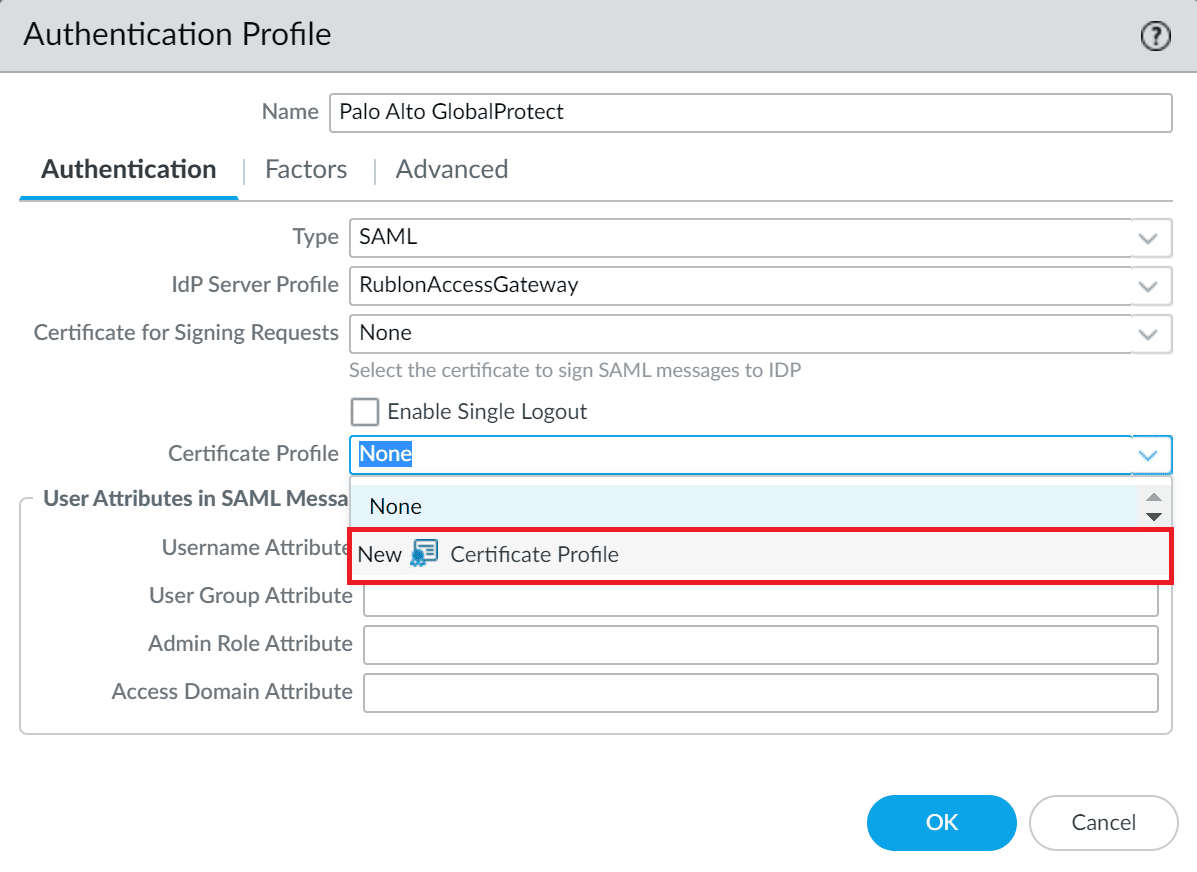
9. A new window will open. In Name, enter a descriptive name for your profile, e.g., Palo Alto GlobalProtect.
10. Leave Username Field as None.
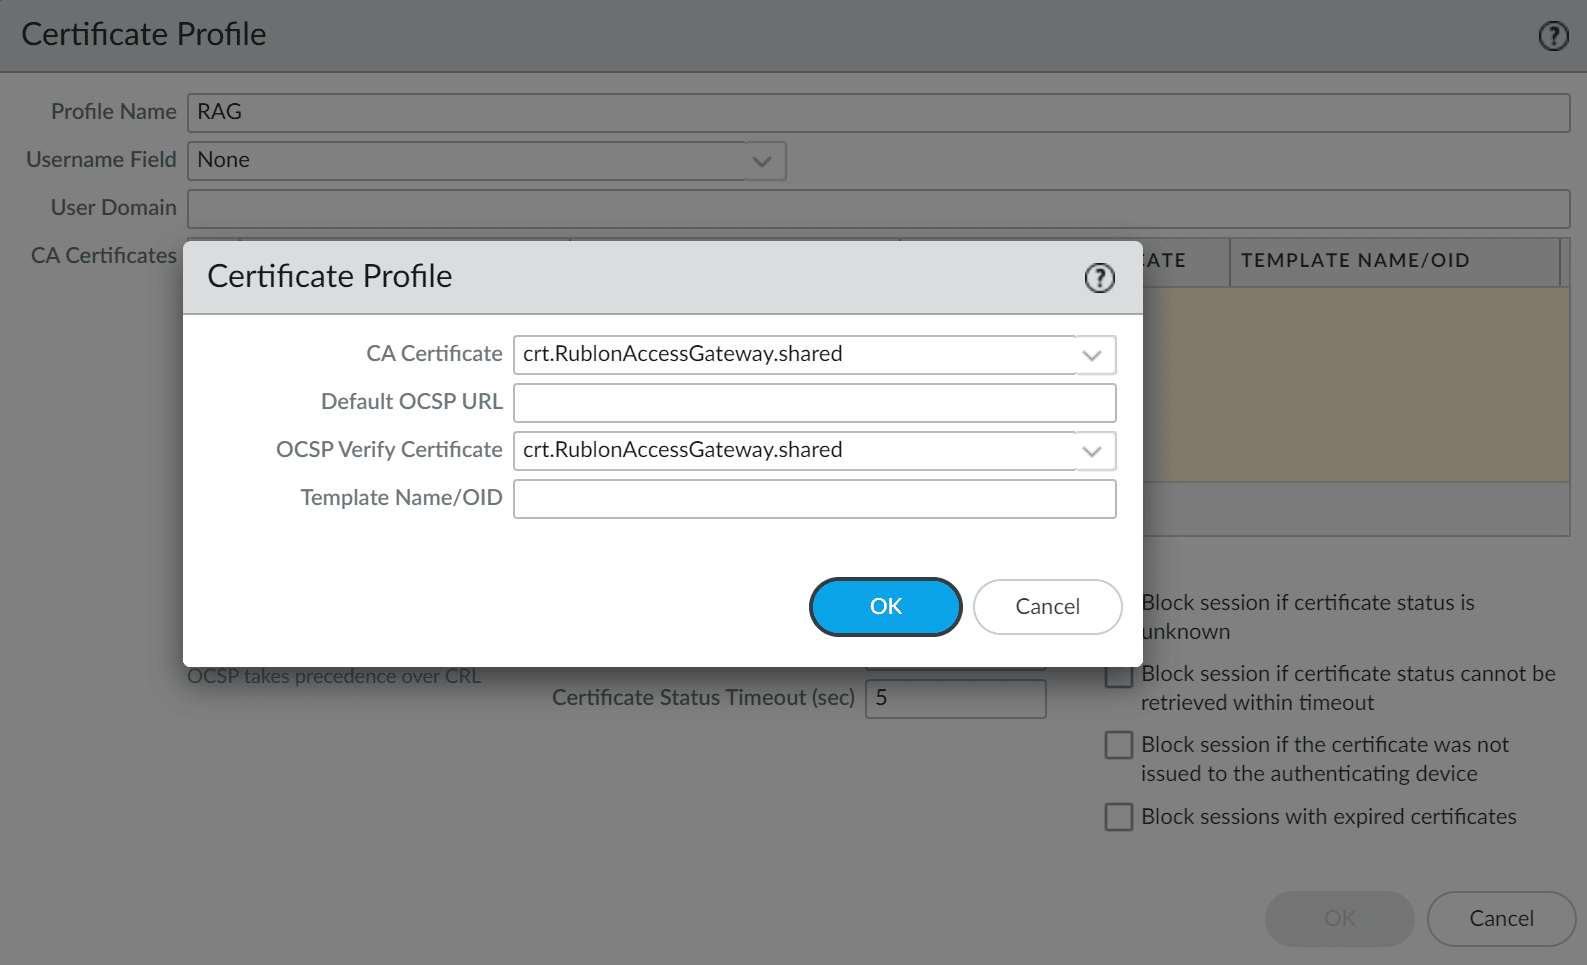
11. Under CA Certificates, click Add. Then, select the certificate imported from Rublon Access Gateway in the CA Certificate and OCSP Verify Certificate fields and click OK.
12. On the Authentication Profile window, click Advanced. In the Allow List, click the Add button and select all.
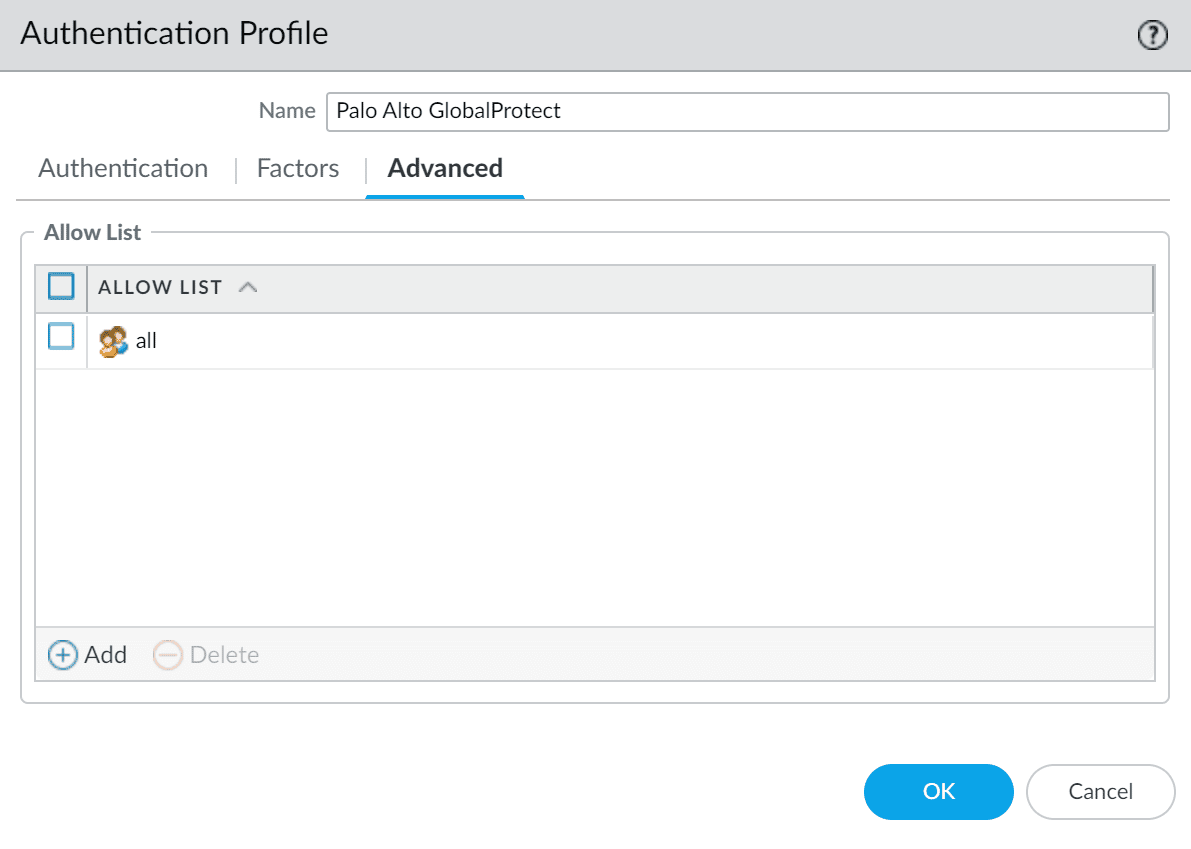
13. Click OK to save your authentication profile.
Configure GlobalProtect Gateway
1. Select the Network tab.
2. Go to GlobalProtect → Gateways.
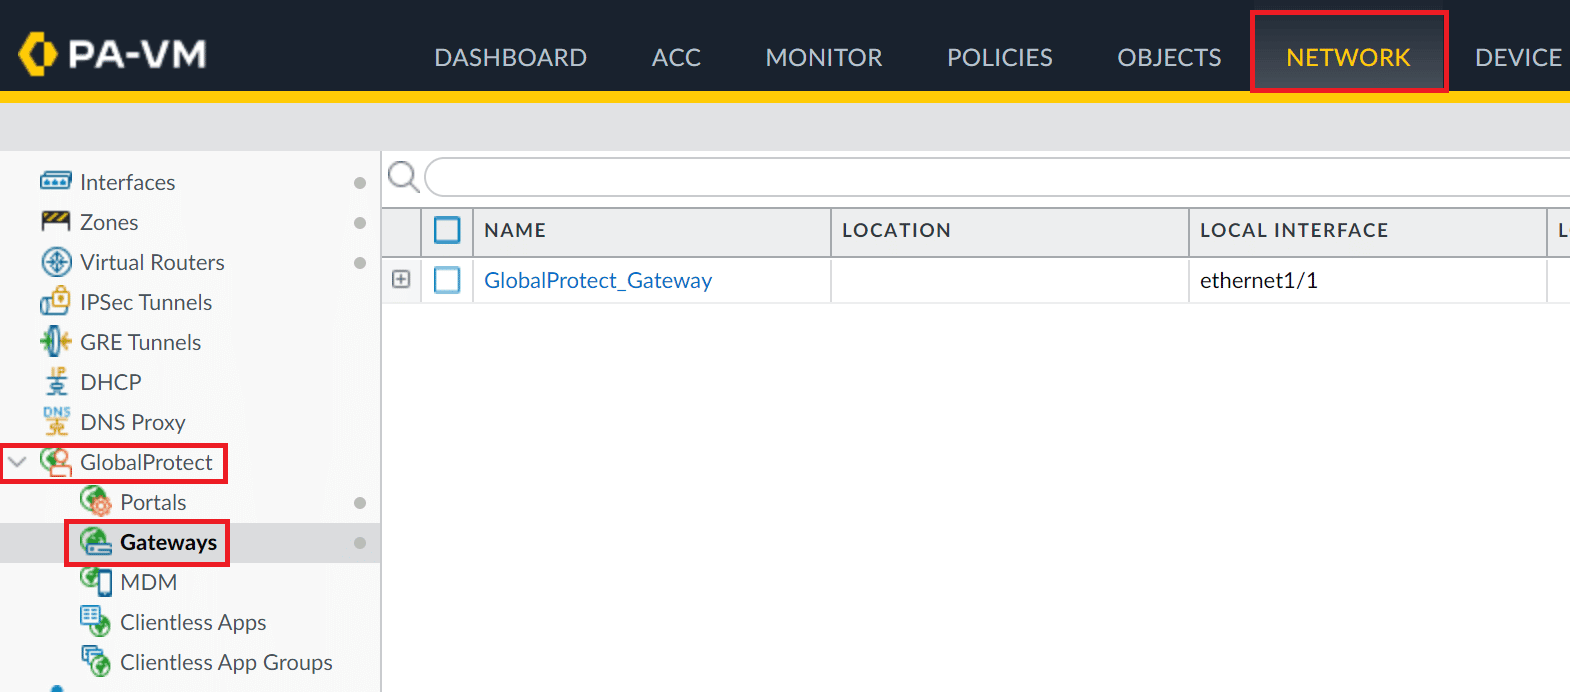
3. Click your GlobalProtect Gateway profile name to open its properties.
4. In the newly-opened window, select the Authentication tab.

5. Depending on your configuration, click the current entry under Client Authentication to modify it or create a new one by clicking the Add button.
6. Fill in the Client Authentication form with the following information.
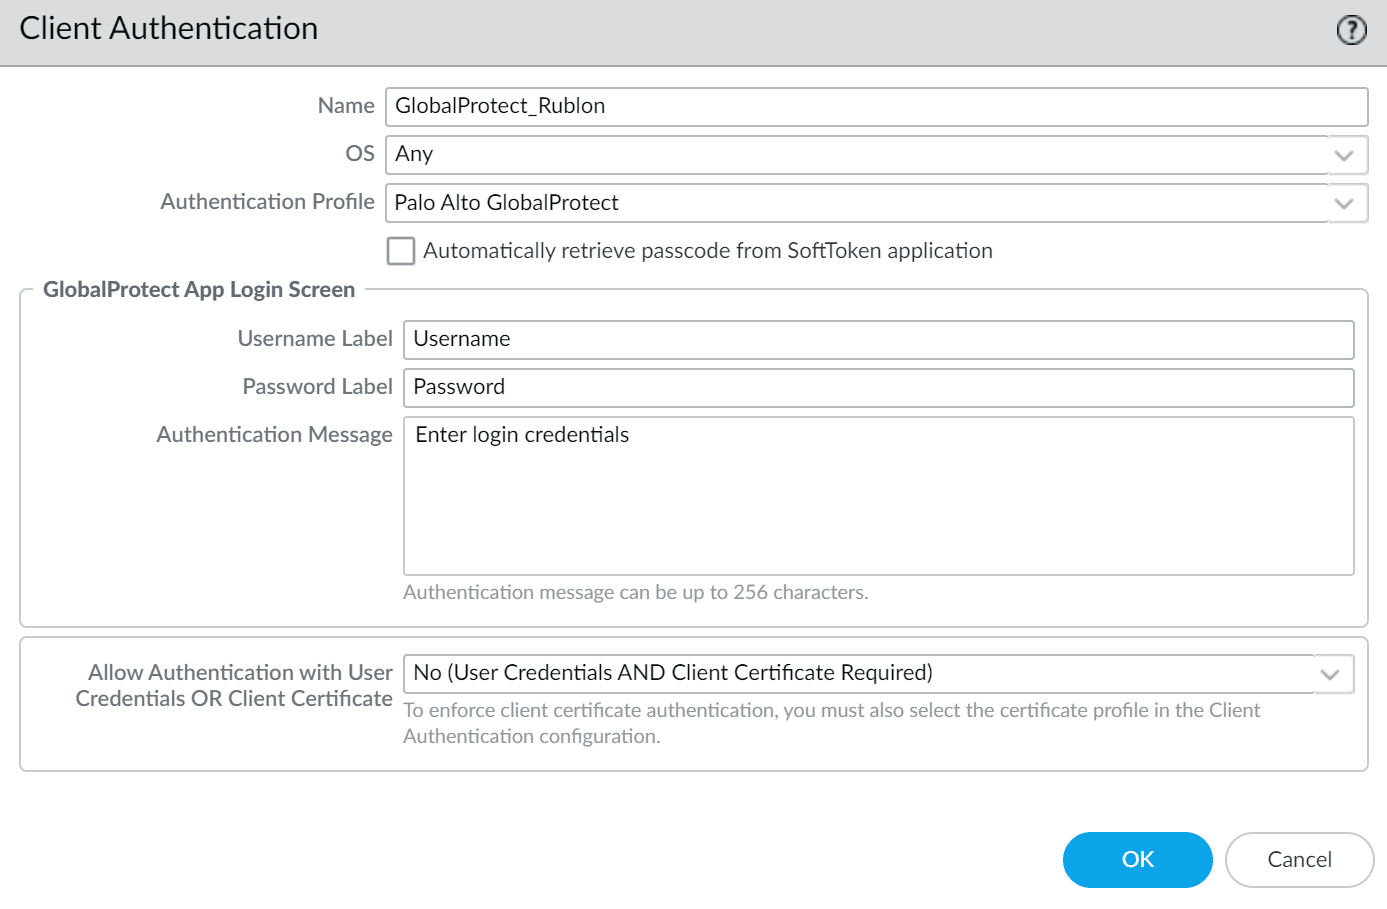
| Name | Enter a descriptive name, e.g., GlobalProtect_Rublon. |
| OS | Any |
| Authentication Profile | Select the Authentication Profile you have created before. |
7. Click OK to save Client Authentication information.
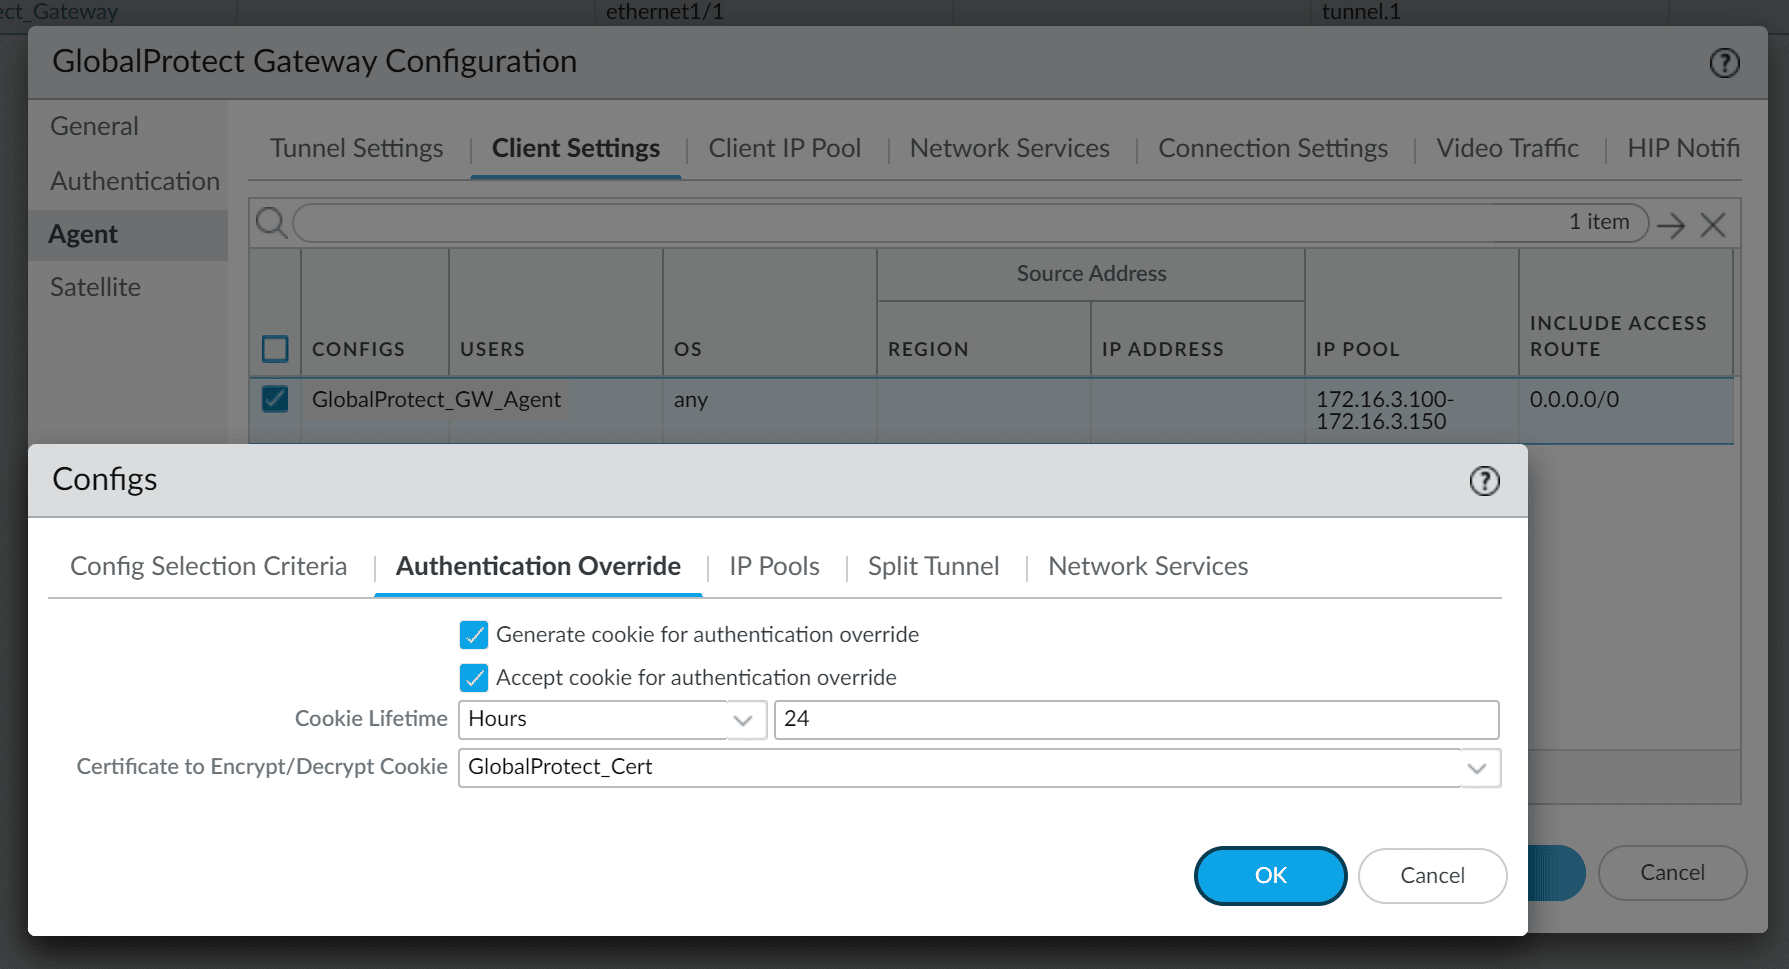
8. (Optional) These settings may be useful for users already connected to the VPN to limit the number of requests sent by Rublon when trying to reconnect.
- Select the Agent tab, and then select the Client Settings tab.
- Select the profile to enter its properties, and go to Authentication Override.
- Check both options:
- Generate cookie for authentication override
- Accept cookie for authentication override (this option requires you to select the SSL certificate imported to GlobalProtect)
- Click OK to save changes.
Configure GlobalProtect Portal
IMPORTANT
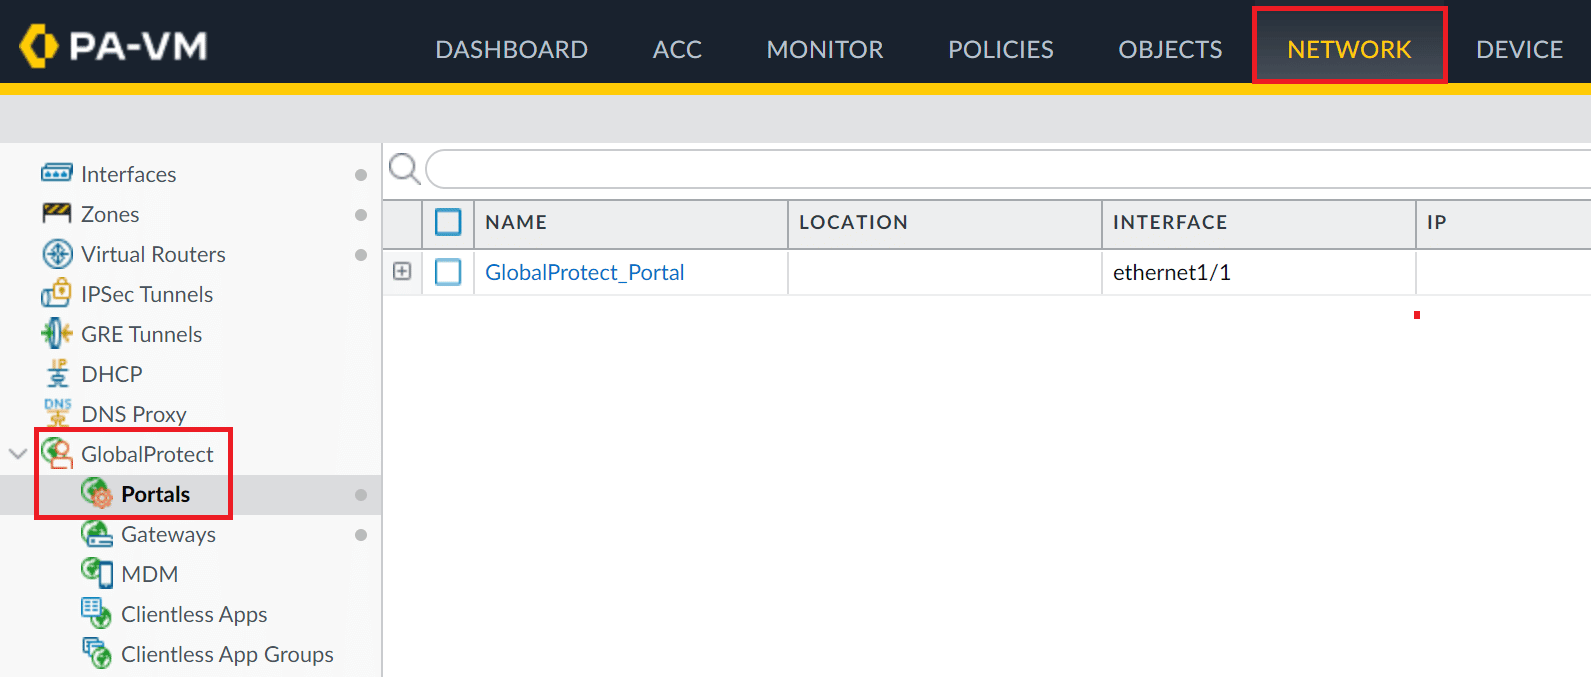
2. Click your GlobalProtect Portal to open the properties window.
3. In the new window, select the Authentication tab and click the current entry under Client Authentication to modify it or create a new one by clicking the Add button.
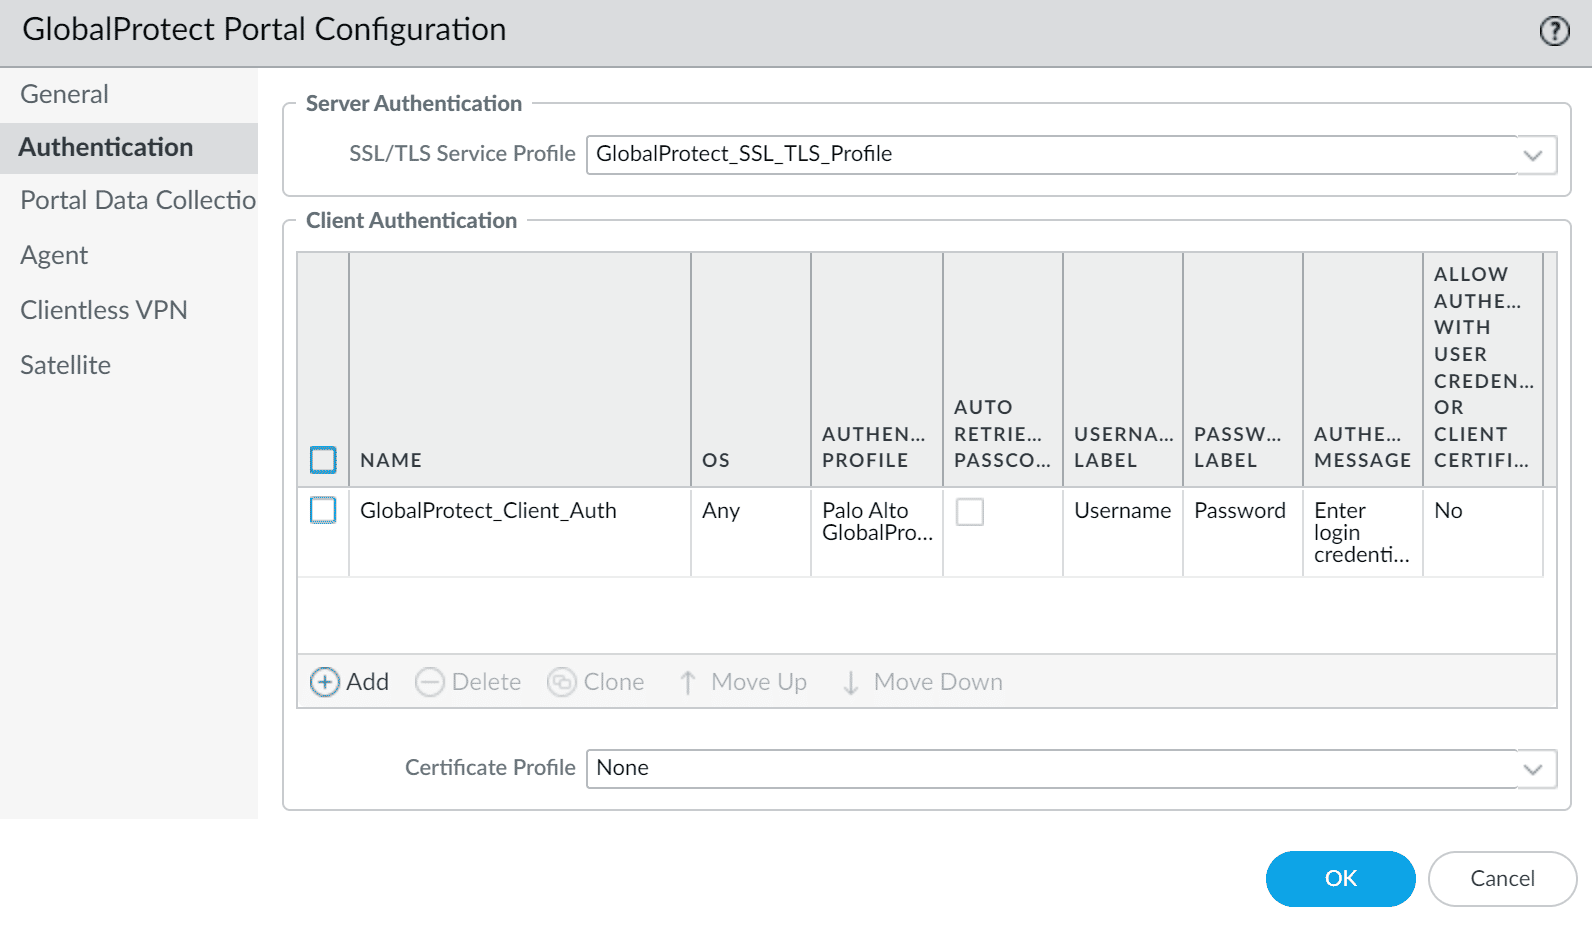
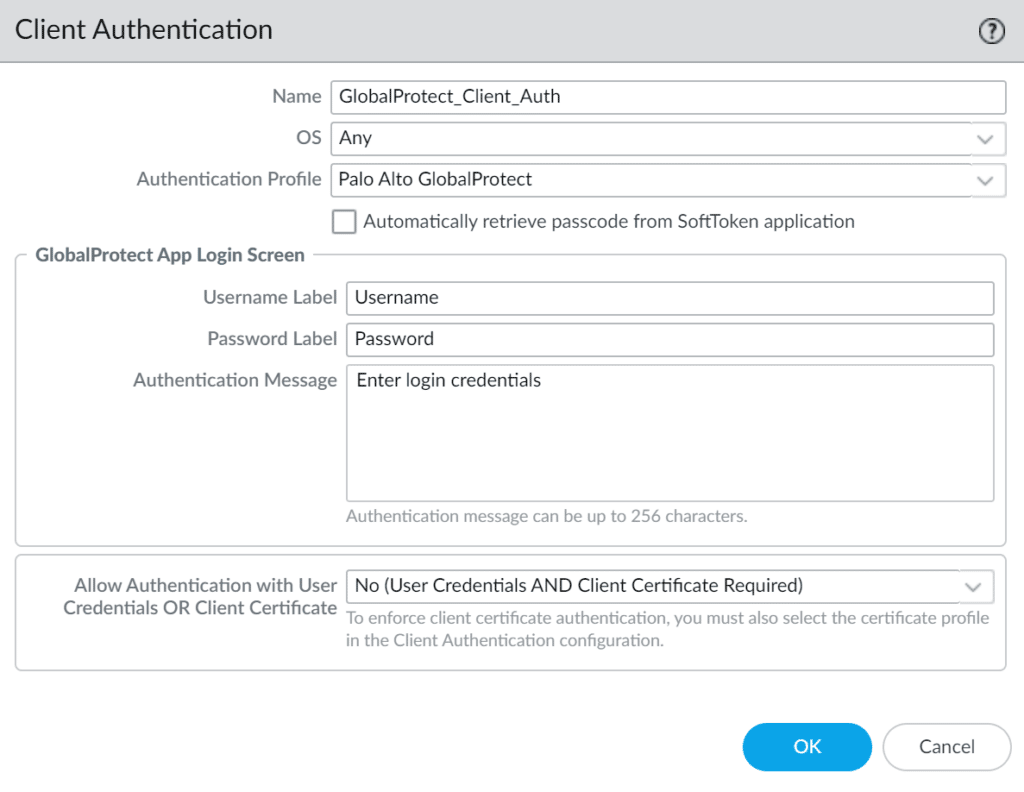
| Name | Enter a descriptive name, e.g., GlobalProtect_Rublon. |
| OS | Any |
| Authentication Profile | Select the Authentication Profile you have created before. |
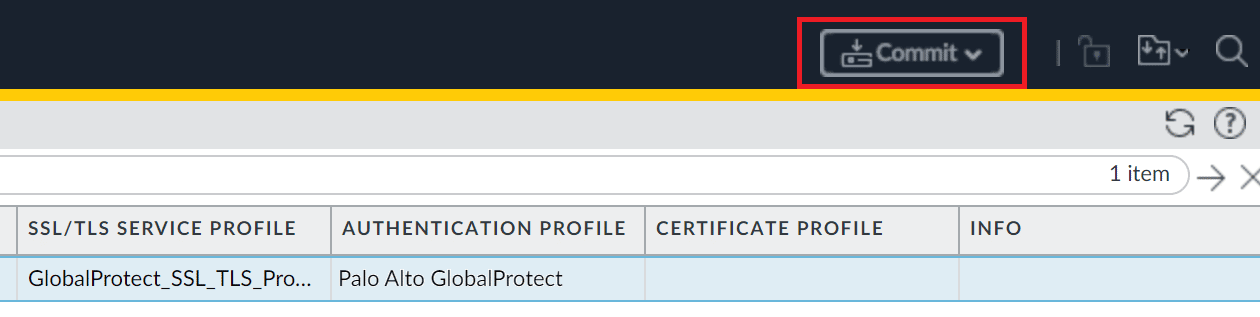
Commit Your Configuration
Add Application to Rublon Access Gateway
Note
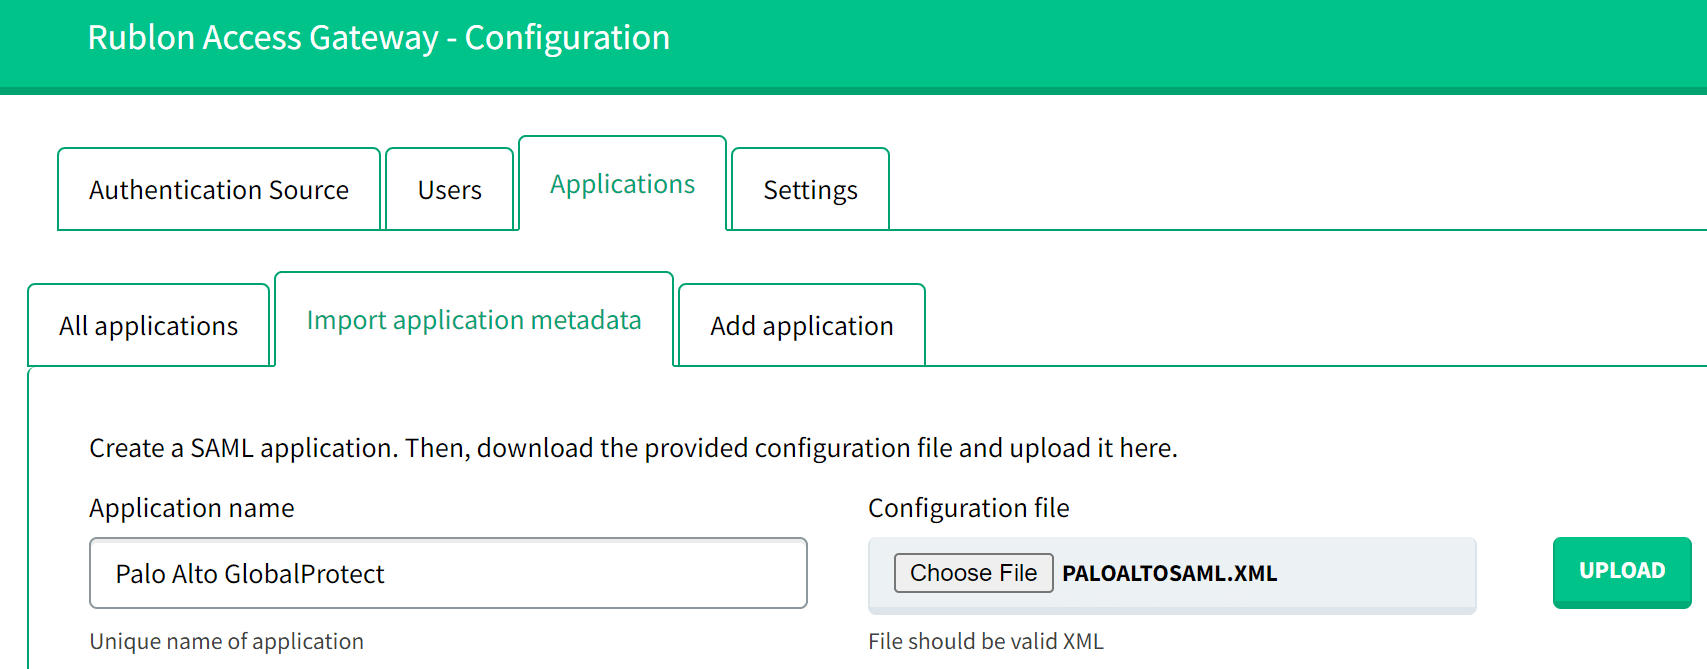
6. In Rublon Access Gateway, go to Applications → Import application metadata.
7. In Application Name, set the name for your application.
Note: This name must be the same as the name of the authentication profile created in Palo Alto GlobalProtect. This is very important. Otherwise, an error will pop up preventing you from adding a new application.
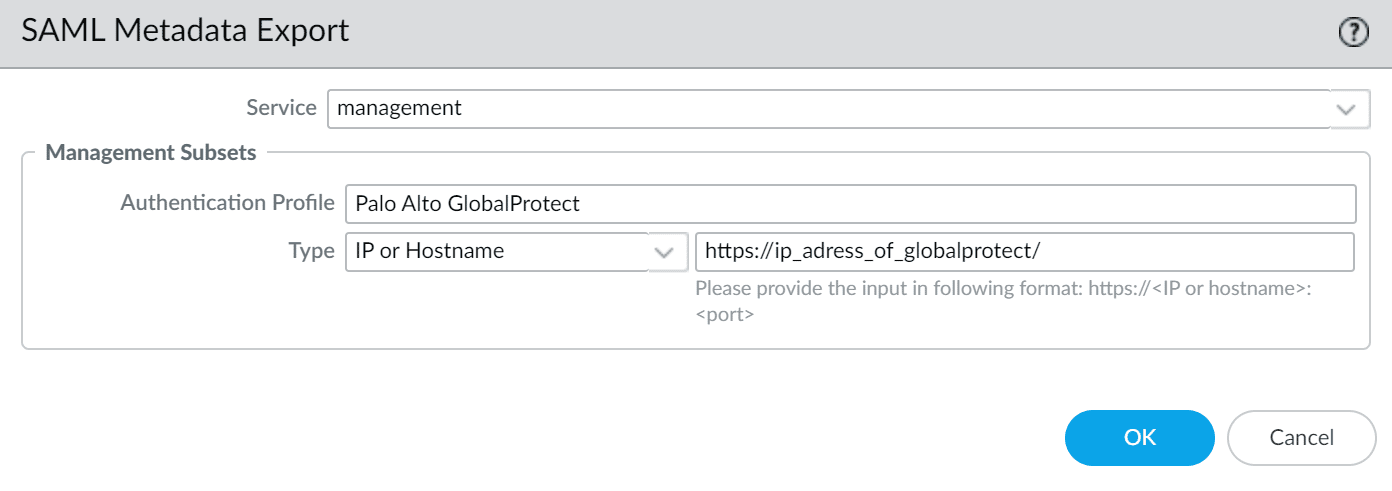
8. Select the Metadata file you downloaded from Palo Alto and click Upload.
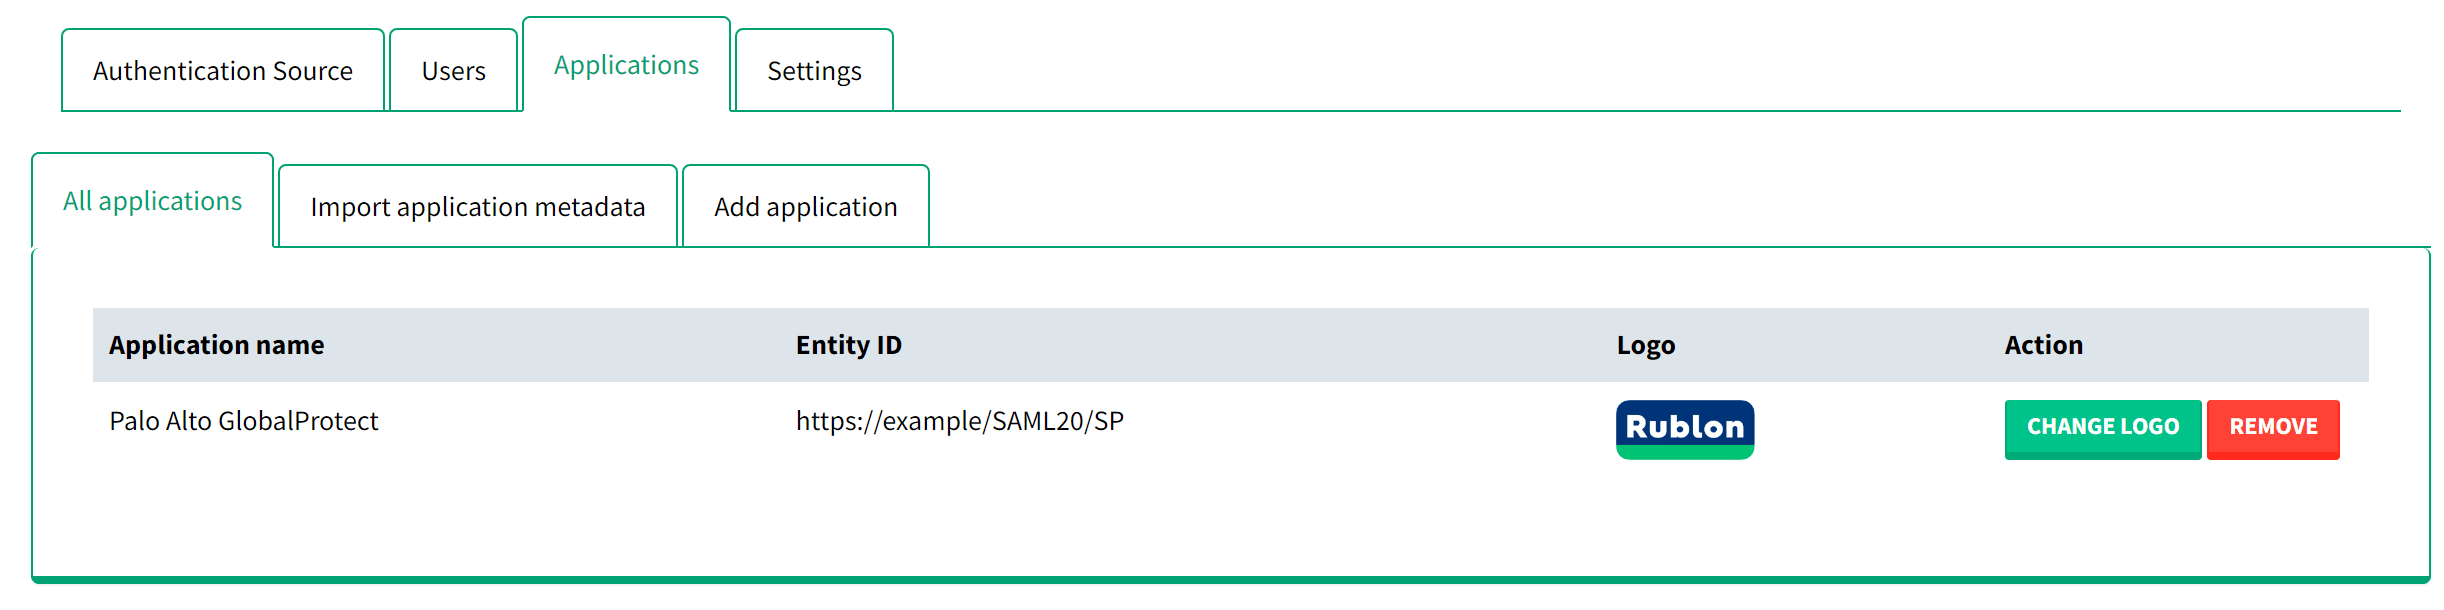
9. Your application will appear on the applications list under the All applications subtab.
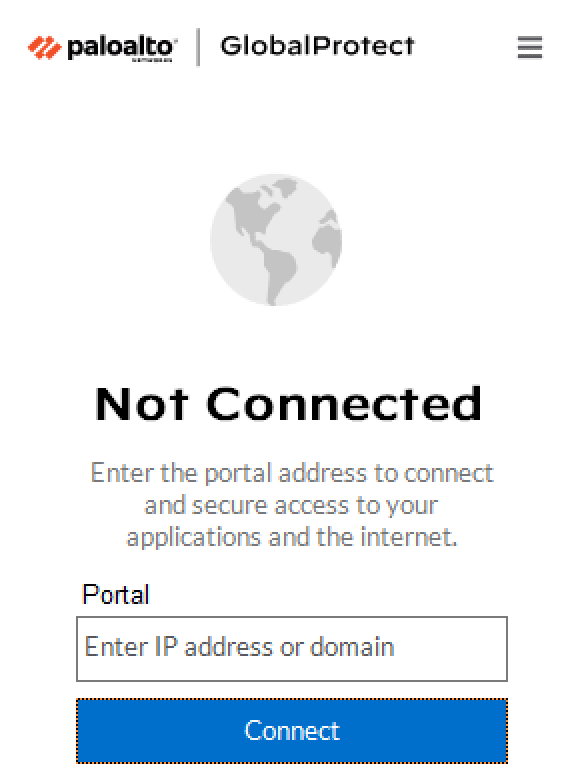
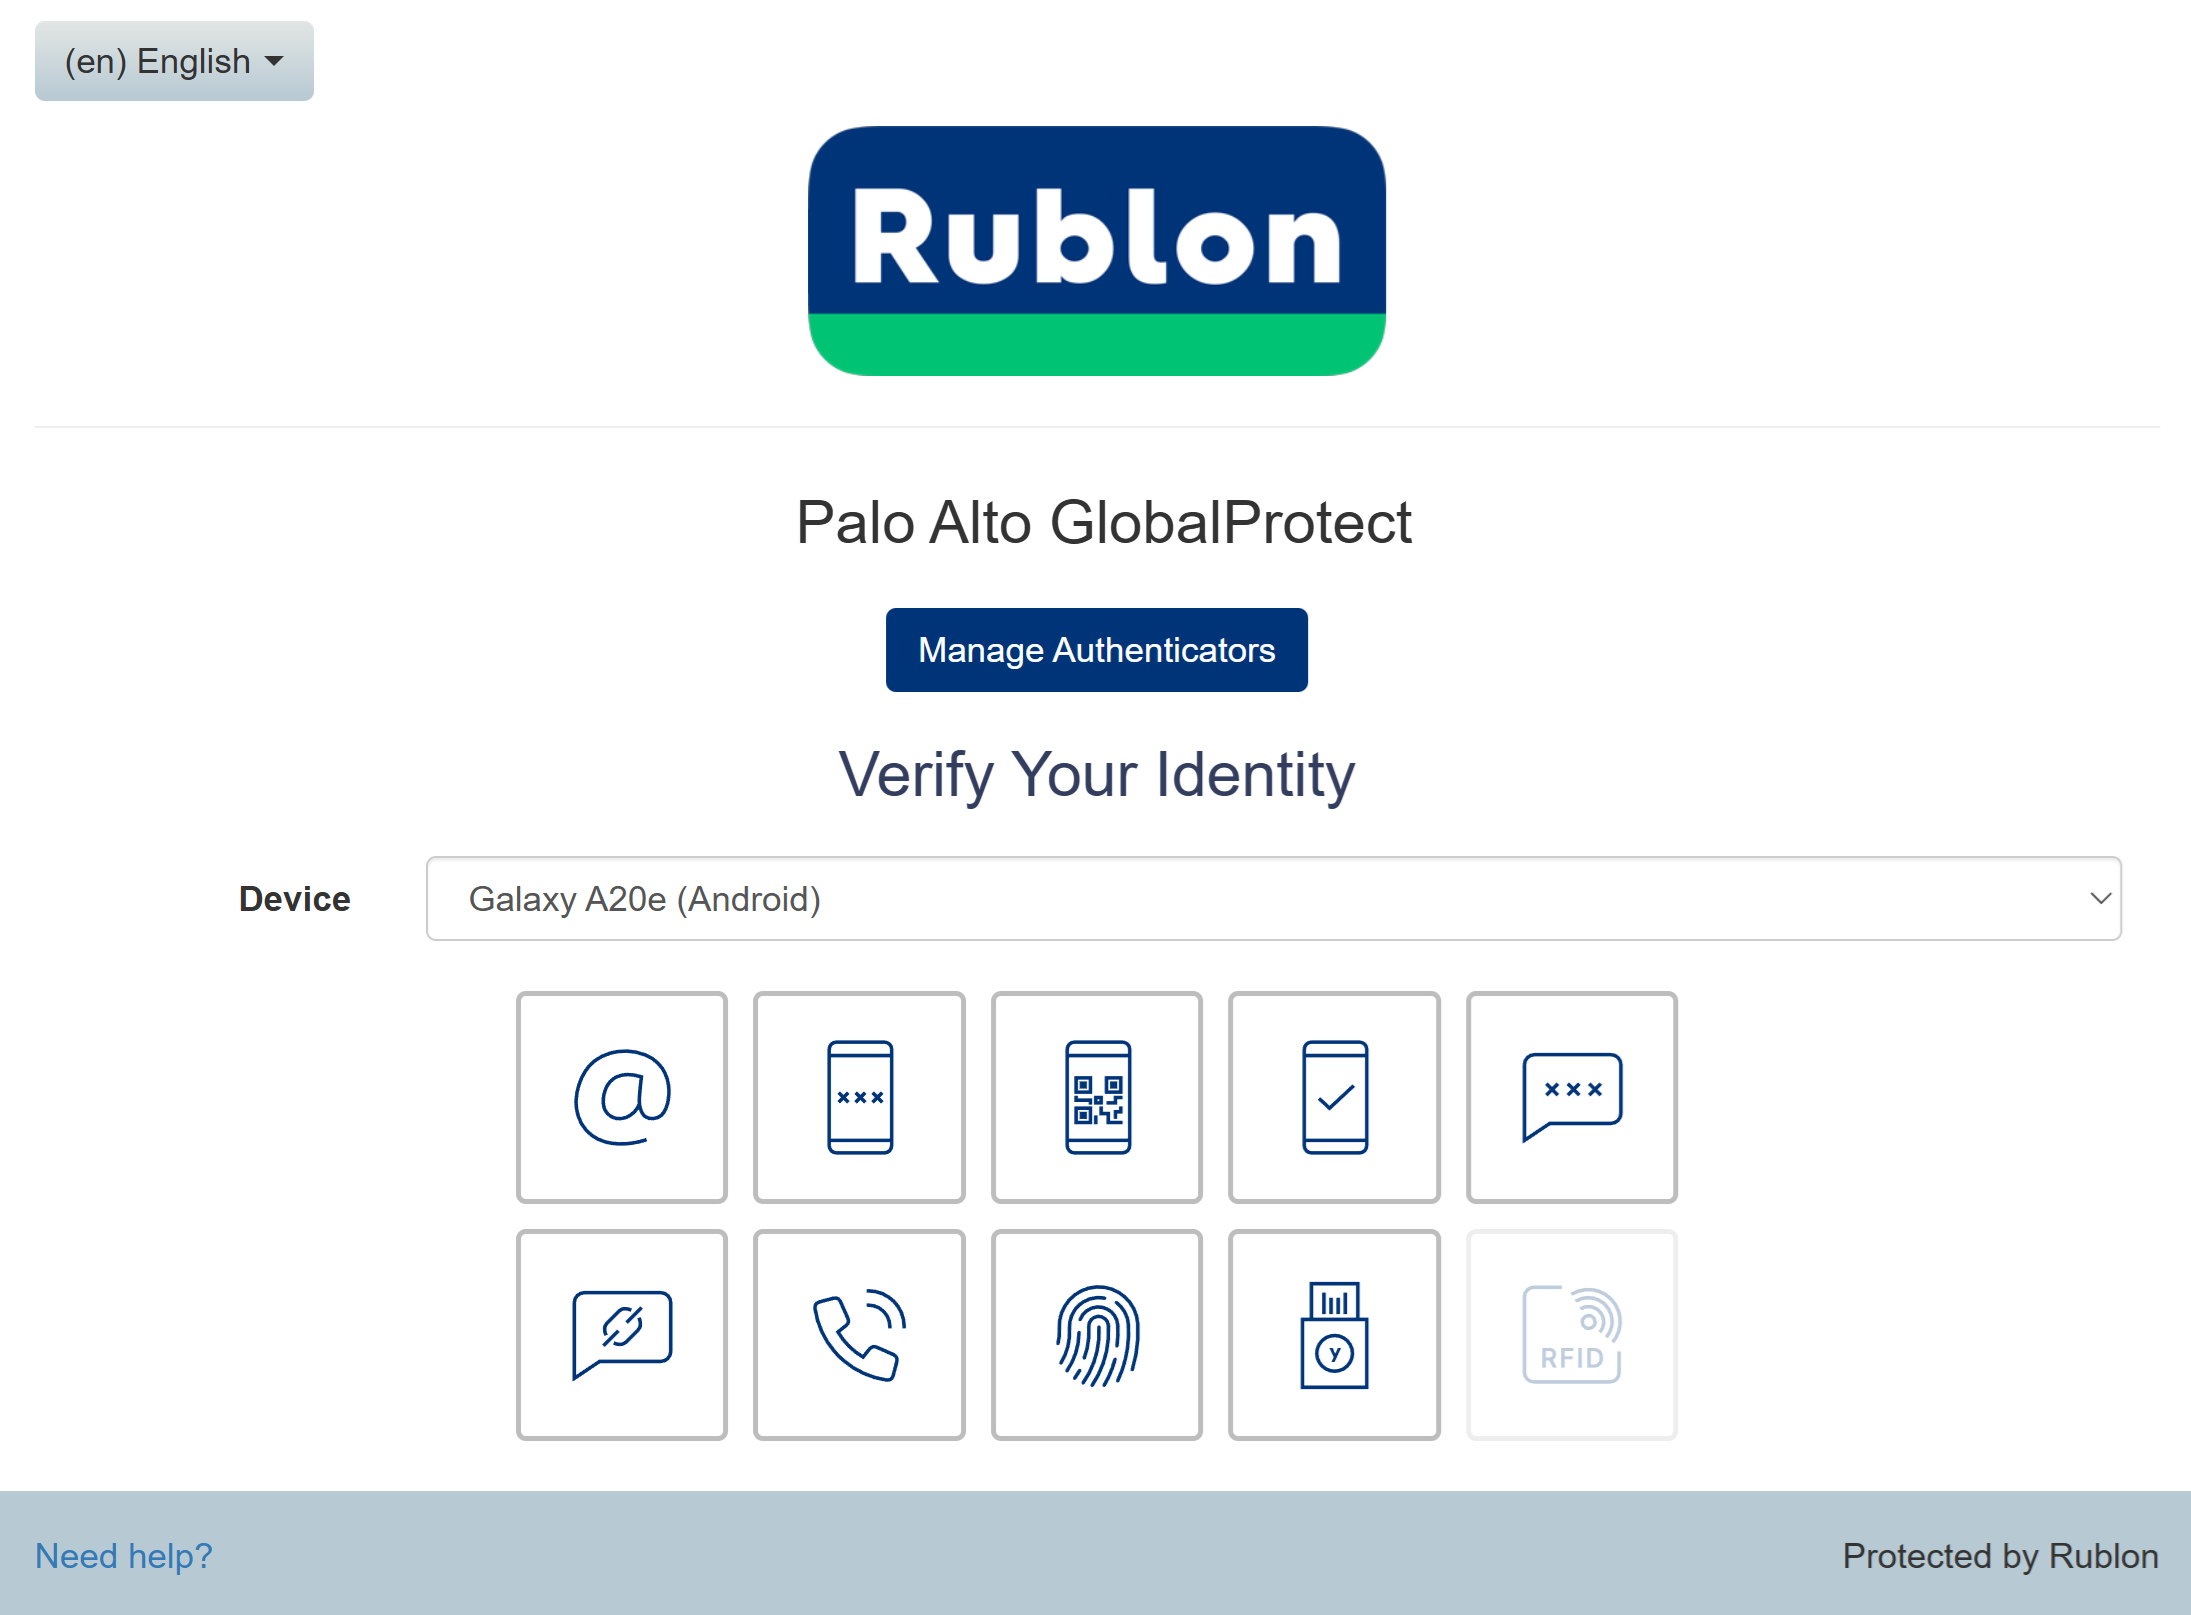
Log in to Palo Alto GlobalProtect with Rublon MFA
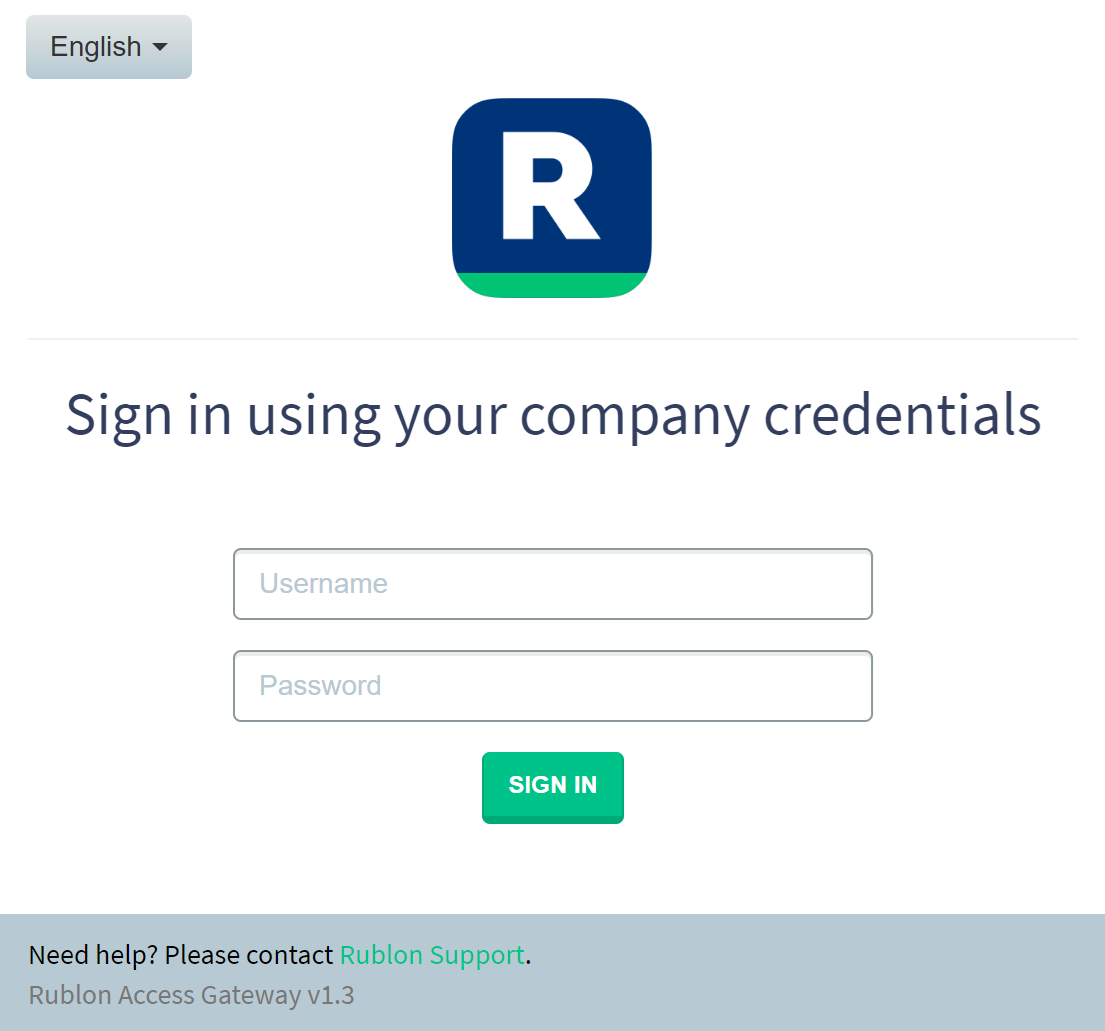
2. A Rublon Prompt will appear. Provide your username and password and click SIGN IN.
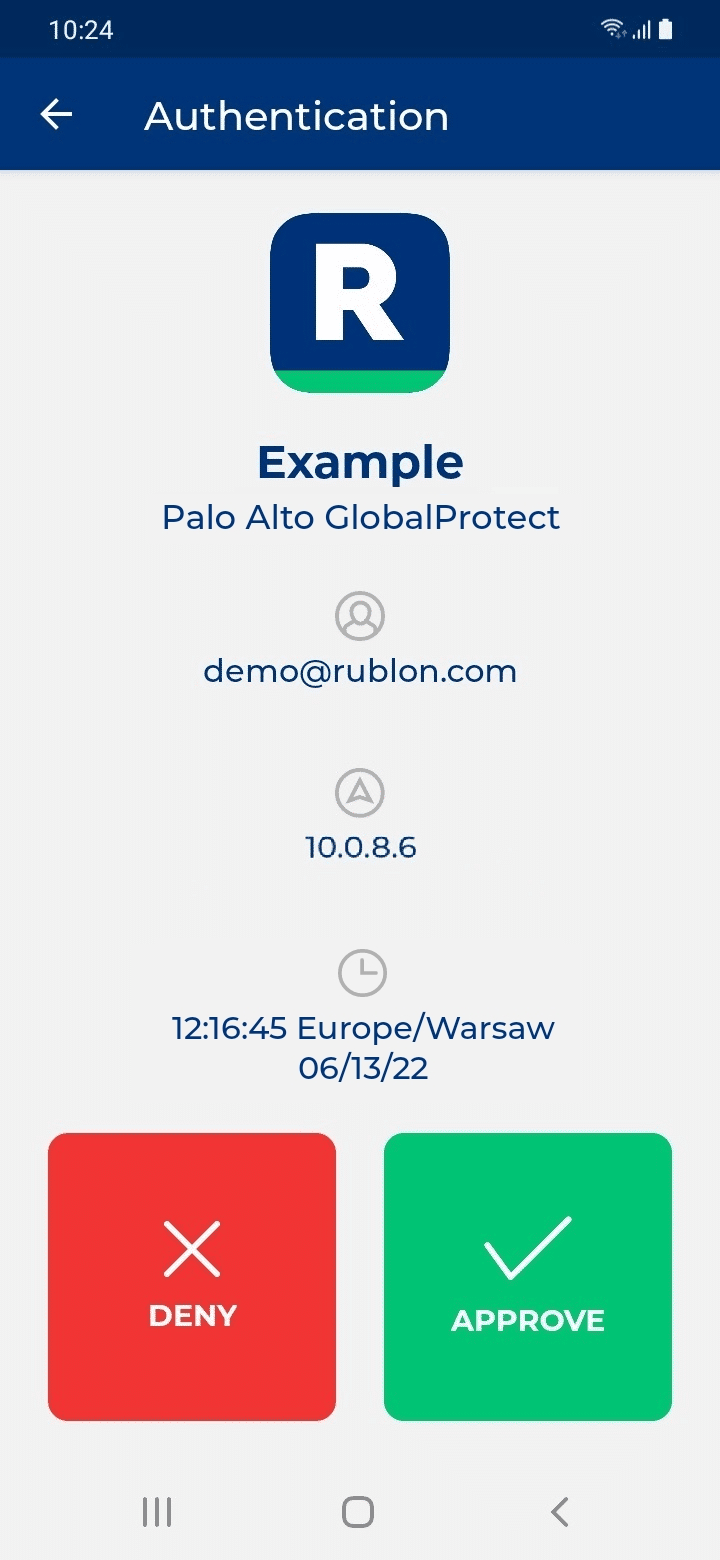
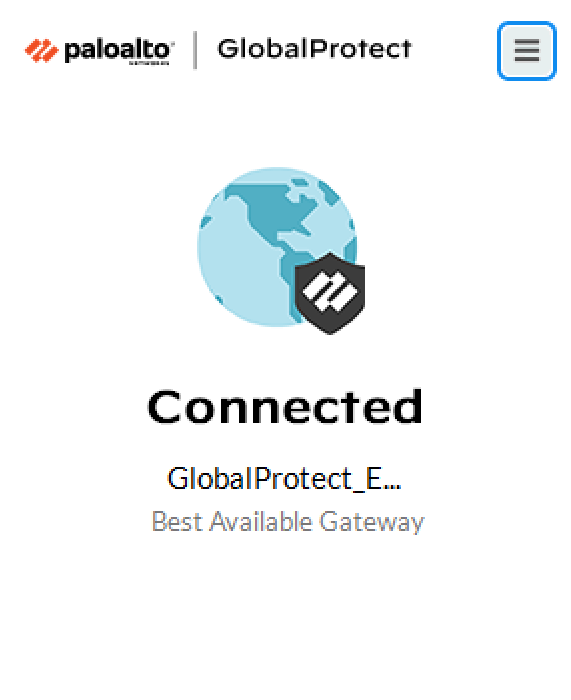
5. You will get connected to Palo Alto GlobalProtect.
Troubleshooting
If you encounter any issues with your Rublon integration, please contact Rublon Support.