Last updated on October 28, 2025
Overview of MFA for Barracuda SSL VPN
Supported Authentication Methods
Before you start
You need to install and configure Rublon Authentication Proxy itself before configuring Barracuda to work with it. Read Rublon Authentication Proxy and follow the steps in the Installation and Configuration sections. Afterward, follow the appropriate Configuration section in this document.
Ensure that you have properly set up your authentication source, that is an external Identity Provider (IdP) like FreeRADIUS.
Configuration of MFA for Barracuda SSL VPN
1. Log in to Barracuda VPN interface.
2. Go to Users → External Authentication.
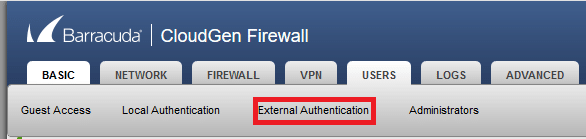
3. Select RADIUS. Fill in the form. Refer to the following image and table to learn more about the settings. Click Save to save the changes.

| Server Address | Enter the IP of your Rublon Authentication Proxy server. |
| Server Port | Enter the port of your Rublon Authentication Proxy server. |
| Server Key | Enter the Rublon Authentication Proxy server Secret. |
| Group Attribute | Keep the default value. |
| Group Attribute Delimiter | Keep the default value. |
| NAS ID | If your RADIUS server requires NAS credentials to be set, enter the NAS identifier. |
| NAS IP Address | If your RADIUS server requires NAS credentials to be set, enter the NAS IP Address. |
| NAS IP Port | If your RADIUS server requires NAS credentials to be set, enter the NAS IP Port. |
| Group Information From | Set to blank/empty. |
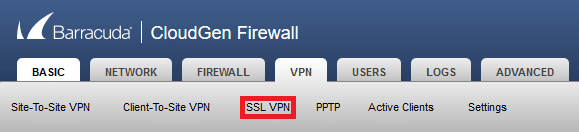
4. Go to VPN → SSL VPN.
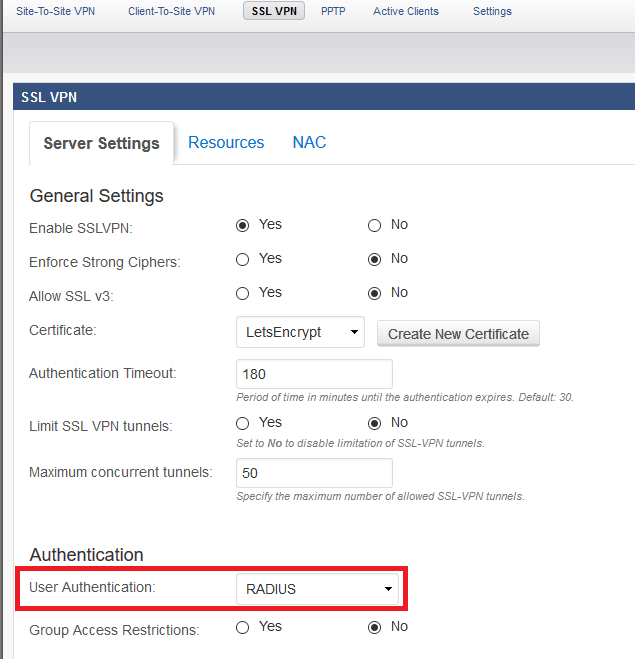
5. Navigate to the Authentication section. Select RADIUS in User Authentication. Click Save.
6. Your configuration is now complete. Users have Rublon 2FA enabled when logging in to your VPN.
Log in to Barracuda using MFA for Barracuda SSL VPN
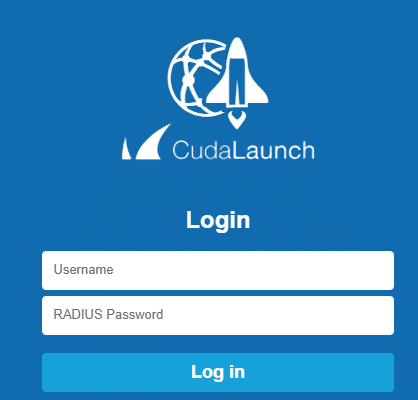
1. Run CudaLaunch.
2. Provide the hostname of the server you want to connect to.
3. Provide your username and password. Click Log in.
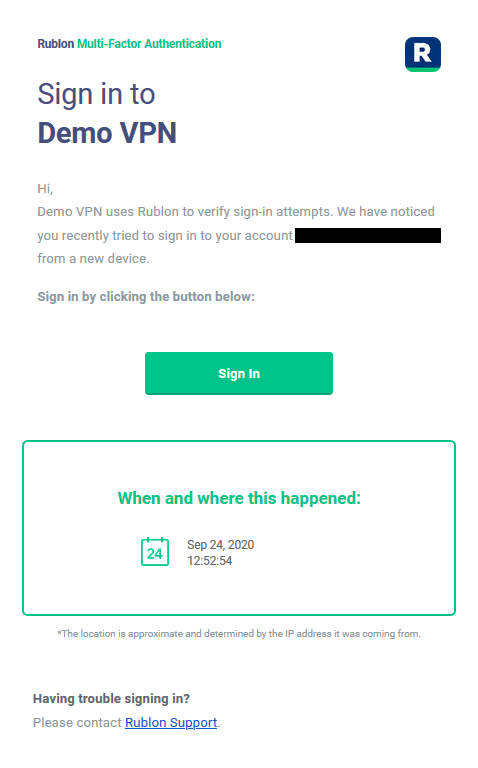
4. Check your mailbox for an email from Rublon. Open the email, and click Sign In.