Last updated on December 8, 2025
Overview
Supported Authentication Methods
Before you start
Configuration
Follow these steps to enable Rublon 2FA in Envoy.
Envoy
1. Log in to Envoy as global admin.
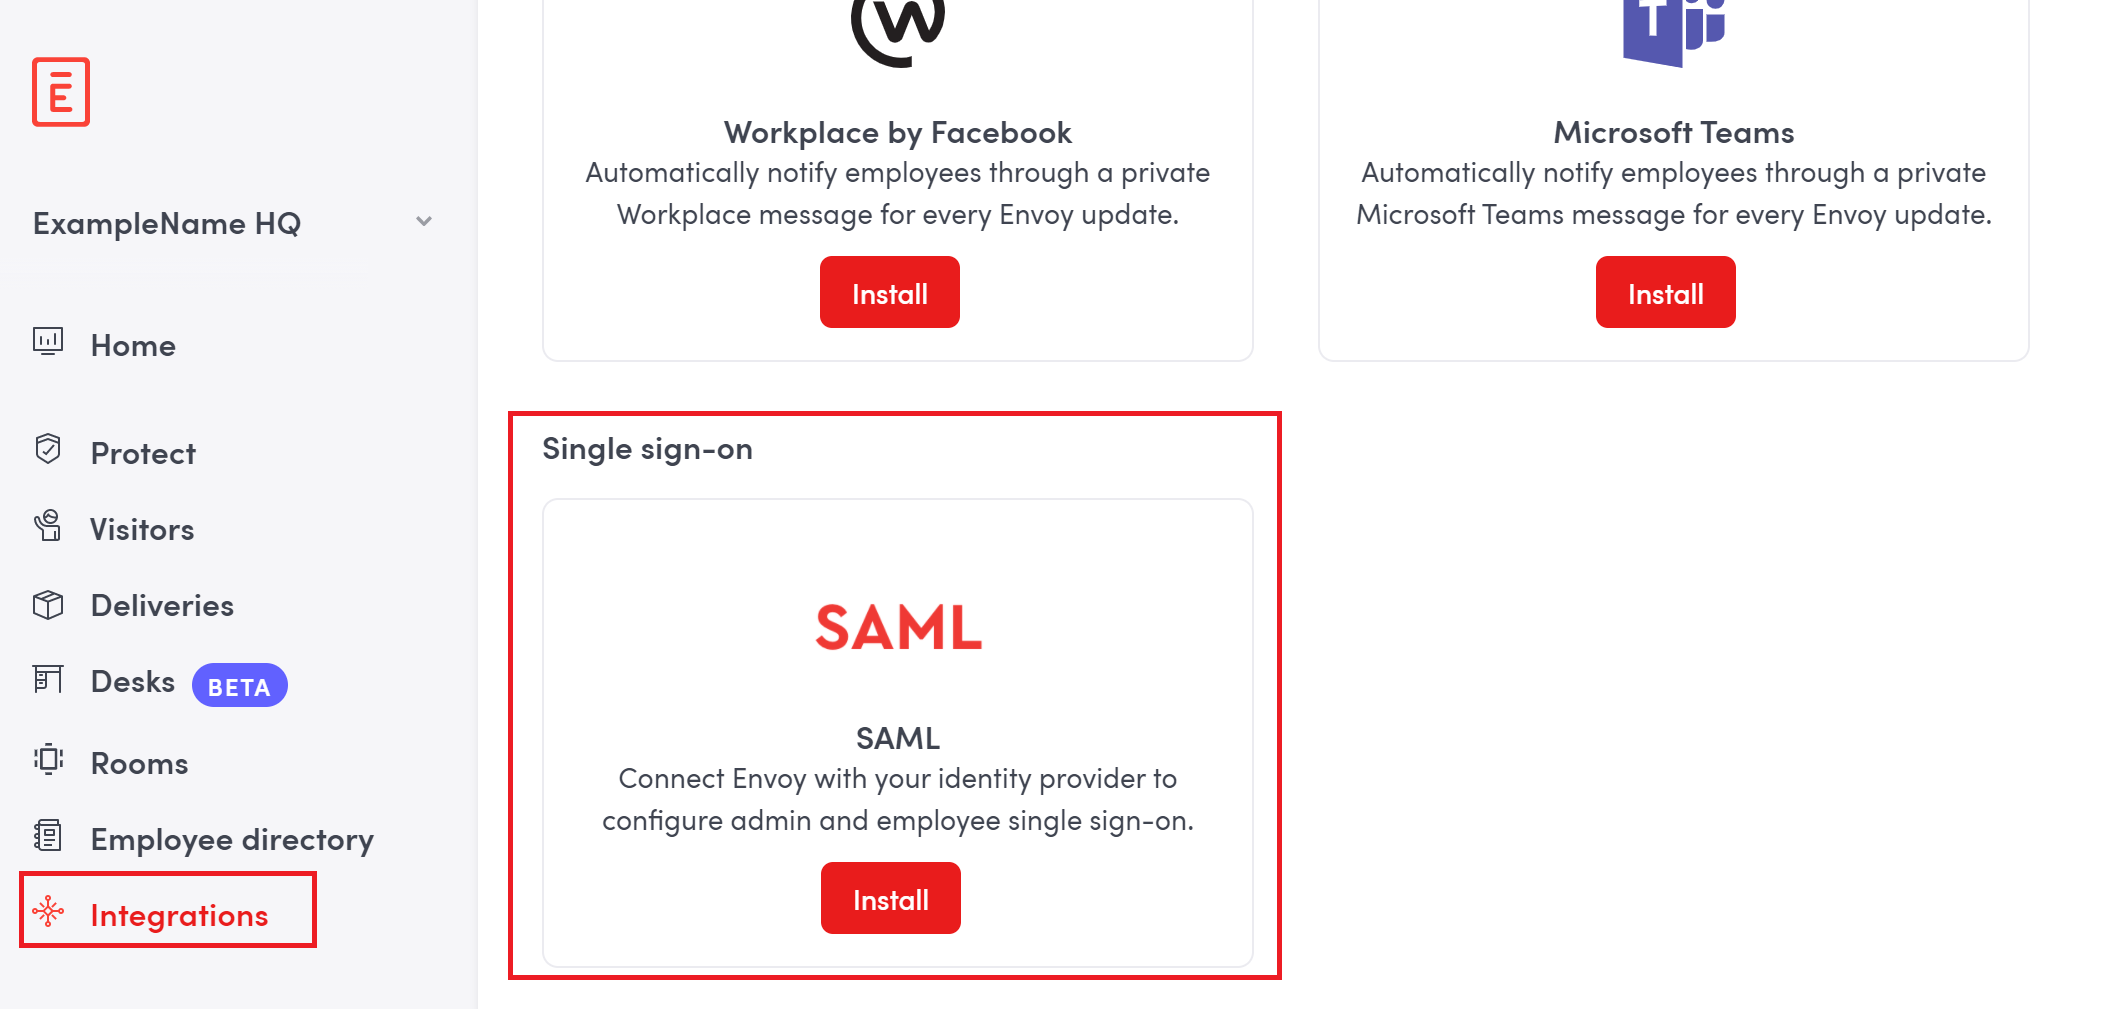
2. In the pane on the left, click Integrations.
3. Navigate to Single sign-on and click the Install button inside the SAML tile.
4. If installation has been completed and you have not been automatically redirected to the SAML configuration page, scroll up to the beginning of the page and click the Enabled integrations tab. Then click Configure.

Note
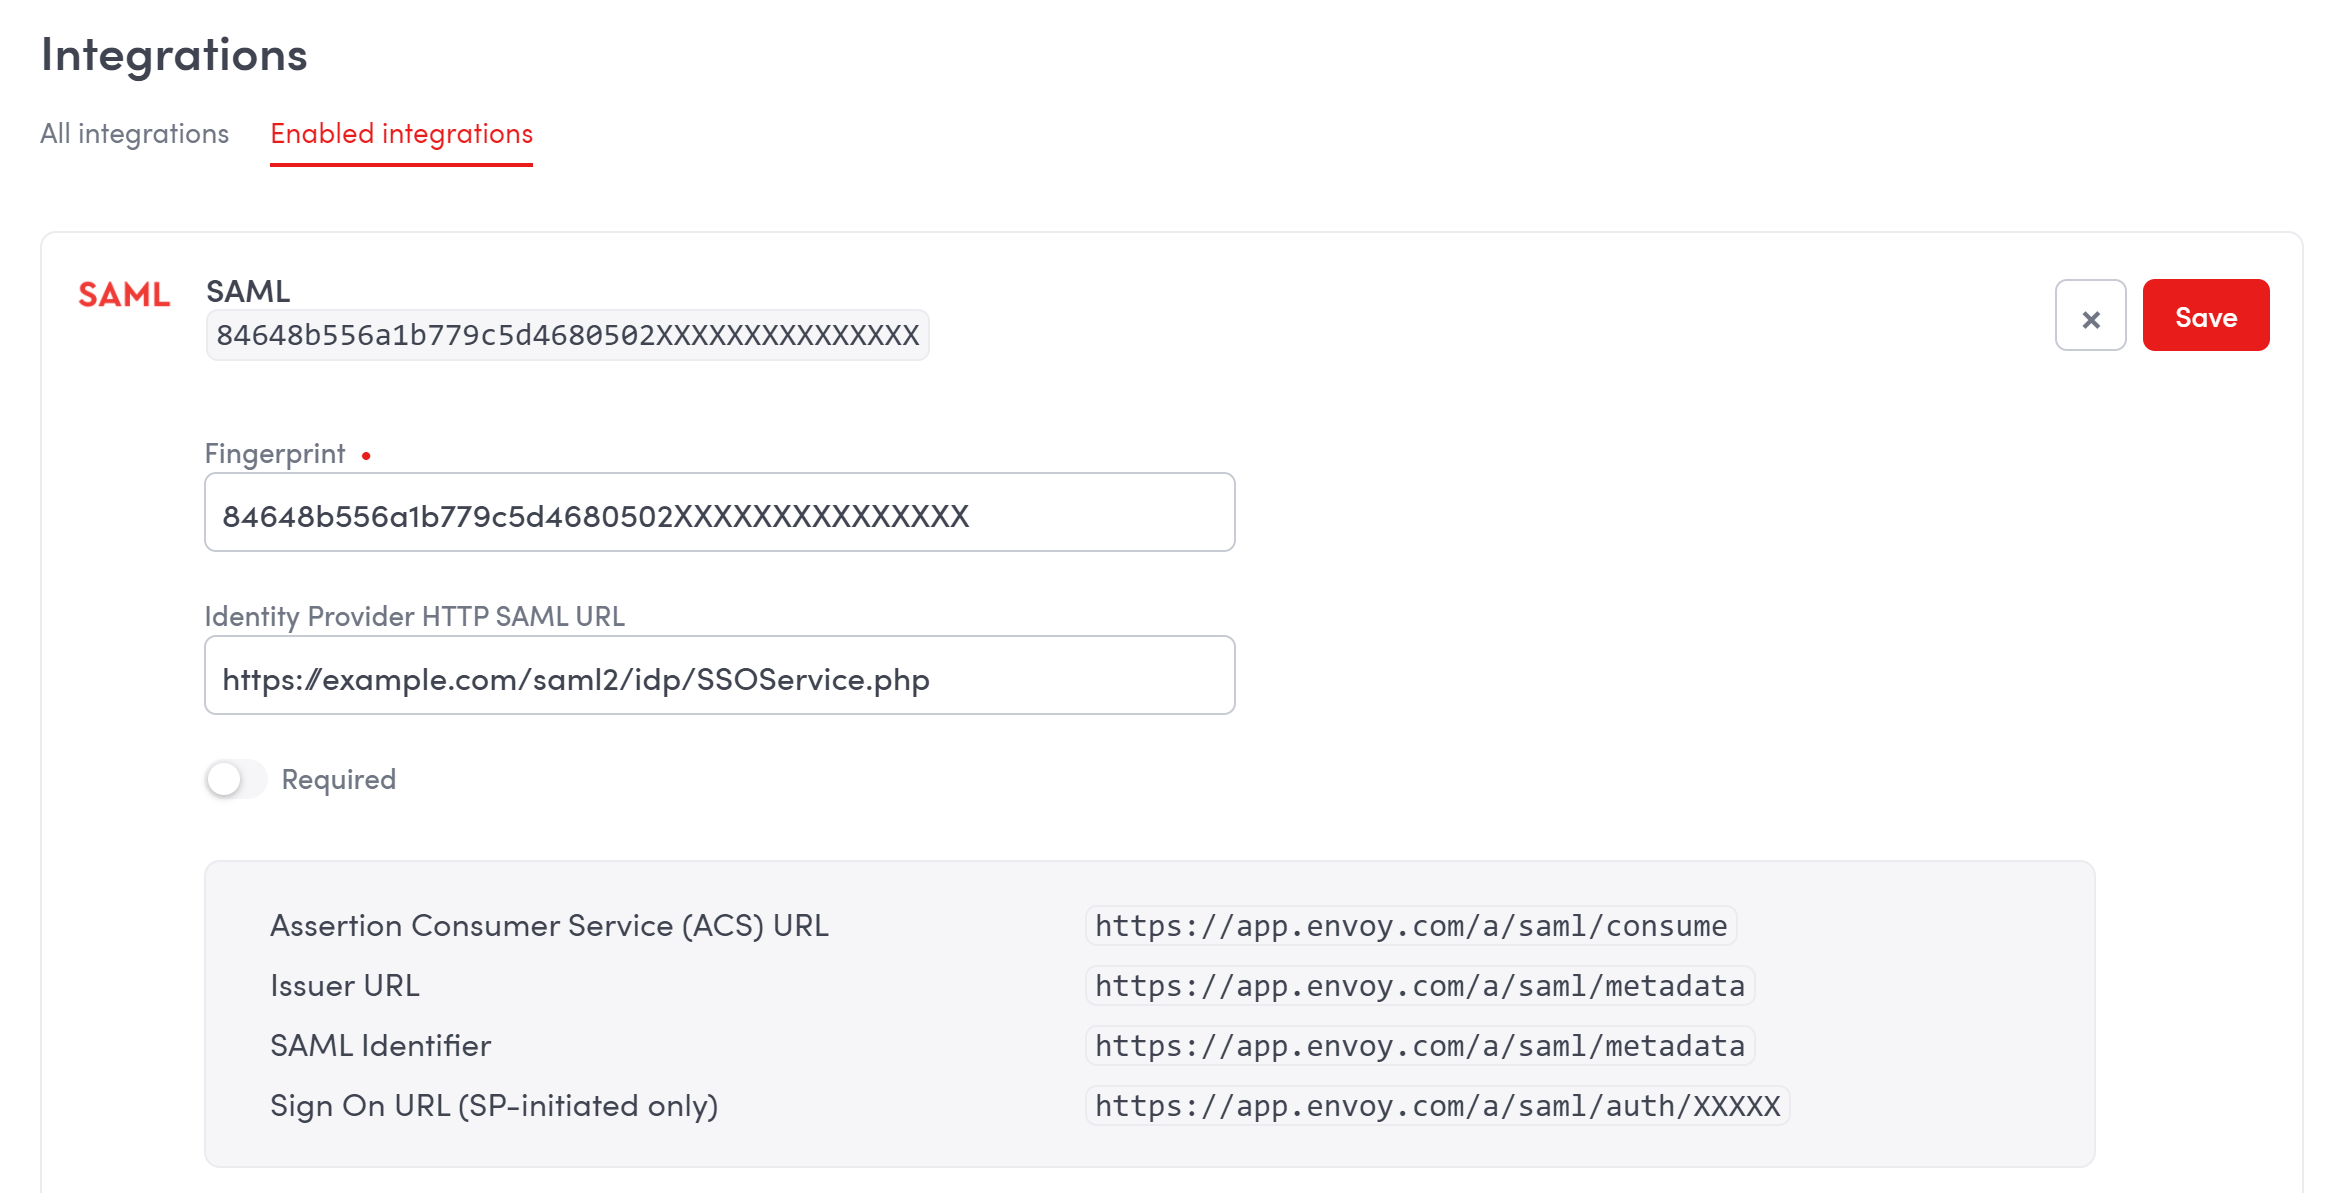
7. Copy the values of Assertion Consumer Service (ACS) URL and Issuer URL. You will need these values when configuring Envoy in Rublon Access Gateway.
8. Copy the value of Sign On URL (SP-initiated only). You will be later using this link to log in to Envoy using Rublon 2FA.
9. We recommend you leave the Required checkbox unchecked at least until you have tested Rublon 2FA. When Required is enabled, only admins can log in using the traditional password. All other users can only log in using Rublon 2FA.
10. Click Save to add your SAML configuration.
Rublon Access Gateway
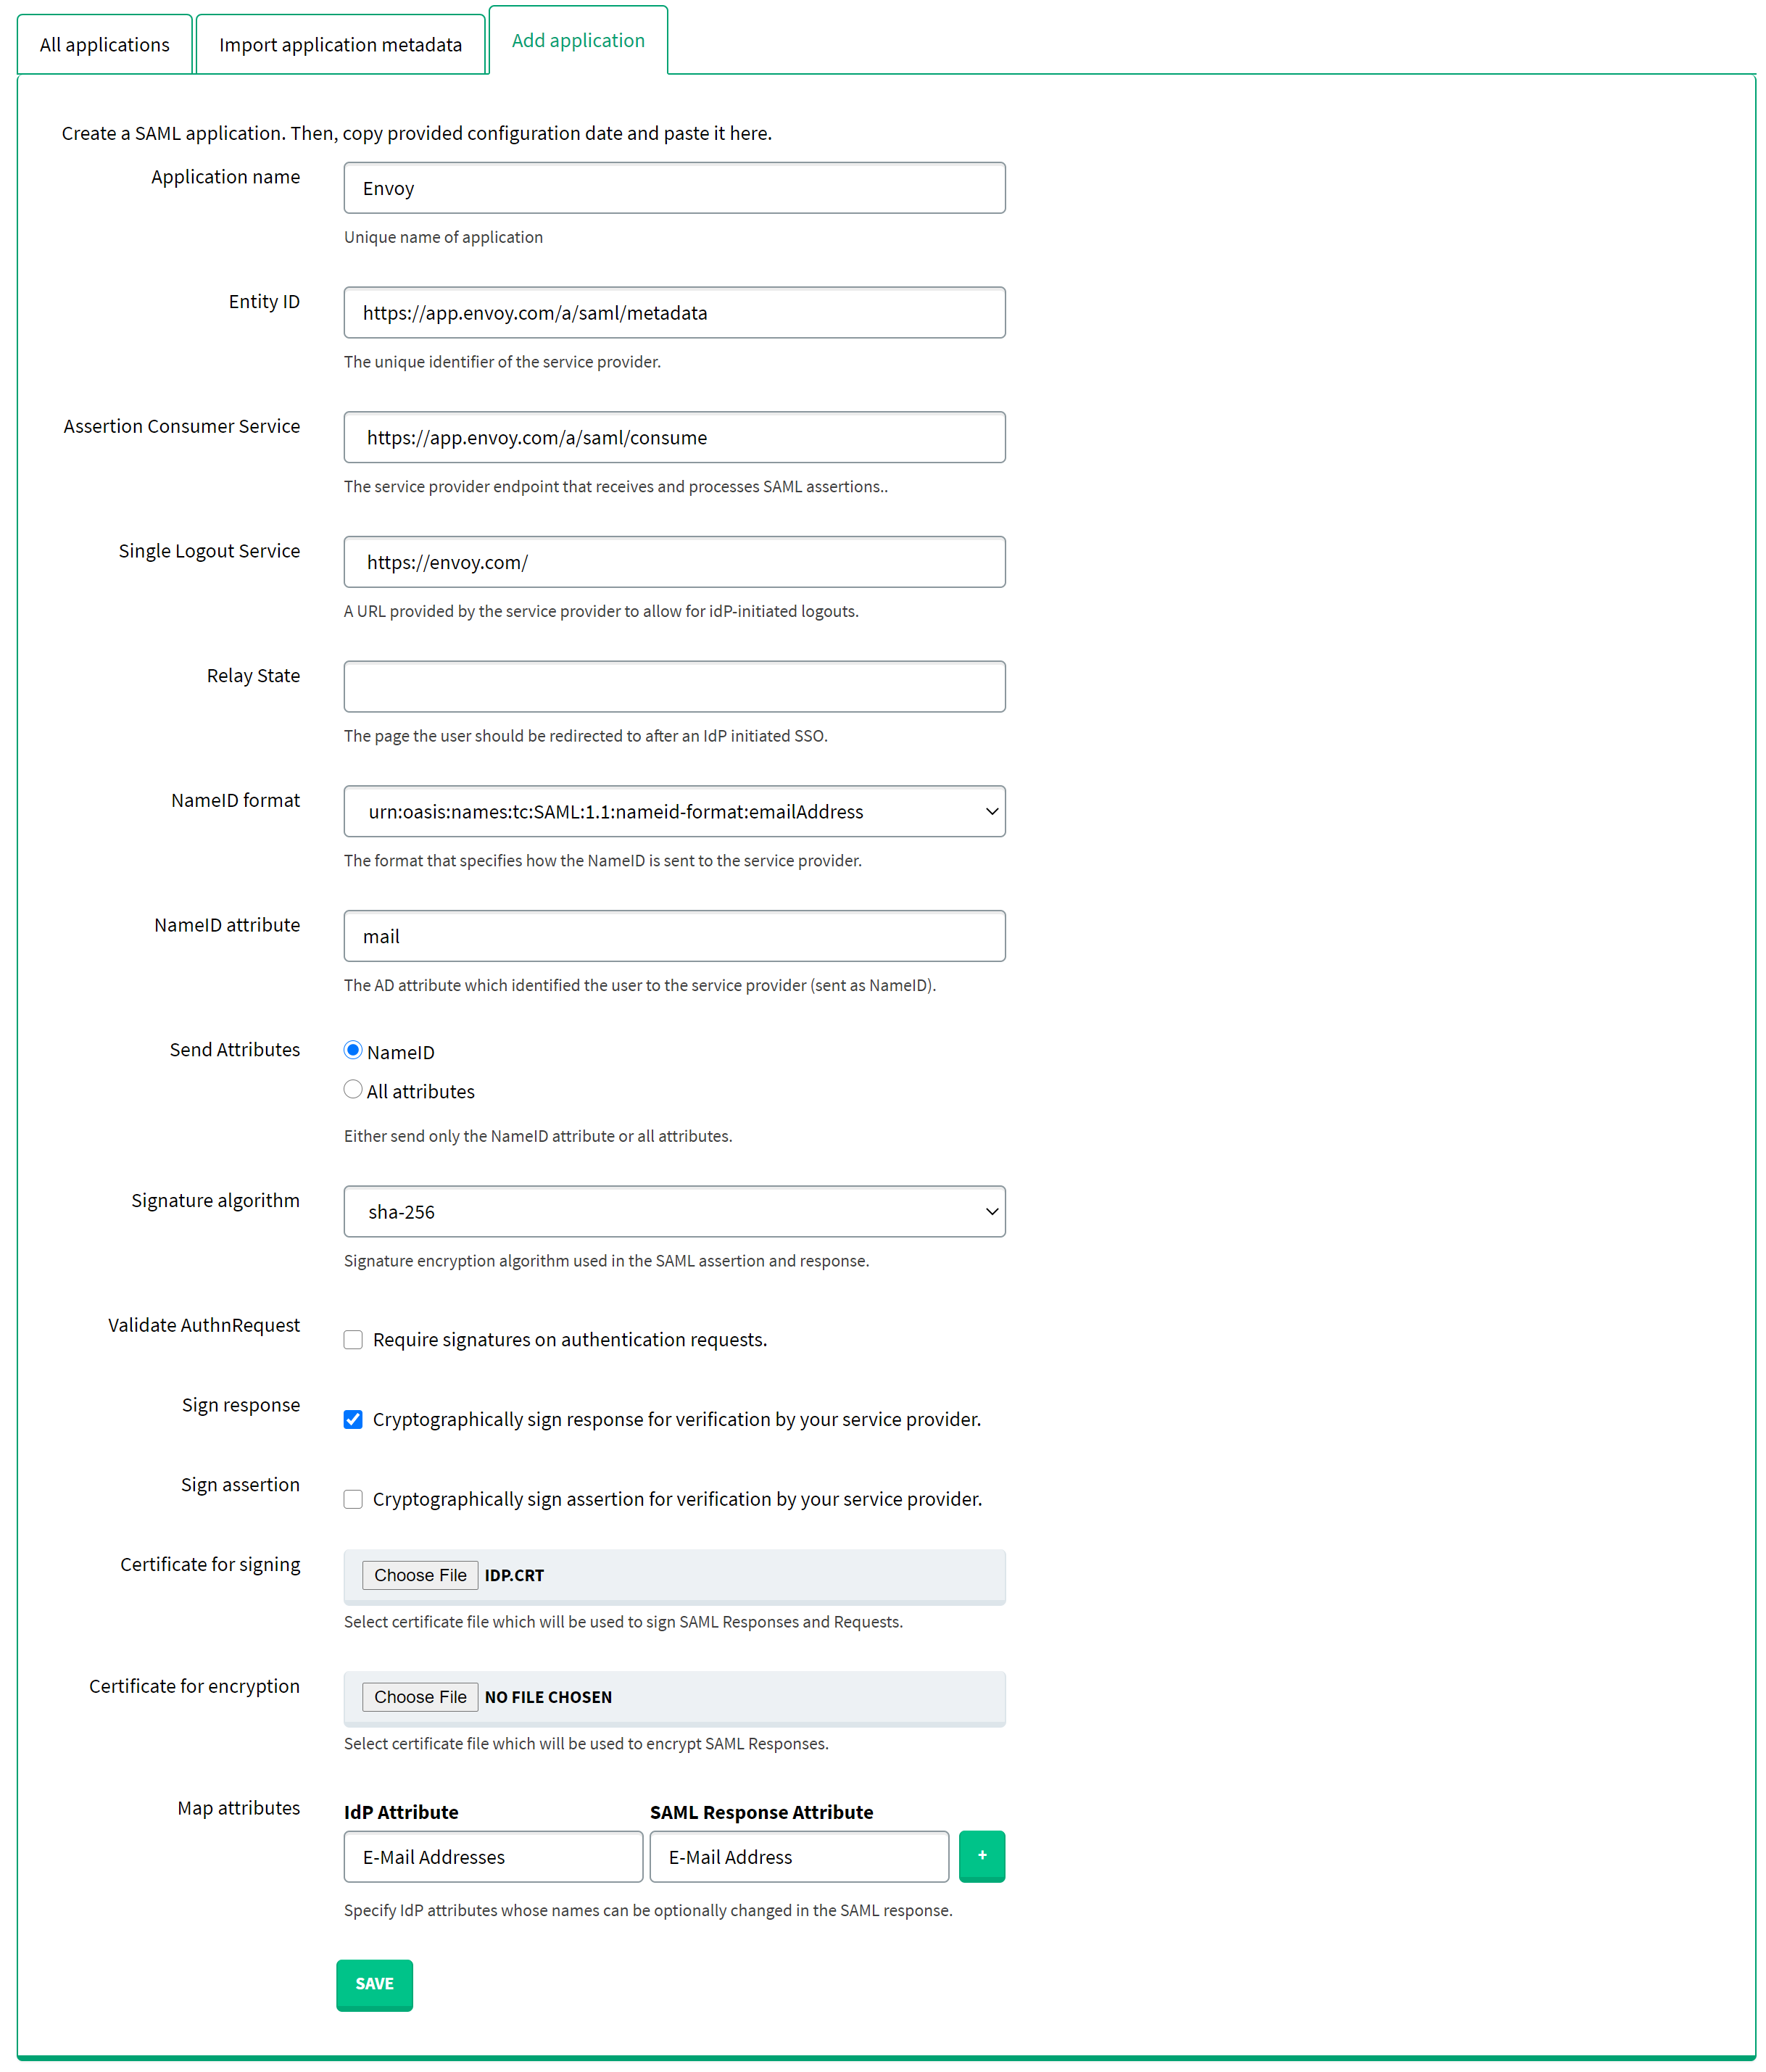
1. In Rublon Access Gateway, go to Applications → Add application.
2. Fill in the form and click SAVE to add a new application. Refer to the following image and table.
3. Your configuration is now complete. You can log in to Envoy with Rublon 2FA.
Log in to Envoy with Rublon 2FA
Note
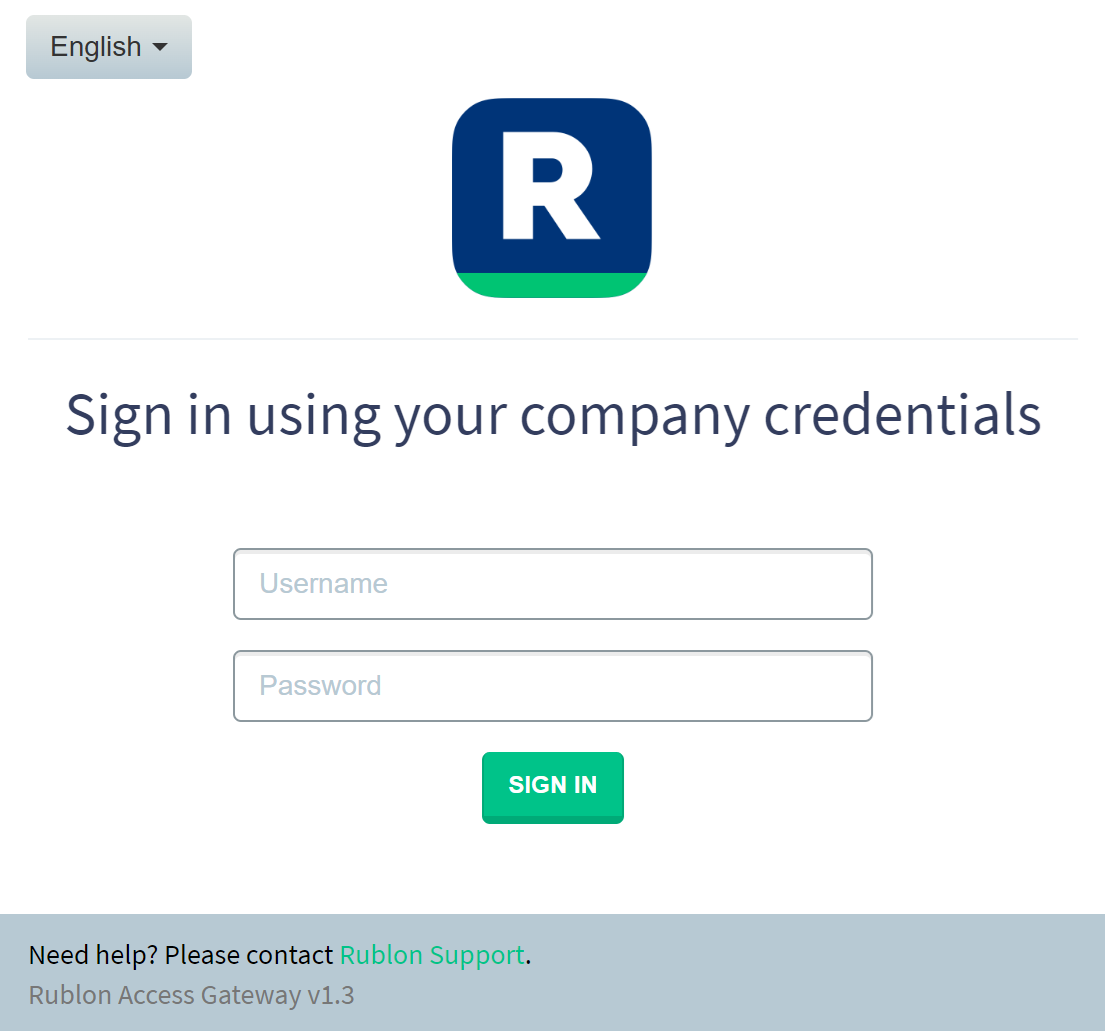
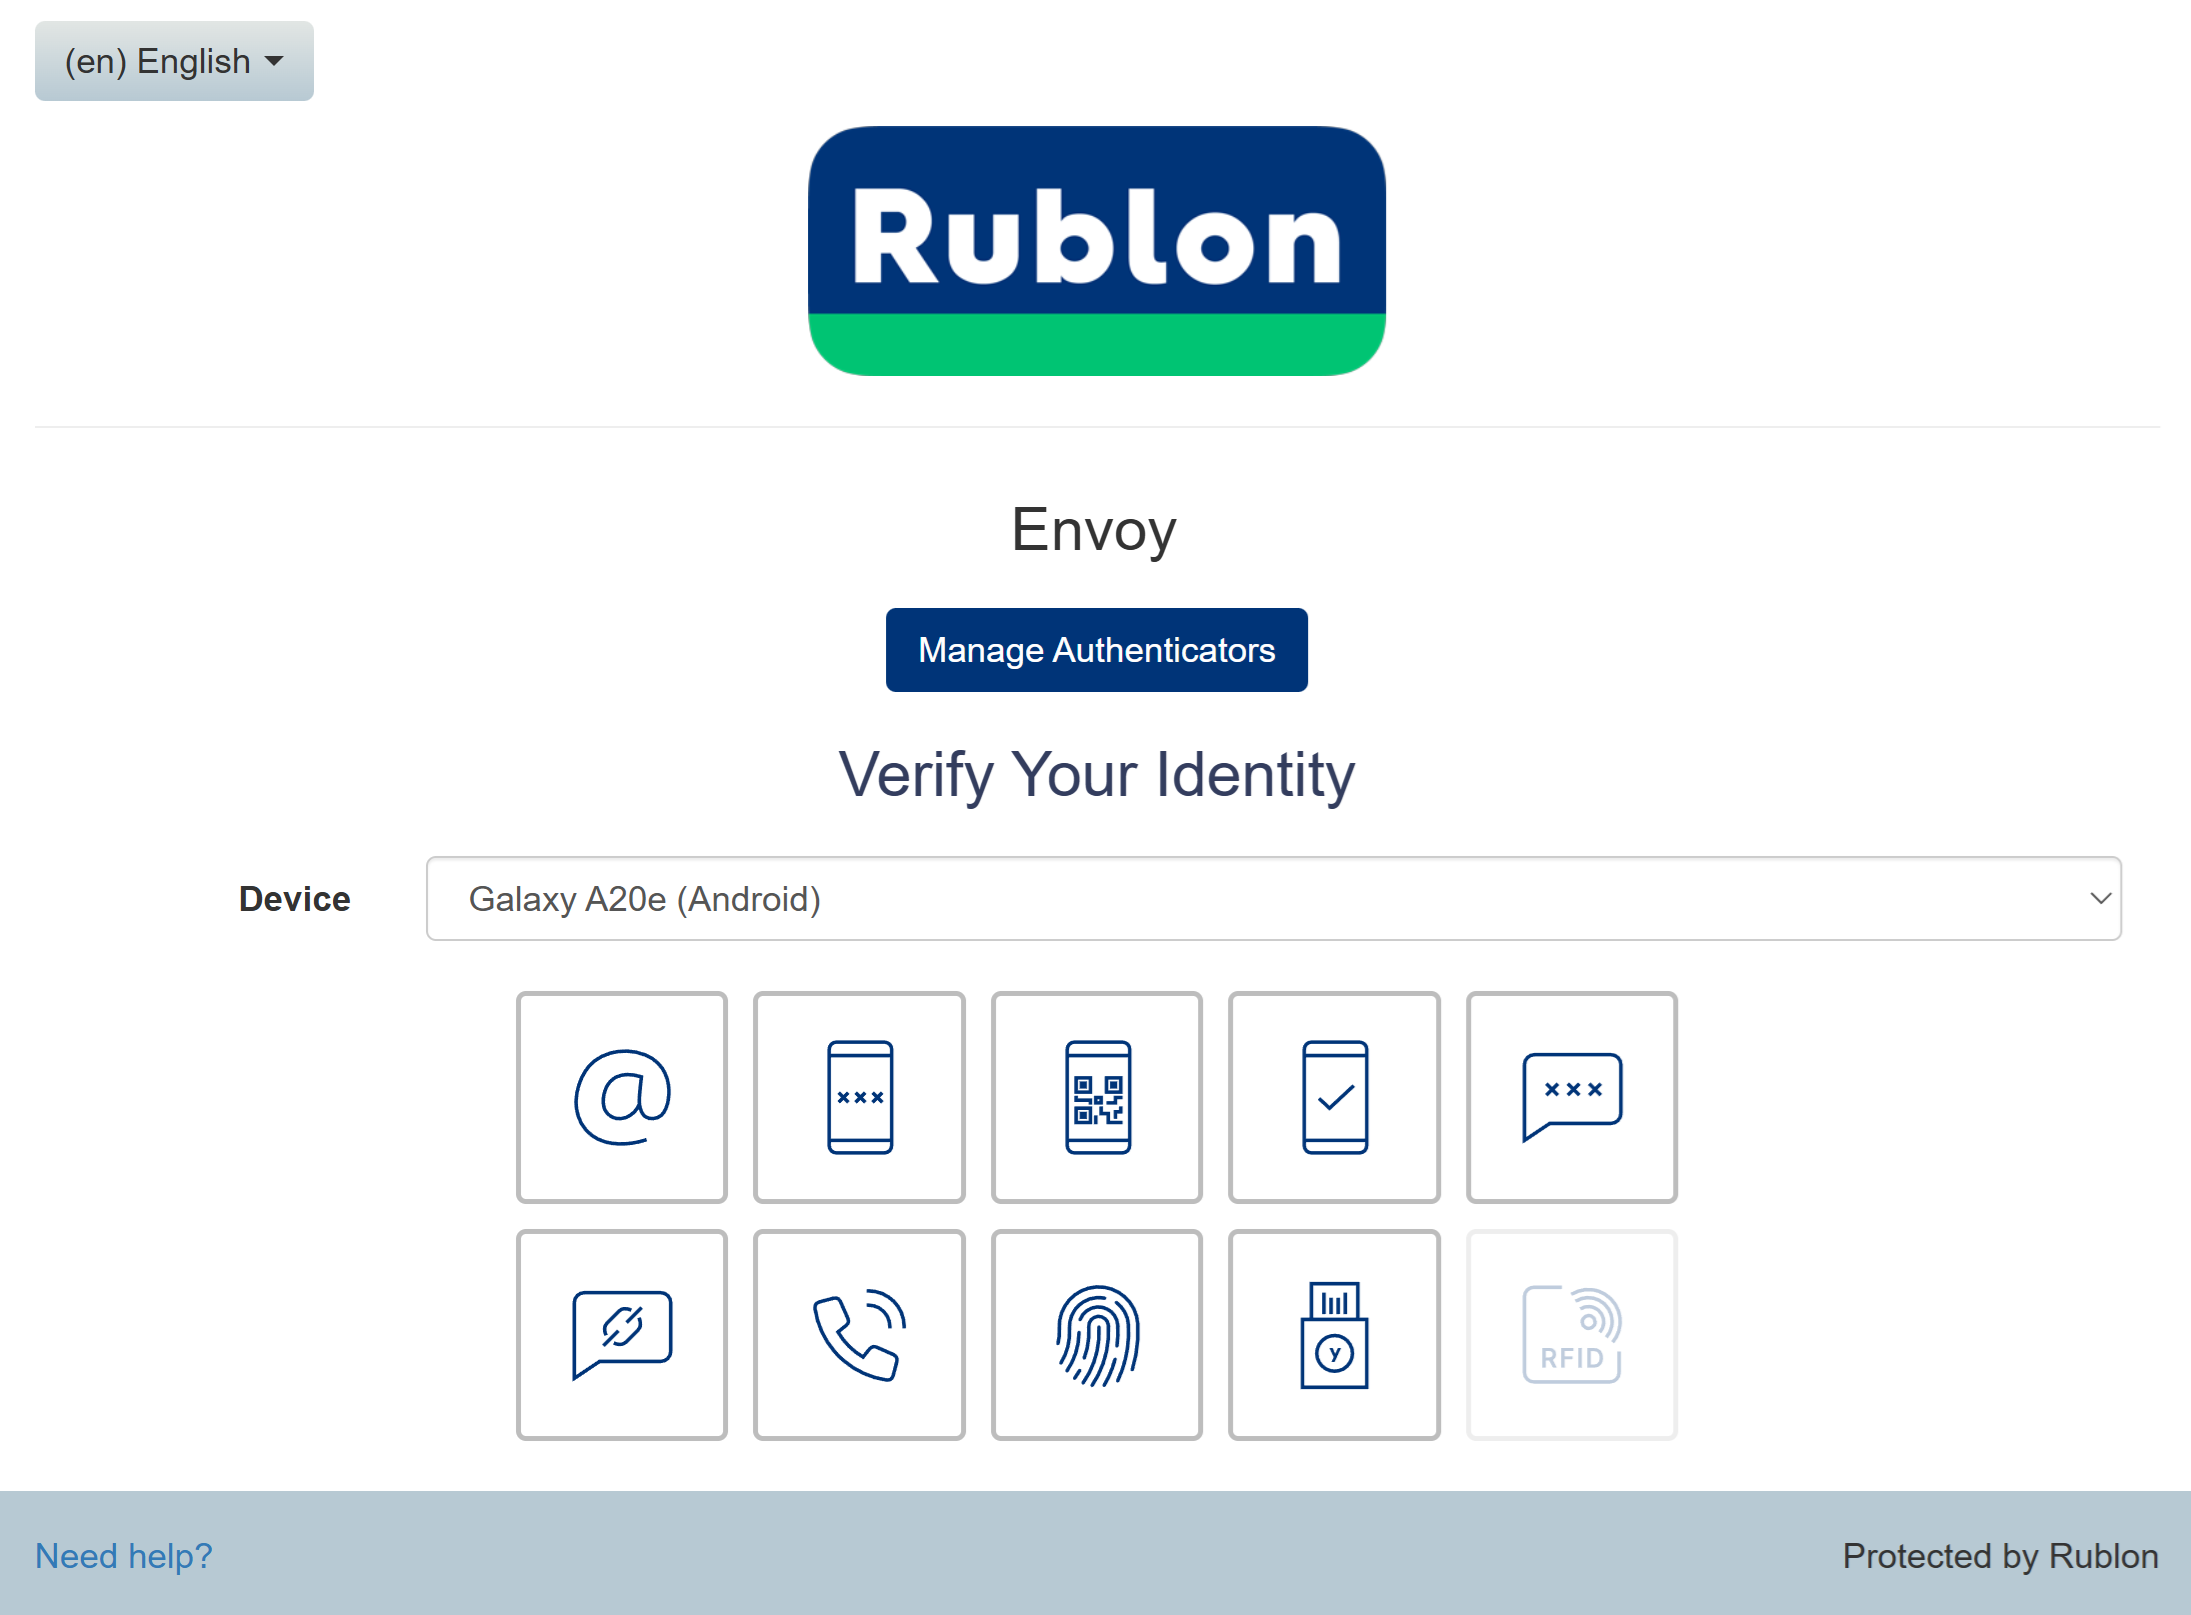
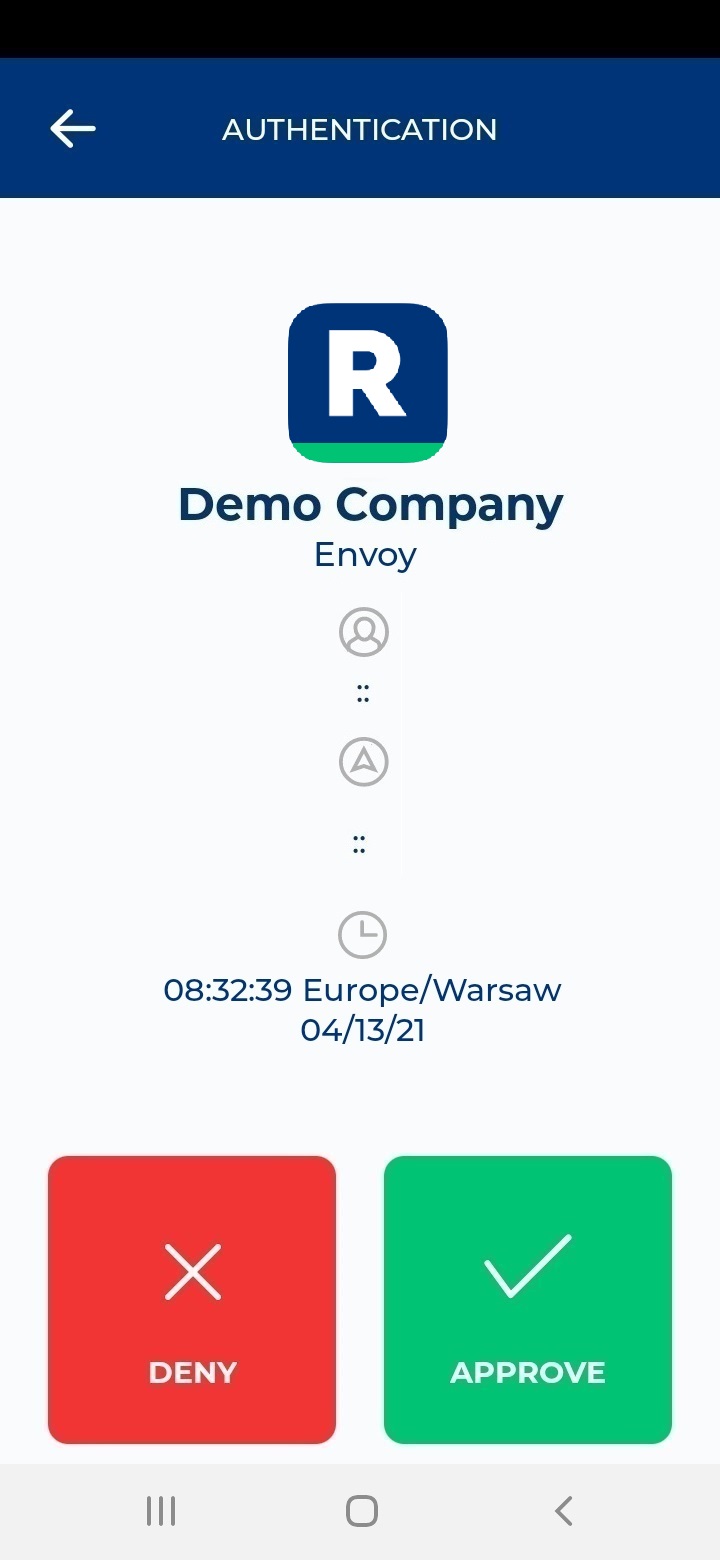
5. You will be successfully logged in to Envoy.
Troubleshooting
If you encounter any issues with your Rublon integration, please contact Rublon Support.