Last updated on December 8, 2025
Multi-Factor Authentication (MFA) for Jira is a secure, multi-layered approach to Jira user authentication that augments password-based authentication with an extra layer of security. The additional authentication factor can be a Mobile Push authentication request sent to a user’s phone or a FIDO2-compliant security key the user must plug into the USB port of their computer. Thanks to Jira 2FA, even hackers who have your password cannot break into your Jira account.
Overview of MFA for Jira
Rublon Multi-Factor Authentication (MFA) for Atlassian products is a plugin that provides Multi-Factor Authentication (MFA) for your Jira server. From now on, let’s call it Rublon Jira MFA Plugin. You can find basic information about the supported versions and a general overview of the plugin on the Atlassian Marketplace plugin page.
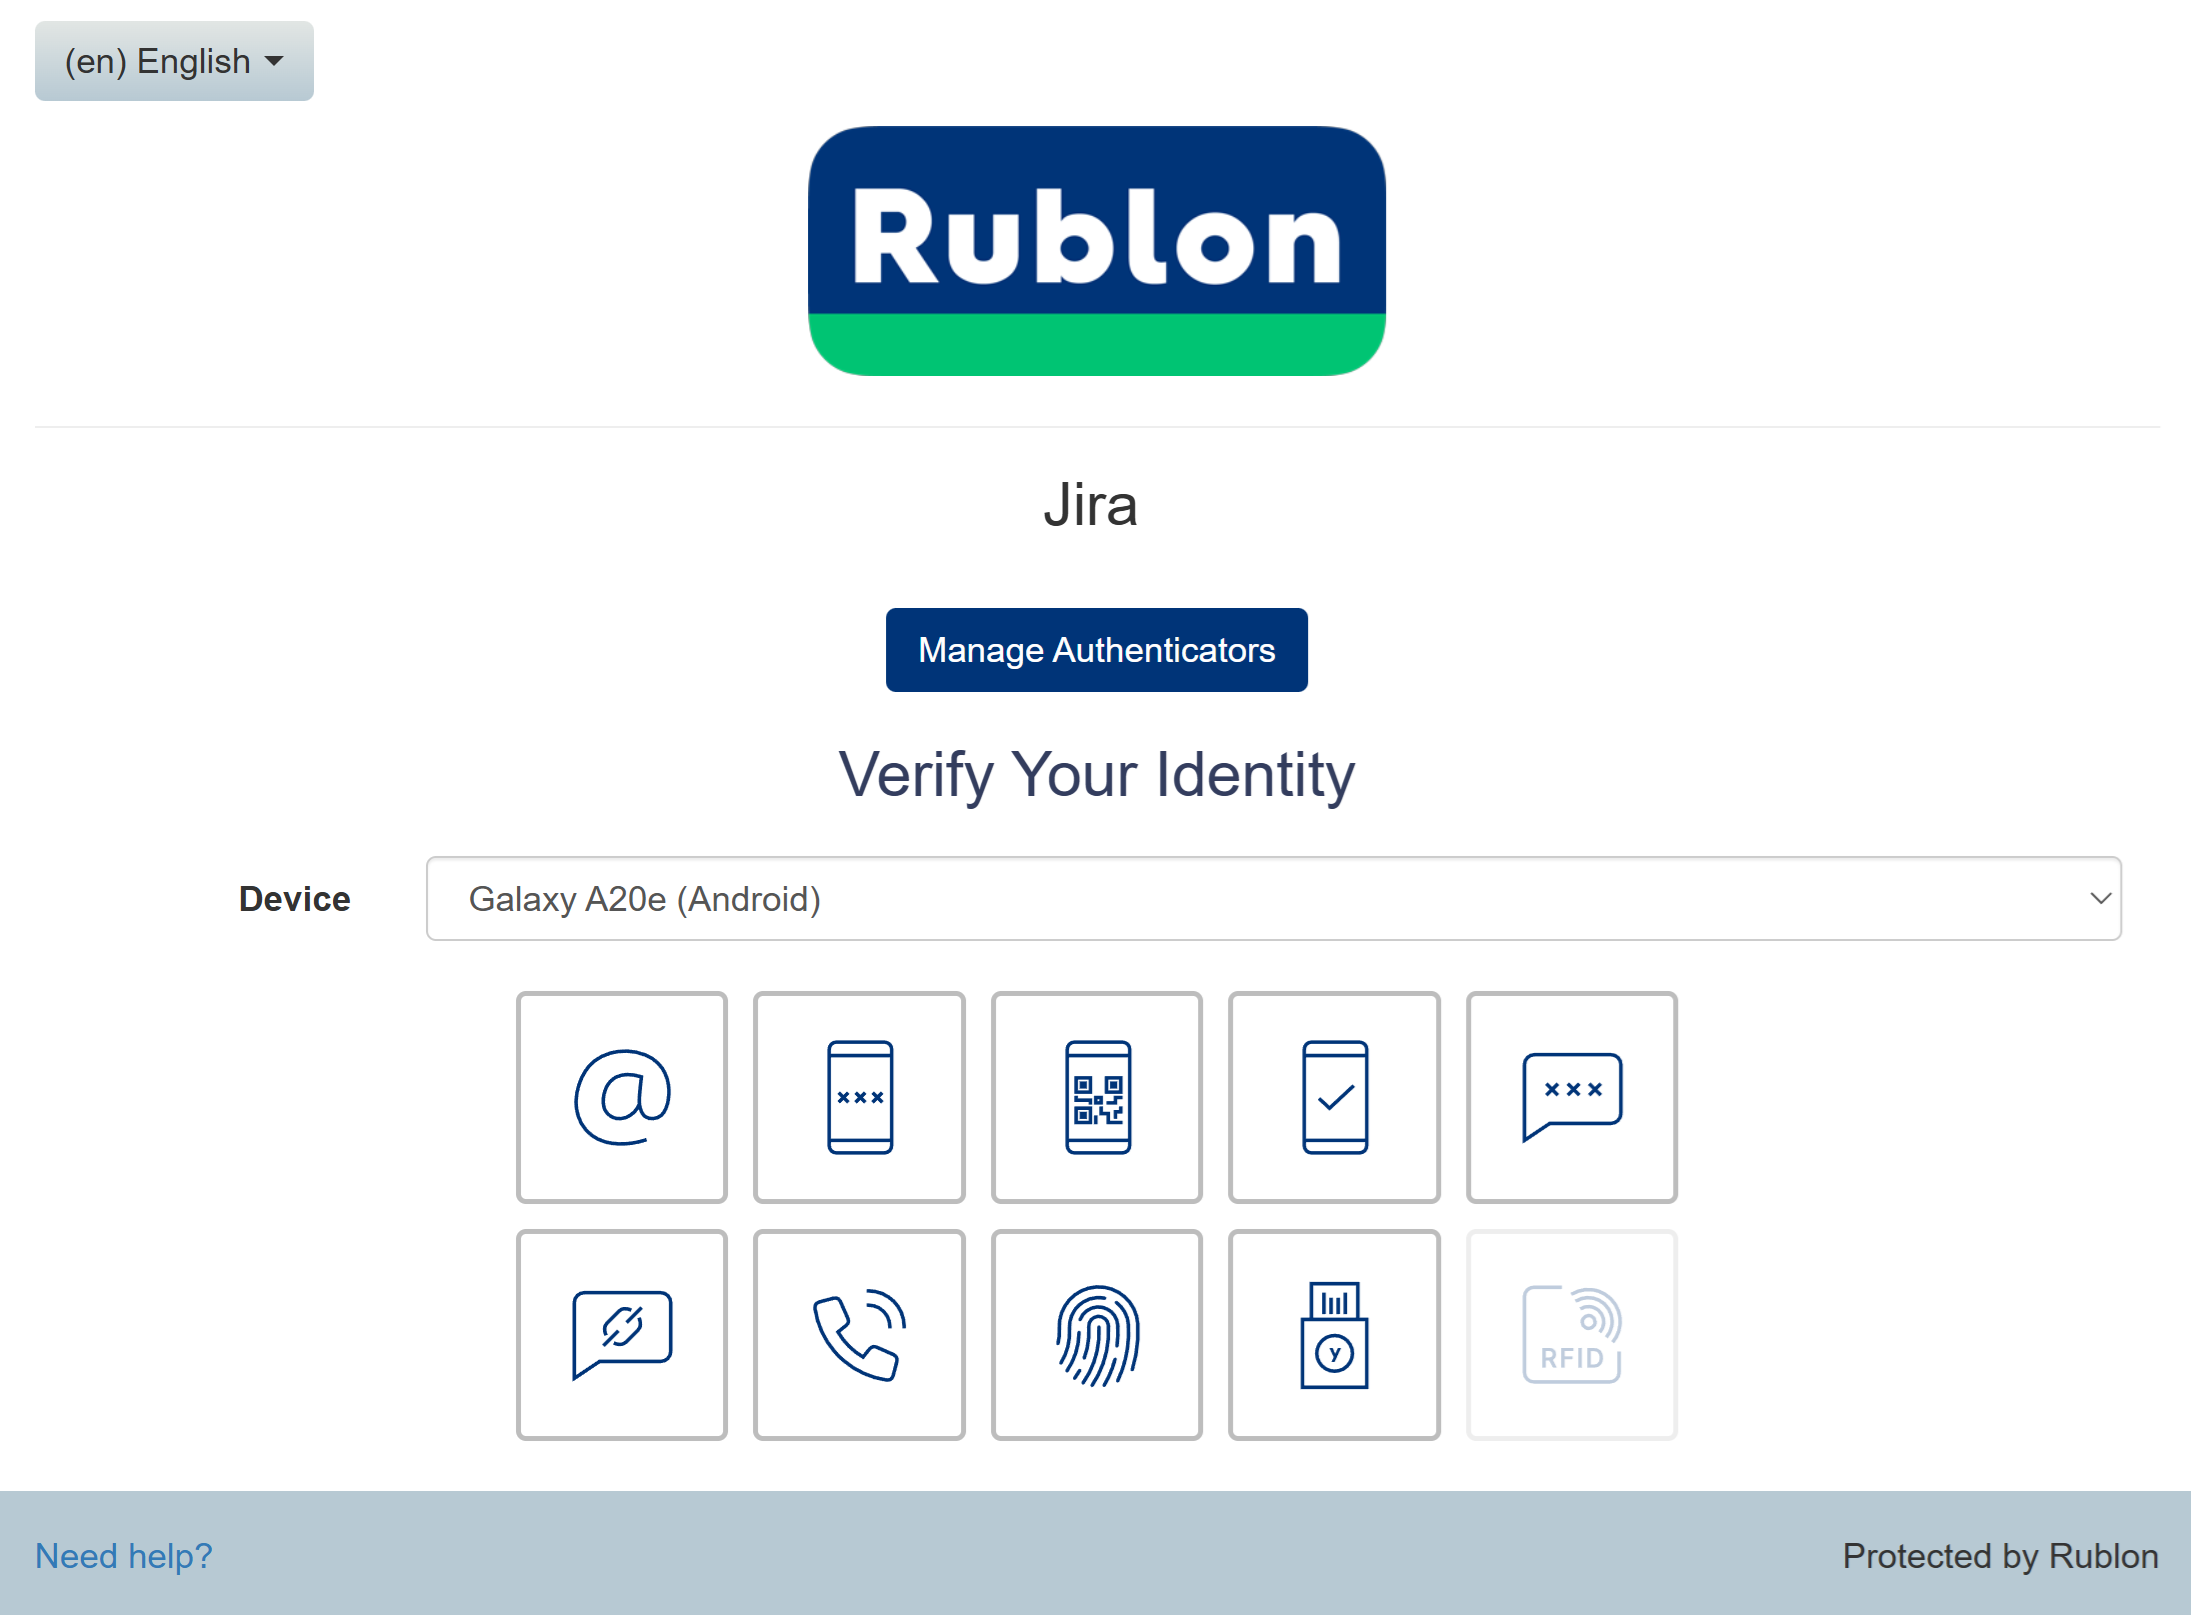
Supported Authentication Methods
| Authentication Method | Supported | Comments |
| Mobile Push | ✔ | N/A |
| FIDO | ✔ | N/A |
| Passcode | ✔ | N/A |
| SMS Passcode | ✔ | N/A |
| SMS Link | ✔ | N/A |
| Phone Call | ✔ | N/A |
| QR Code | ✔ | N/A |
| Email Link | ✔ | N/A |
| YubiKey OTP | ✔ | N/A |
| RFID | – | N/A |
Before you install Rublon Jira MFA
It would be best if you made some preparations before installing the plugin, as described in the list below.
- Visit the Rublon Admin Console and log in to your company, or create a new company if you do not have one yet.
- You must create a new application in the Applications tab by clicking the green Add button. Afterward, the information about this application needs to be written down, namely its name and, optionally, its URL. Select Jira Server as its type.
You will need the System Token and Secret Key later, so keep this page open.
Installation of MFA for Jira
Jira MFA in installation is quite simple and fast. You can install it in two different ways. Both are described below.
1. Using Atlassian Marketplace
1. Log in to your Jira server using the administrator account.
2. Go to the Manage apps panel in Administration.

3. Search for “Rublon” in the Find new apps tab, and click the Install button, as shown in the image below.

4. Once the installation is complete, you should receive information that the process has been completed successfully, and you can begin using Rublon Jira MFA Plugin with your Jira instance. Clicking this button will navigate you to the configuration page. The configuration phase will be described later in Configuration of Rublon Jira MFA.
2. Using a .jar file
1. Download the jar file from the Atlassian Marketplace website.
2. Log in to your Jira server using the administrator account.
3. Go to the Manage apps panel in Administration and select the Manage apps tab from the left menu, as shown in the picture below.

4. Click Upload app and find the downloaded jar on your local disk.

5. After a successful installation, you will see a window with the information that Rublon has been installed, and you can get started with it. Clicking this button will move you to the configuration page.
Configuration of Rublon Jira MFA
The configuration panel is separated into five parts.
- Rublon API Credentials – use the same credentials as the ones created in the Rublon Admin Console application. You can find the description of options available in the Rublon Jira MFA Plugin in the list below.
- Rublon Multi-Factor Authentication (MFA) – specify whether Rublon is enabled or not.
- Restored Sessions – allows you to choose one of the behaviors for Rublon Jira MFA when the “Remember me” option is used during login: Require Rublon or Bypass Rublon. The first one will always turn on Rublon during login. The second will bypass Rublon when Remember me is used.
- Connection Issues – you can choose one of the Rublon Jira MFA Plugin behaviors in case of problems with connection to the Rublon server. Like in Restored Sessions, Rublon can be bypassed, or access can be denied.
- Telemetry – this option informs you that additional information can be sent to Rublon and that they will help us with your debugging process when some problems occur.

Finally, press the Save button. Now your plugin is ready to use.
Rublon Jira MFA authentication process
After the installation and configuration is finished, you can start using Rublon Multi-Factor Authentication. This section describes the process of logging to a Jira server with Rublon MFA.
1. Log in using your JIRA server account as shown in the picture below.

2. A window with a selection of various MFA options from Rublon will appear. Let’s choose Mobile Push.
3. You will be sent a push notification. Tap APPROVE.

4. You will be successfully logged in to Jira.
Updating the plugin
To update the Rublon Jira MFA Plugin to the latest version, you need to go to the Manage apps tab of Administration in your Jira server. Then, find Rublon Multi-Factor Authentication (MFA), and if an update is possible, you will see the Update button, as shown in the picture below.

After clicking the Update button, you will have to wait until the update process is finished. Afterward, a window similar to the ones from the installation process will be shown. After clicking the Next steps button on that window, you will be redirected to a configuration page. If options were changed or new ones were added, you will have to update them, ending the update process.
Web Proxy Support
Rublon Jira MFA plugin supports web proxy settings, provided that the settings are configured according to the Atlassian documentation.
Troubleshooting
If you encounter any issues with your Rublon integration, please contact Rublon Support.