Last updated on October 14, 2026
Rublon User Guide is meant for users who want to learn more about Rublon. If you are an administrator looking for deployment instructions, refer to our Documentation.
Overview
Rublon Authenticator facilitates Rublon 2FA. Get a Mobile Push. Tap APPROVE. That’s it.
Find the latest version of Rublon Authenticator for:
- Android – Google Play
- Android – APK download
- iOS – App Store
- HarmonyOS – AppGallery
Rublon Mobile Push
Mobile Push is the fastest and most user-friendly method of authentication. When you initiate the login process to an application integrated with Rublon, provide your login and password. This is the first factor.
Then, a Mobile Push notification will show up on the screen of your phone.
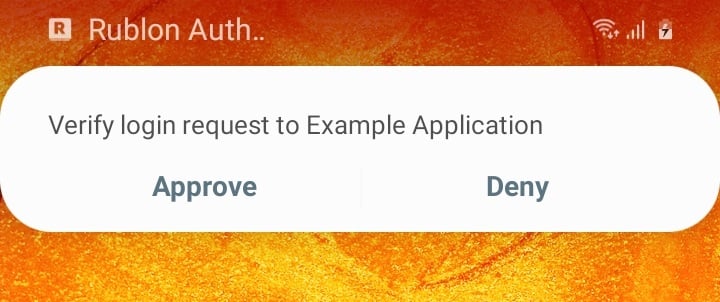
This is the second factor of authentication.
- Tap Approve to finish the login process.
- Tap Deny if you made a mistake.
- Tap Deny if you did not attempt to log in to any of the integrated applications but still received a notification. Inform your administrator if you suspect any fraudulent behavior.
Note
If you use a PIN or biometric lock in the Rublon Authenticator app, Approve and Deny actions are hidden in the system push notification shown as a banner or in the notification drawer. Opening the notification launches the Rublon Authenticator app, where, after unlocking it with your PIN or biometrics, you can view the full notification and approve or deny the login request.
We recommend you analyze the push notification information in detail. Tap the notification to open it in Rublon Authenticator.

You will be presented with detailed information about the login attempt:
- Email address – the email address of the user who wants to log in
- IP – the IP address of the device on which the login attempt is taking place
- Location – the geographical location of the device on which the authentication attempt is taking place
- Datetime – the time and date of the authentication
Carefully analyze the preceding information to decide whether the authentication request really comes from you and if all information is correct. Tap APPROVE to log in to your application integrated with Rublon.
QR Code Scanner
QR Code Scanner lets you scan the QR Code using your phone’s camera.
When you sign in to an application integrated with Rublon MFA, enter your login credentials and select QR Code as the authentication method. If the Rublon Prompt is open on a computer, it displays a QR code. Scan it using Rublon Authenticator on your mobile device as follows:
1. Open Rublon Authenticator on your phone.
2. Tap your account to expand it, then tap the green QR code icon on the left.
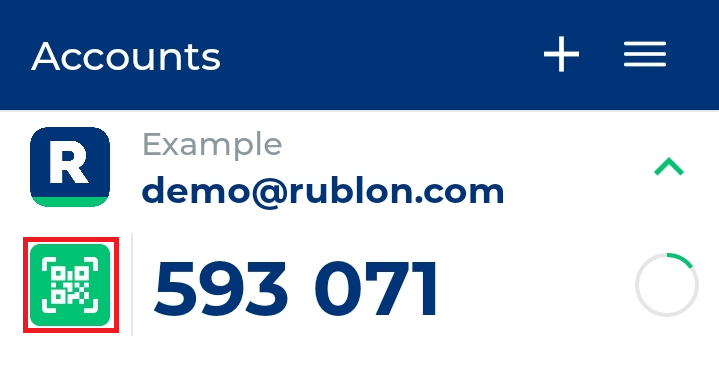
3. Scan the QR code displayed by the Rublon Prompt.
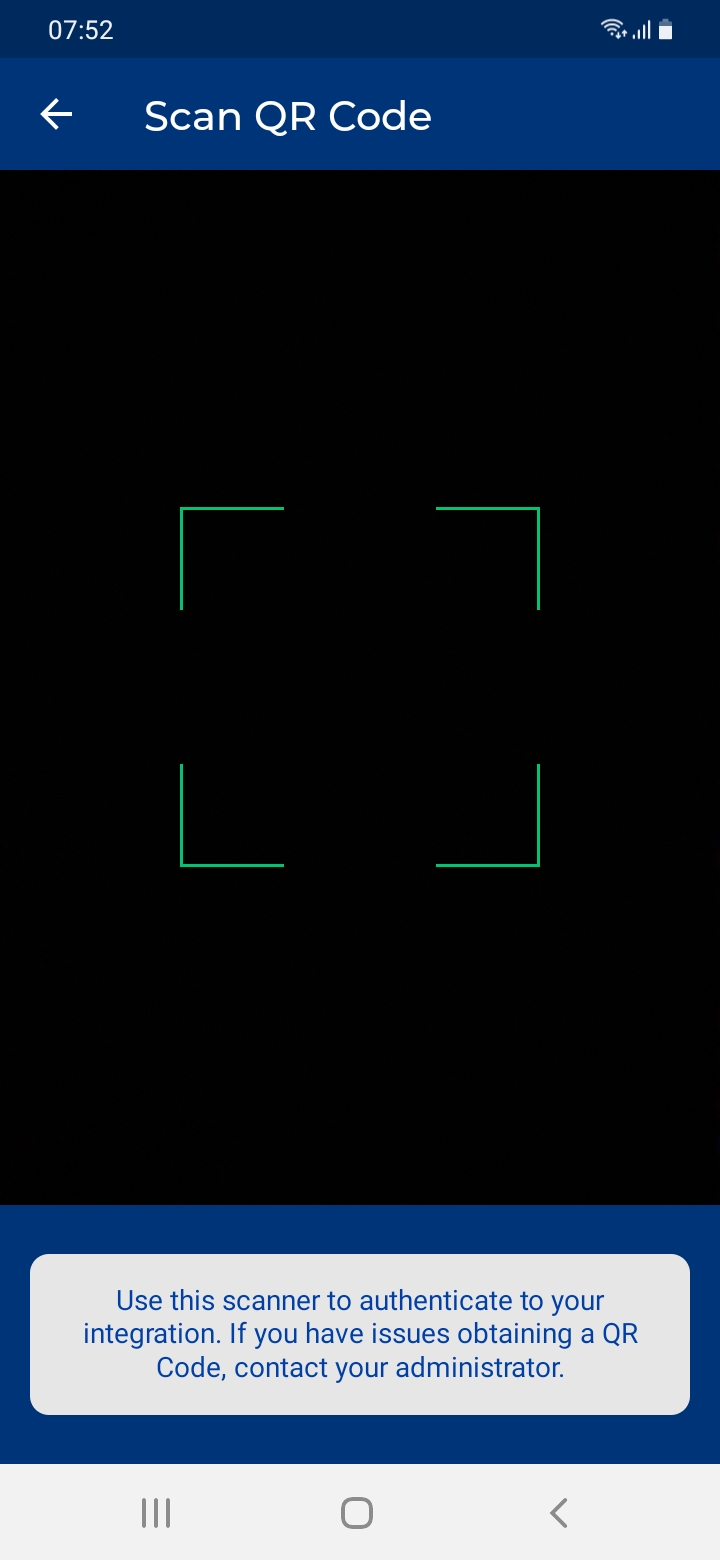
4. You will be logged in to the application.
Note
If you sign in on a phone or tablet, tap Open in Rublon Authenticator to complete authentication in the app on the same device. If you have more than one account in the app, select the account you are signing in to.
You can also tap Show QR code instead to display a QR code and scan it using Rublon Authenticator on another mobile device.
Note
The QR Code authentication method requires Internet access.
One Time Password
One Time Passwords are a time-based method of authentication, which you can use even if your phone is offline.
When logging in to an application integrated with Rublon, provide your login credentials. In the next step, you will be asked to select one of the available methods of authentication. Select Passcode. Rublon Prompt will ask you to provide the passcode, and you will have to complete the following steps:.
1. Open the Rublon Authenticator on your phone.
2. Tap your account to expand it.
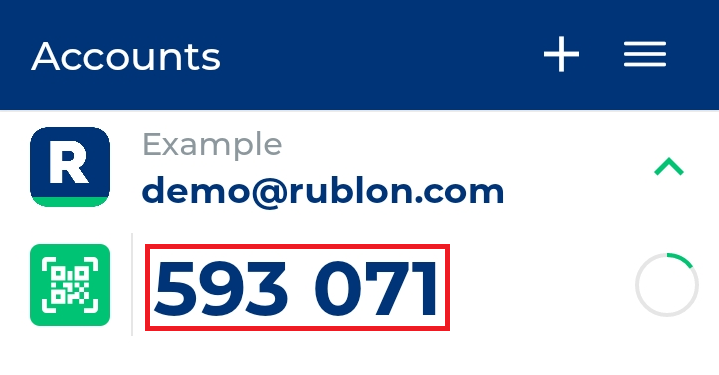
3. Enter the displayed passcode into the Rublon Prompt.
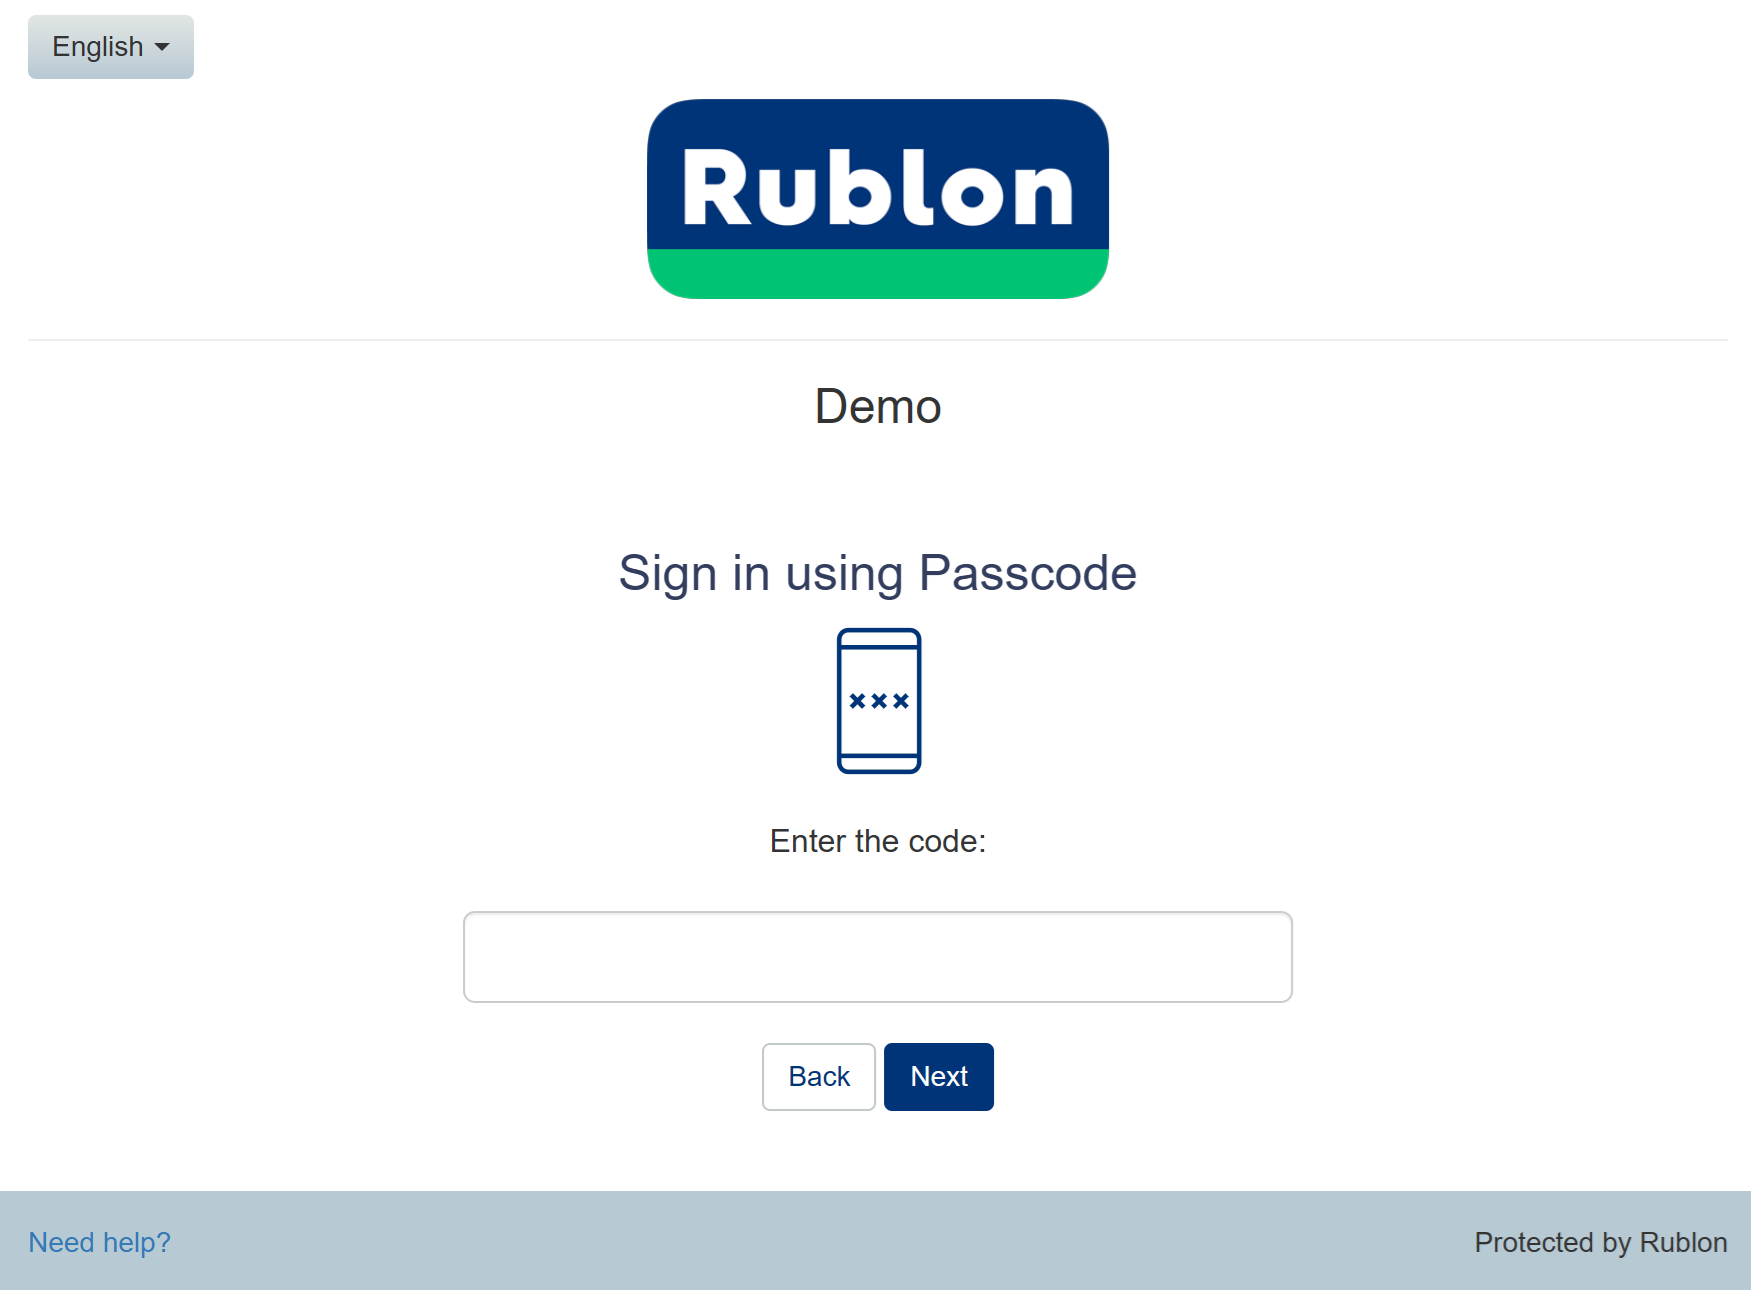
4. You will be logged in to the application.
Note that a new passcode is generated every 30 seconds.
Settings
Settings allows you to set up an additional layer of security in the form of a PIN or fingerprinting (Touch ID on Apple devices).
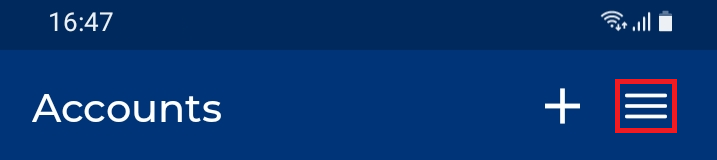
To open Settings, tap the menu icon in the upper-right corner.
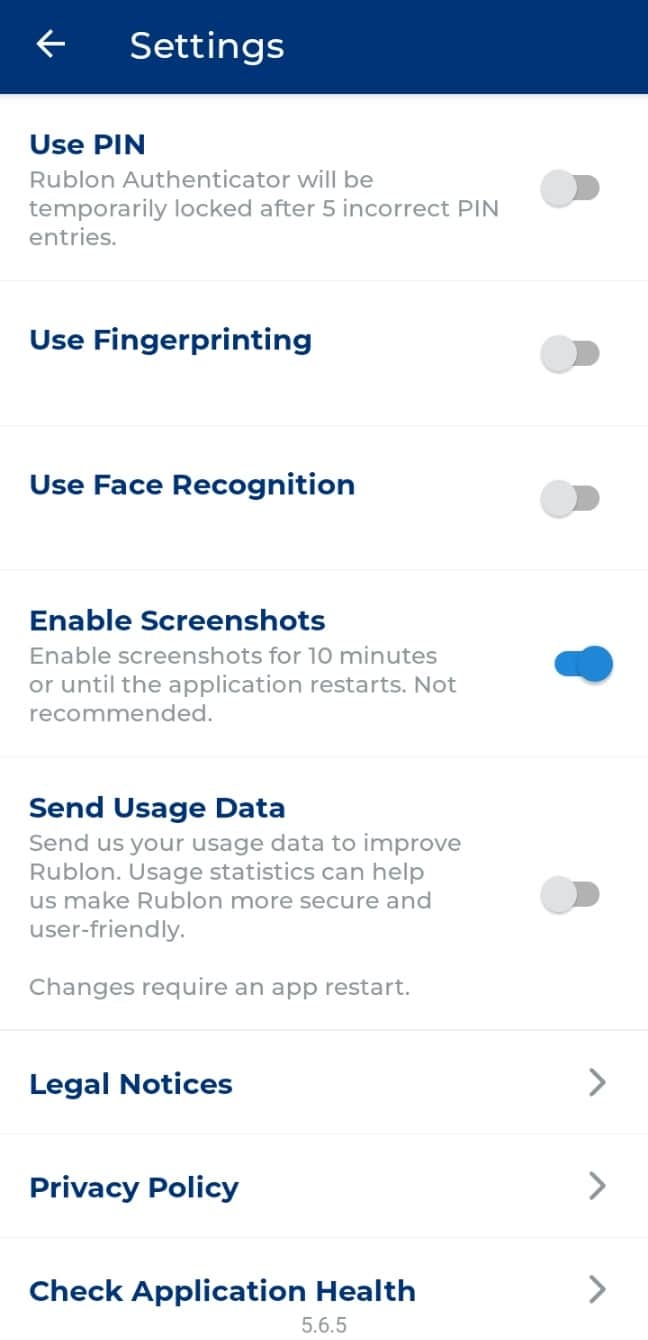
Use PIN
You can set up a PIN to secure your Rublon MFA account:
1. Open Rublon Authenticator.
2. Select Settings (the menu icon in the top-right corner).
3. Select Use PIN.
4. Set a new PIN.
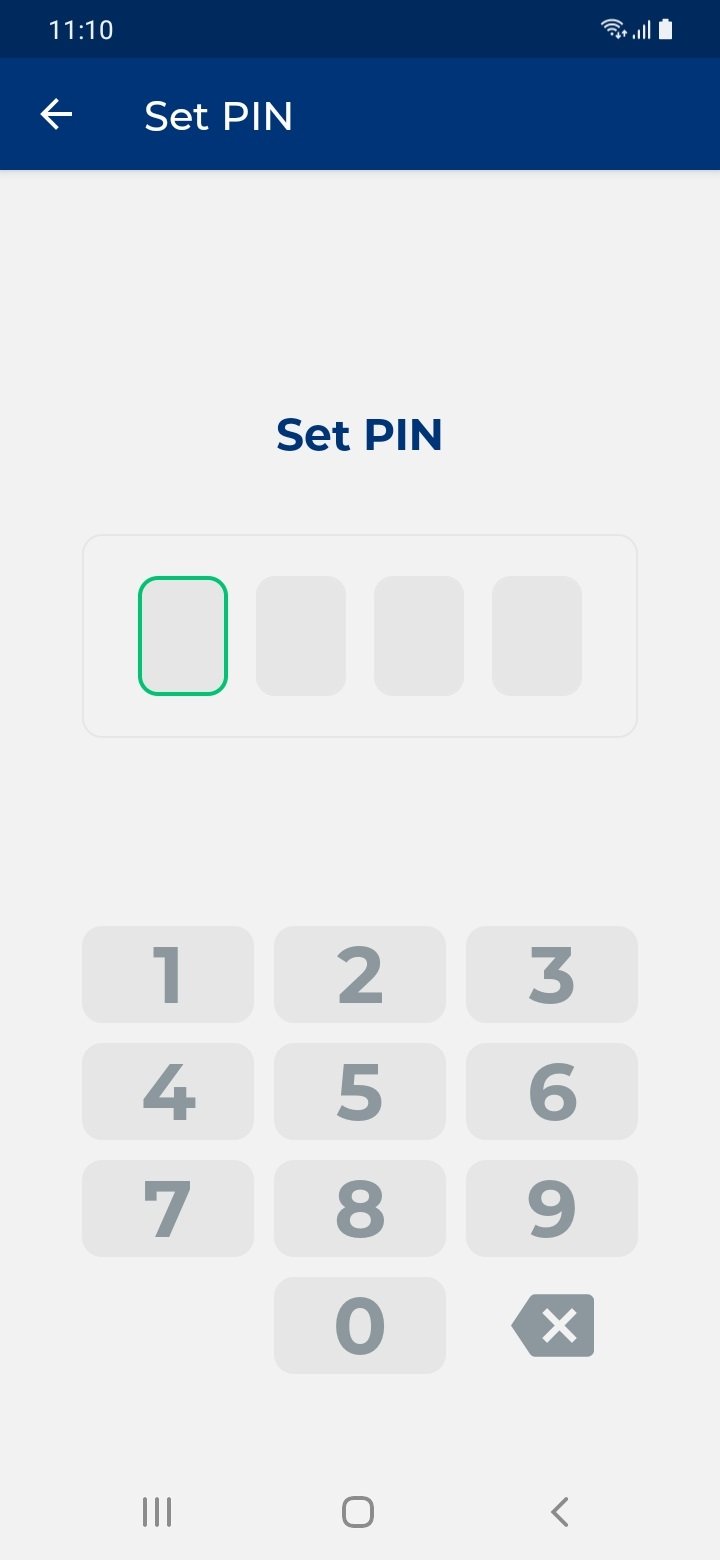
5. Confirm PIN.
6. You will now have to provide your PIN every time you run Rublon Authenticator, unlock your phone with Rublon Authentication, or perform an important operation.
Note
If you enter a wrong PIN 5 times, Rublon Authenticator will be locked for some time.
Enabling fingerprint scanning does not disable PIN.
Change PIN
You can change your PIN.
1. Open Rublon Authenticator.
2. Select Settings.
3. Select Change PIN.
4. Provide your current PIN.
5. Set a new PIN.
6. Confirm your new PIN.
Use Fingerprinting
Use fingerprint biometrics to maximize the security of Rublon Authenticator.
In order to use fingerprinting:
1. Add a fingerprint to your device.
2. Enable PIN in Rublon Authenticator (required)
3. Select Settings.
4. Select Use Fingerprinting.
5. Congratulations! You have successfully enabled fingerprinting in Rublon Authenticator.
Next time you open the app, you will be asked to scan your fingerprint or enter your PIN.
Use Face Recognition
Use face recognition biometrics on your Android or iOS device to increase the security of Rublon Authenticator.
In order to use face recognition:
1. Register your face on your device and enable face recognition.
2. Enable PIN in Rublon Authenticator (required)
3. Select Settings.
4. Select Use Face Recognition.
5. Congratulations! You have successfully enabled face recognition in Rublon Authenticator.
Next time you open the app, you will be asked to scan your face or enter your PIN.
Send Usage Data
When enabled, Rublon Authenticator will send us your usage data. Usage statistics can help us make Rublon more secure and user-friendly. However, agreeing to send us your usage data is fully optional and up to you. This option is disabled by default.
Check Application Health
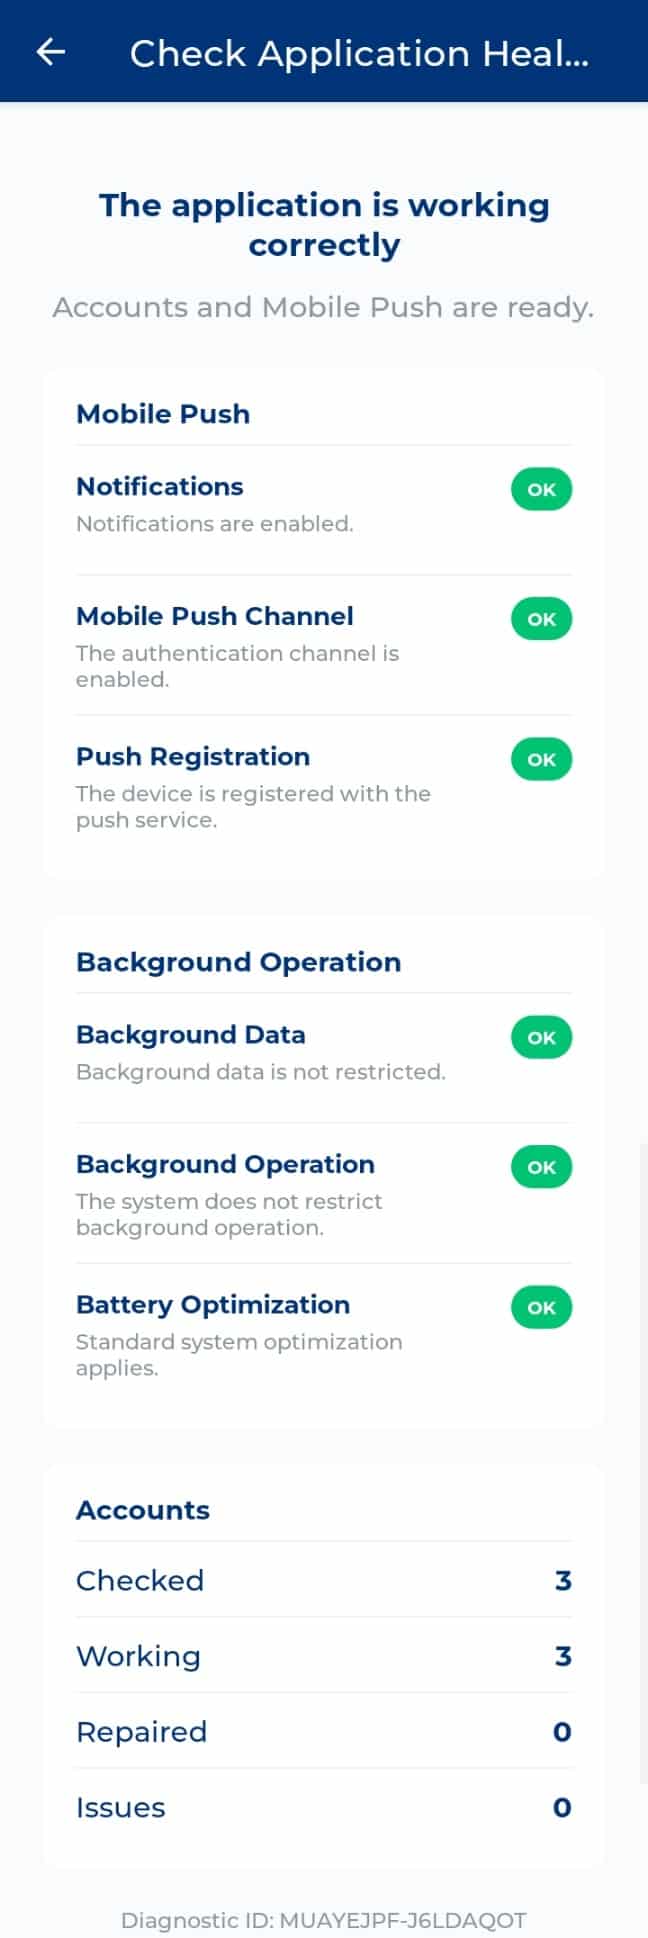
Use Check Application Health to verify that your accounts, Mobile Push, and device settings are working correctly. Rublon Authenticator also repairs account problems automatically when possible.
1. Open Rublon Authenticator and select Settings.
2. Select Check Application Health. Rublon Authenticator checks your accounts, Mobile Push, and device settings. This may take a moment. The technical diagnostic result is sent to Rublon.
3. When the check is complete, review the results:
- Mobile Push
- Notifications – whether notifications are enabled
- Mobile Push Channel – whether the authentication channel is enabled
- Push Registration – whether the device is registered with the push service
- Background Operation
- Background Data – whether background data is restricted
- Background Operation – whether the system restricts background operation
- Battery Optimization – the battery optimization setting applied by the system
- Accounts
- Checked – number of accounts checked
- Working – number of accounts working correctly
- Repaired – number of accounts automatically repaired
- Issues – number of accounts with unresolved problems
The status of each Mobile Push and Background Operation check appears next to the corresponding item.
If an account needs attention, it appears under Accounts requiring attention together with the reason, such as Connection issues, Account is busy, or Connection timed out. If all checks are successful, Rublon Authenticator displays The application is working correctly.
The results also include a Diagnostic ID, which can help Rublon Support identify the diagnostic data and troubleshoot the issue.
Select Check Again to repeat the synchronization or Done to return to Settings.
Pull to Fetch
You can use Pull to Fetch to refresh the Mobile Push notifications. If you expected to receive a notification, but didn’t get one, use Pull to Fetch to ask Rublon Authenticator to pull the notifications again. Pull to Fetch fixes most Mobile Push Notification issues.
To use Pull to Fetch:
1. Ensure you are on the Accounts view.
2. Swipe down from the top to fetch all notifications.
3. If there is a notification you have not confirmed yet, Rublon Authenticator will display it.
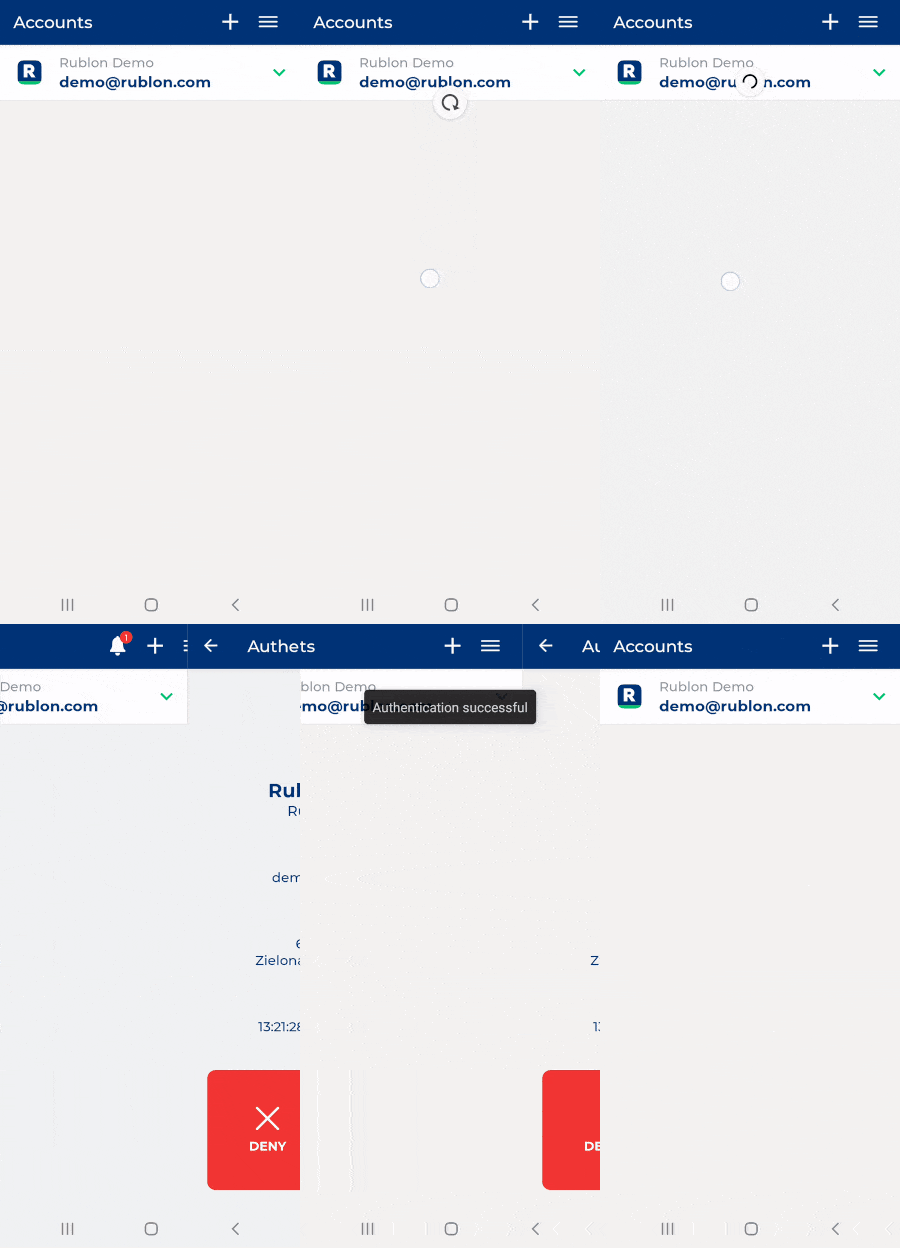
4. Approve the authentication request to sign in to your application.
Remove Account
To remove an account in Rublon Authenticator:
1. Ensure you are on the Accounts view.
2. Find the account you would like to delete.
3. Swipe left on the selected account.
4. A trash bin icon will appear on the right-hand side of the account box.
5. Tap the red icon of a trash bin.
6. You will be asked if you want to delete the account.
7. Tap REMOVE to remove the account (cannot be undone).
Note
Removing an account from the Rublon Authenticator does not delete the user’s account. Only the link between Rublon API and Rublon Authenticator is removed. After you remove an account from the Rublon Authenticator, you can add this account again using the Manage Authenticators view.